The Crazy Hat Box

there's a hat for that!

Reduce and Reuse – but Recycle the Pickle Jar

I’m a big fan of repurposing things.  I’ve turned old glass bottles into soap dispensers, tiles into coasters, and old windows into a greenhouse box.  But, my favorite repurposing technique is reusing containers and jars, often originally containing food, to store other things.  However, it doesn’t always work out.

I especially hate throwing out glass jars.  It seems such a waste, when they could be used for other things.  After I use the contents of a jar, I wash it well and use it for something else.  One day, after finishing a jar of dill pickles, I washed it and put it aside to use later.  Not long afterwards, I picked up a big bag of dark chocolate Peanut M&Ms (yum!) at the grocery store.  I brought them home and looked for something to keep my snack in.  Remembering the pickle jar, I emptied the bag into it and put it high on a shelf (so no one stole my snack).

The next day, I went to get a few M&Ms.  I opened the jar to a whiff of pickles.  Hmmm.  I tasted one.  Yep, M&Ms infused with pickles.  Not exactly what I was going for.  And the longer the M&Ms were in the jar, the more they tasted like pickles.  I still ate them because, c’mon, it’s still chocolate.  And, on the bright side, no one wanted my snack.

So, lesson learned – put the pickle jar in the recycling bin!

Here are some other items I’ve repurposed (without the new contents smelling like the old contents):

IMG_1066

A salsa jar repurposed as a container for yeast.

IMG_1070

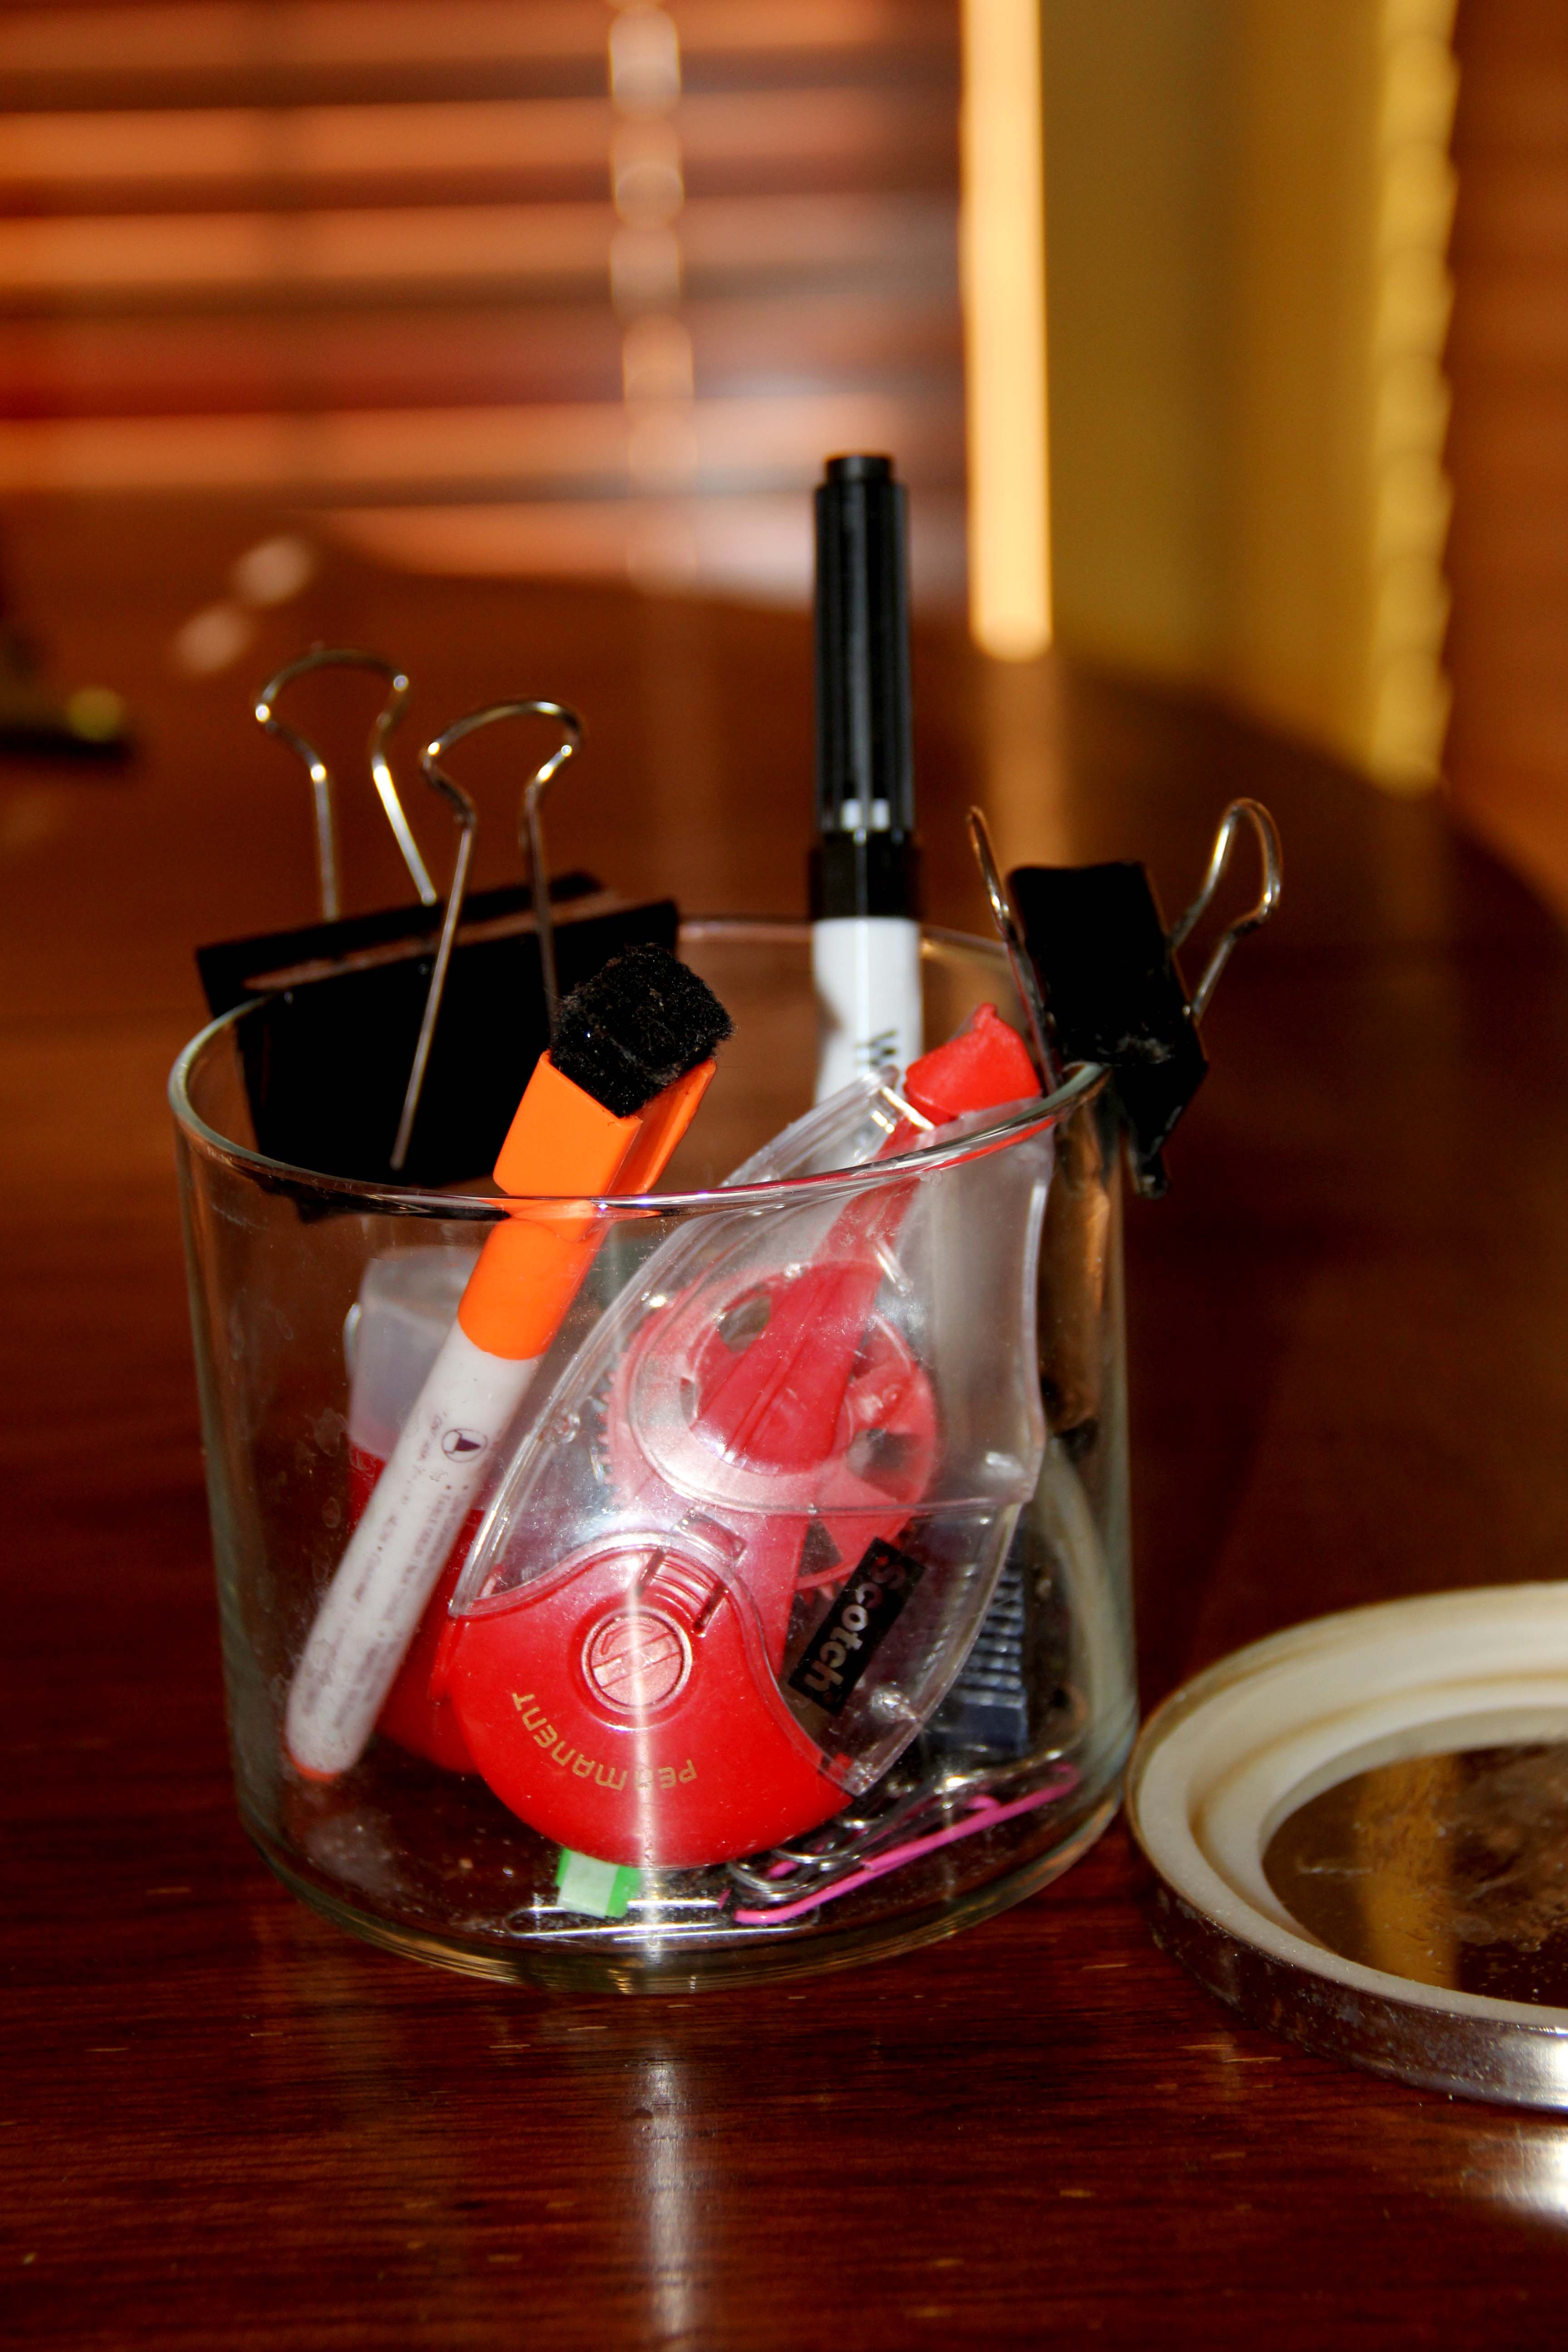
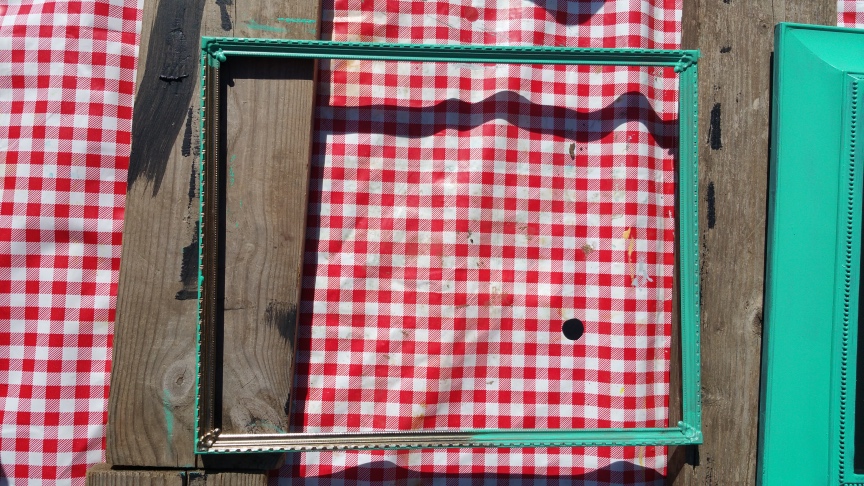
A jar previously containing a candle now used for miscellaneous office supplies.

IMG_1068

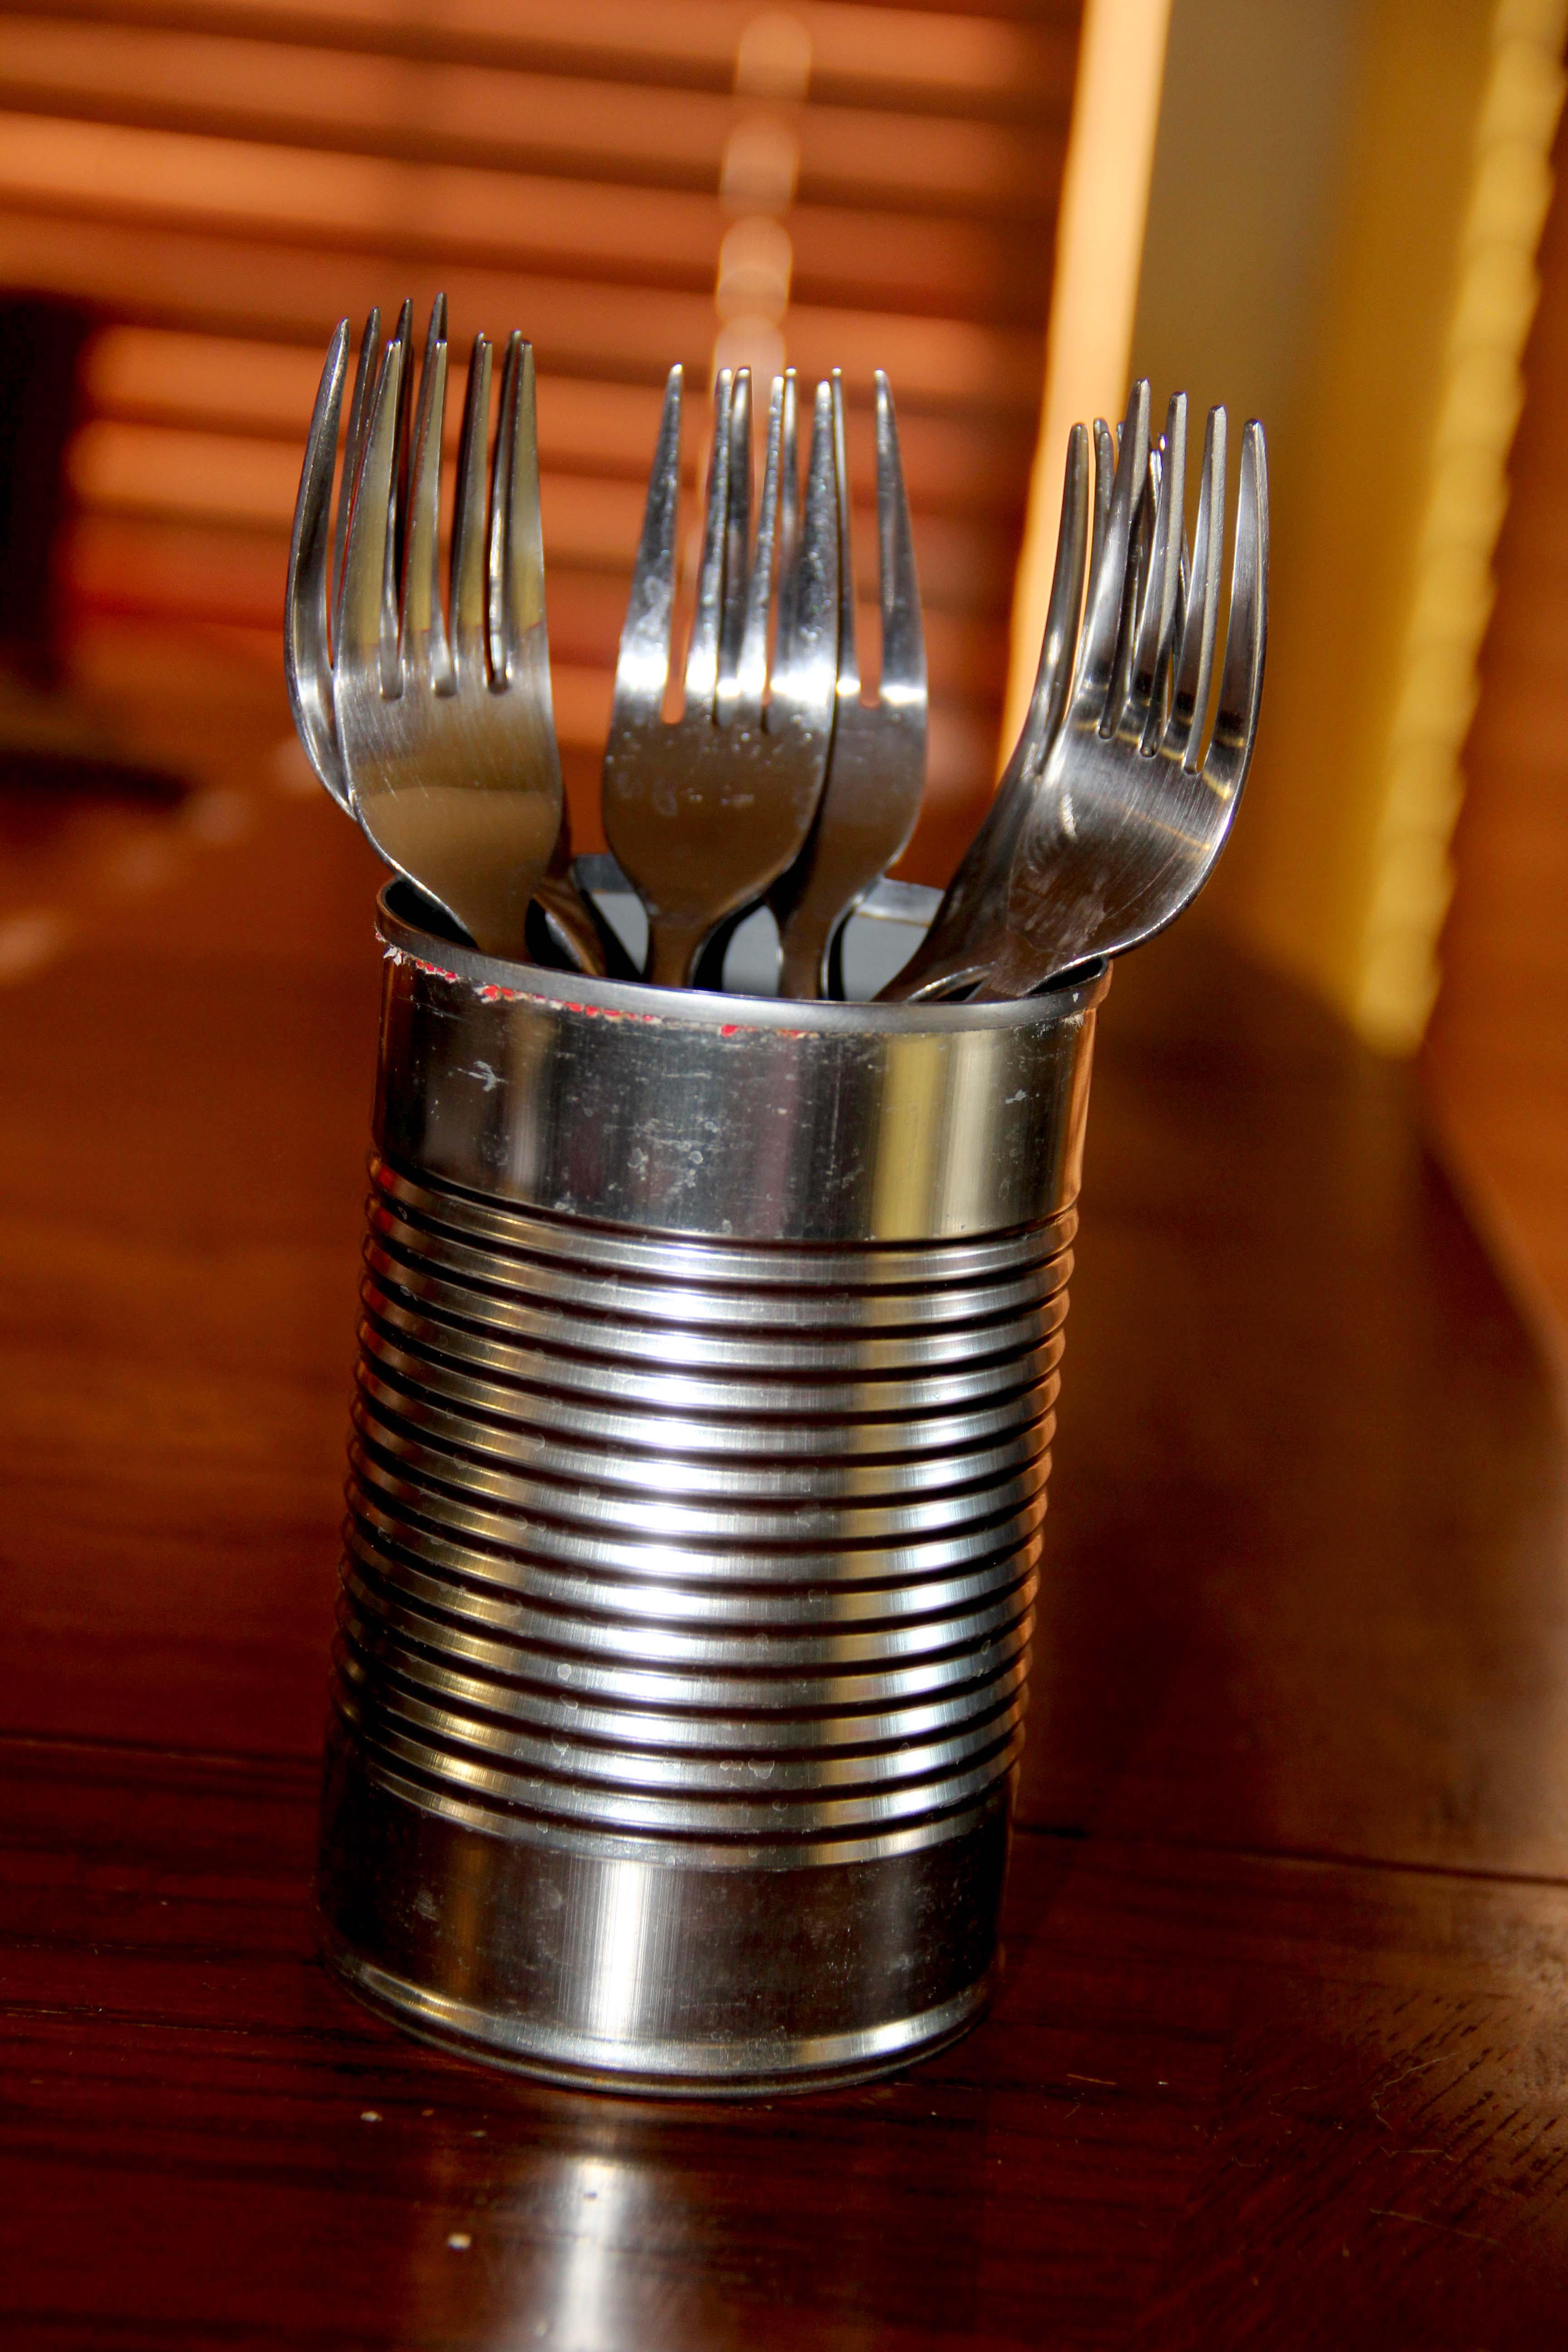
A food can  as a fork holder (this works great for parties).

Happy repurposing!


Leave a comment »

Chalk It Up to Repurposing

Let’s talk picture frames.  Who doesn’t have a ton of them stashed away somewhere, and who hasn’t given a ton to charity (or the trash man).  You know what I’m talking about.  Frames that are outdated or nicked or scratched.  Frames that you swear you’re going to use again… somewhere.  Well, why not give those frames a new look – and a new purpose as a chalk board!

Step 1:  Choose your frame

It really doesn’t matter what type of frame you have or what size.  It can be metal or wood; thin-framed or thick.  Just whatever strikes your fancy.  If you’re a clutter-free freak and don’t happen to have spare frames (is there such a person?), don’t worry, you can pick frames up for cheap at your local Goodwill or Thrift Store.  I do have frames stashed away, but picked up one at Goodwill anyway because I wanted one with a thin frame.

image001

Step 2:  Paint your frame

Remove the back and the glass and paint your frame. You can choose to spray paint or brush it on.  In this case, I brushed it on using a paint I had leftover from another project.

image003

Step 3: Paint the Glass with chalkboard paint

With the glass still removed from the frame, paint it with chalkboard paint following the directions on the can.  Remember to apply the paint as smoothly as possible so that it’s easy to write on with chalk.  Several coats are required to make it look like a chalkboard, especially on glass.

image002

Step 4:  Put it all together

When everything is dry (I waited several days), you can condition the chalkboard paint following the directions on the can, and put the frame, glass and backing together again.  Tada!  You have a super cute, customized chalkboard.

image004

Leave a comment »