The Crazy Hat Box

there's a hat for that!

The Kids in the Car go…

We took a family vacation to Florida over the summer.  This was the first long trip we’ve taken since our youngest was born, and I was a little worried about how to keep a six-year-old and a 3-year-old entertained in the car for two days.  I looked for all kinds of ideas on the internet, talked to people who had taken long car trips with their kids, and then packed everything I could think of that might help at some point along the long road.

Being on the other side of that trip, I can honestly say that I packed entirely too much (but I always overpack, so that’s not really any different than usual).  I can also say that the number one thing that made our trip better was something so simple, it seems a little too simple.

A plain cookie sheet.

That’s it. With a plain cookie sheet, you can do so many activities in the car!  First, cookie sheets are magnetic, so I bought some trays and pencil boxes at the Dollar Store and put magnets on them to create crayon and marker containers that aren’t easily dropped and that don’t slip around!  I also bought magnetic clips at the Dollar Store to help hold papers in place.  The Dollar Store also had magnetic dry erase boards, and I even bought a Lego board and put magnets on it so that my oldest could play Legos in the car!

IMG_0022

IMG_0023

Just add coloring books, stickers, markers, crayons, and other craft supplies, and you’ve got everything you need!

IMG_0020

The cookie sheets fit perfectly across the arms of the kids’ car seats, but could also be held vertically on their laps.

Drawing_edit

I even packed some play-doh, which worked great on the tray!

playdoh_edit

If you’re planning a long trip with kids, I highly recommend investing in a cookie sheet; it might save your sanity… or at least part of it.  Happy traveling!

Leave a comment »

Spiderweb Door Decoration

I have two boys, and in true boy fashion, they love dirt, making messes, bugs, and spiders.  So, to help celebrate the season, we did a spider and spiderweb craft.  I’ve seen a lot of examples for making various bugs and animals out of egg cartons, but, let’s face it, the spider’s web is just as cool as the spider itself.  Why not make a web for our egg carton spiders and hang it on the door?  It ended up being so cute, and a perfect way to spend a sick day away from school.

What you’ll need:

  • An egg carton
  • Paint, markers, or crayons
  • Googly eyes
  • Glue
  • Pipe cleaners
  • String
  • Popsicle sticks

I cut the egg carton into sections of two egg cups each.  I was just going to cut it into one egg-cup sections, but my six-year-old informed me that spiders have a head AND and abdomen.  Then, we painted our spider bodies.

IMG_8944

IMG_8942

While our spider bodies dried, I made the web (my kids are a little too young to be able to do this part).  I glued popsicle sticks together in a sort of circle.

IMG_8948

Then, I wrapped string around it (as much to help it stay together as for aesthetic reasons).  I cut a smaller portion of string and made it into a circle to use in the center of the web, then wrapped string around the outside popsicle circle and through the inside string circle.  Finally, I wove string through it all to make the web!  Don’t forget to add a loop at the top so you can hang up the web!

IMG_8949

When our spider bodies were dry, we glued googly eyes to them and added pipe cleaner legs – two pipe cleaners cut into four pieces for a total of eight legs each.

IMG_8955

IMG_8952

Isn’t this the cutest door decoration?  The pipe cleaner legs hooked perfectly around the web, keeping the spiders in place!

IMG_8961

IMG_8957


Happy Halloween!!

Leave a comment »

What is Your Address?

What is your address? What is your phone number? These seem like easy enough questions right? Can your child answer them? I have been surprised when I am out with other moms how many are impressed that my daughter (who turned 3 this summer)knows her address and my cell phone number. Many have told me they never thought to teach their child this important information. This information along with your full name (mommy isn’t going to help you much)is VERY important if you and your child would ever become separated. Your child knowing this information could drastically cut down on the time that you are apart. They could tell whoever is helping them your contact information and you could be notified right away where they were.

Stay Safe!

Leave a comment »

Safety Saturdays

Welcome to our first Safety Saturday post! Safety Saturday posts are here to help you and your family keep all kinds of safety in mind. We will be sharing tips on how to prepare you for emergencies and general  safety tips.  If you have safety topic that you would like The Crazy Hat Box to research for you, please comment below.


Power Outages

We recently had a 12 hour power outage at our house! During that time I came to realize that with two little ones in the house now, I need to be even more prepared.  Since the power outage, I have started researching to make sure that our house is ready for the next time. I really hope that the next time isn’t for a long time! In my searching I found that the American Red Cross has a wonderful website full of tips to help you get your family prepared.  One of the first steps to having your family prepared is to have an emergency kit. Watch for a post on this in the future. Today we will just touch on things that will help you with a power outage. Here is a list of what I have gotten ready for our family for the next time that we are without power.

1.  Flashlights with working batteries. Check these often and try to have them in every room. Make sure that everyone knows where they are and how they work. We also have a few little flashlights that have magnets on the side of our fridge. Candles are not recommended due to the fire risk. This is especially important if you have small children or pets.

2.  Extra batteries! Having extra batteries in all sizes that go with your flashlights and other emergency supplies

3.  Food that is non-perishable and that can be eaten/ prepared without power.

4.  A battery powered weather radio. We have a NOAA weather radio that plugs in but has a battery back up. This is extremely important if the power outage is caused from severe weather. You need to stay informed if the weather is getting worse or if new warnings are issued in your area. If you don’t have power you can’t watch your favorite weather man. You also can’t count on hearing the tornado sirens. Tornado sirens are designed to give notice to people who are outside! I hear people all the time say that they didn’t hear the sirens in their house. Repeat after me “Tornado sirens are for outside warning, weather radios are for inside warning!”

Here are some supplies that you need if you have small children in your home.

5.  Disposable diapers. Now this might seem like a no brainier but I did not have any of these in our house when we had our power outage. We use cloth diapers so I didn’t think that I needed any disposables but as the hours ticked by without the power coming back on I realized this was a mistake. I saw my stash of clean diapers getting smaller and smaller. Having no idea when I could wash them really added to the stress of the situation.

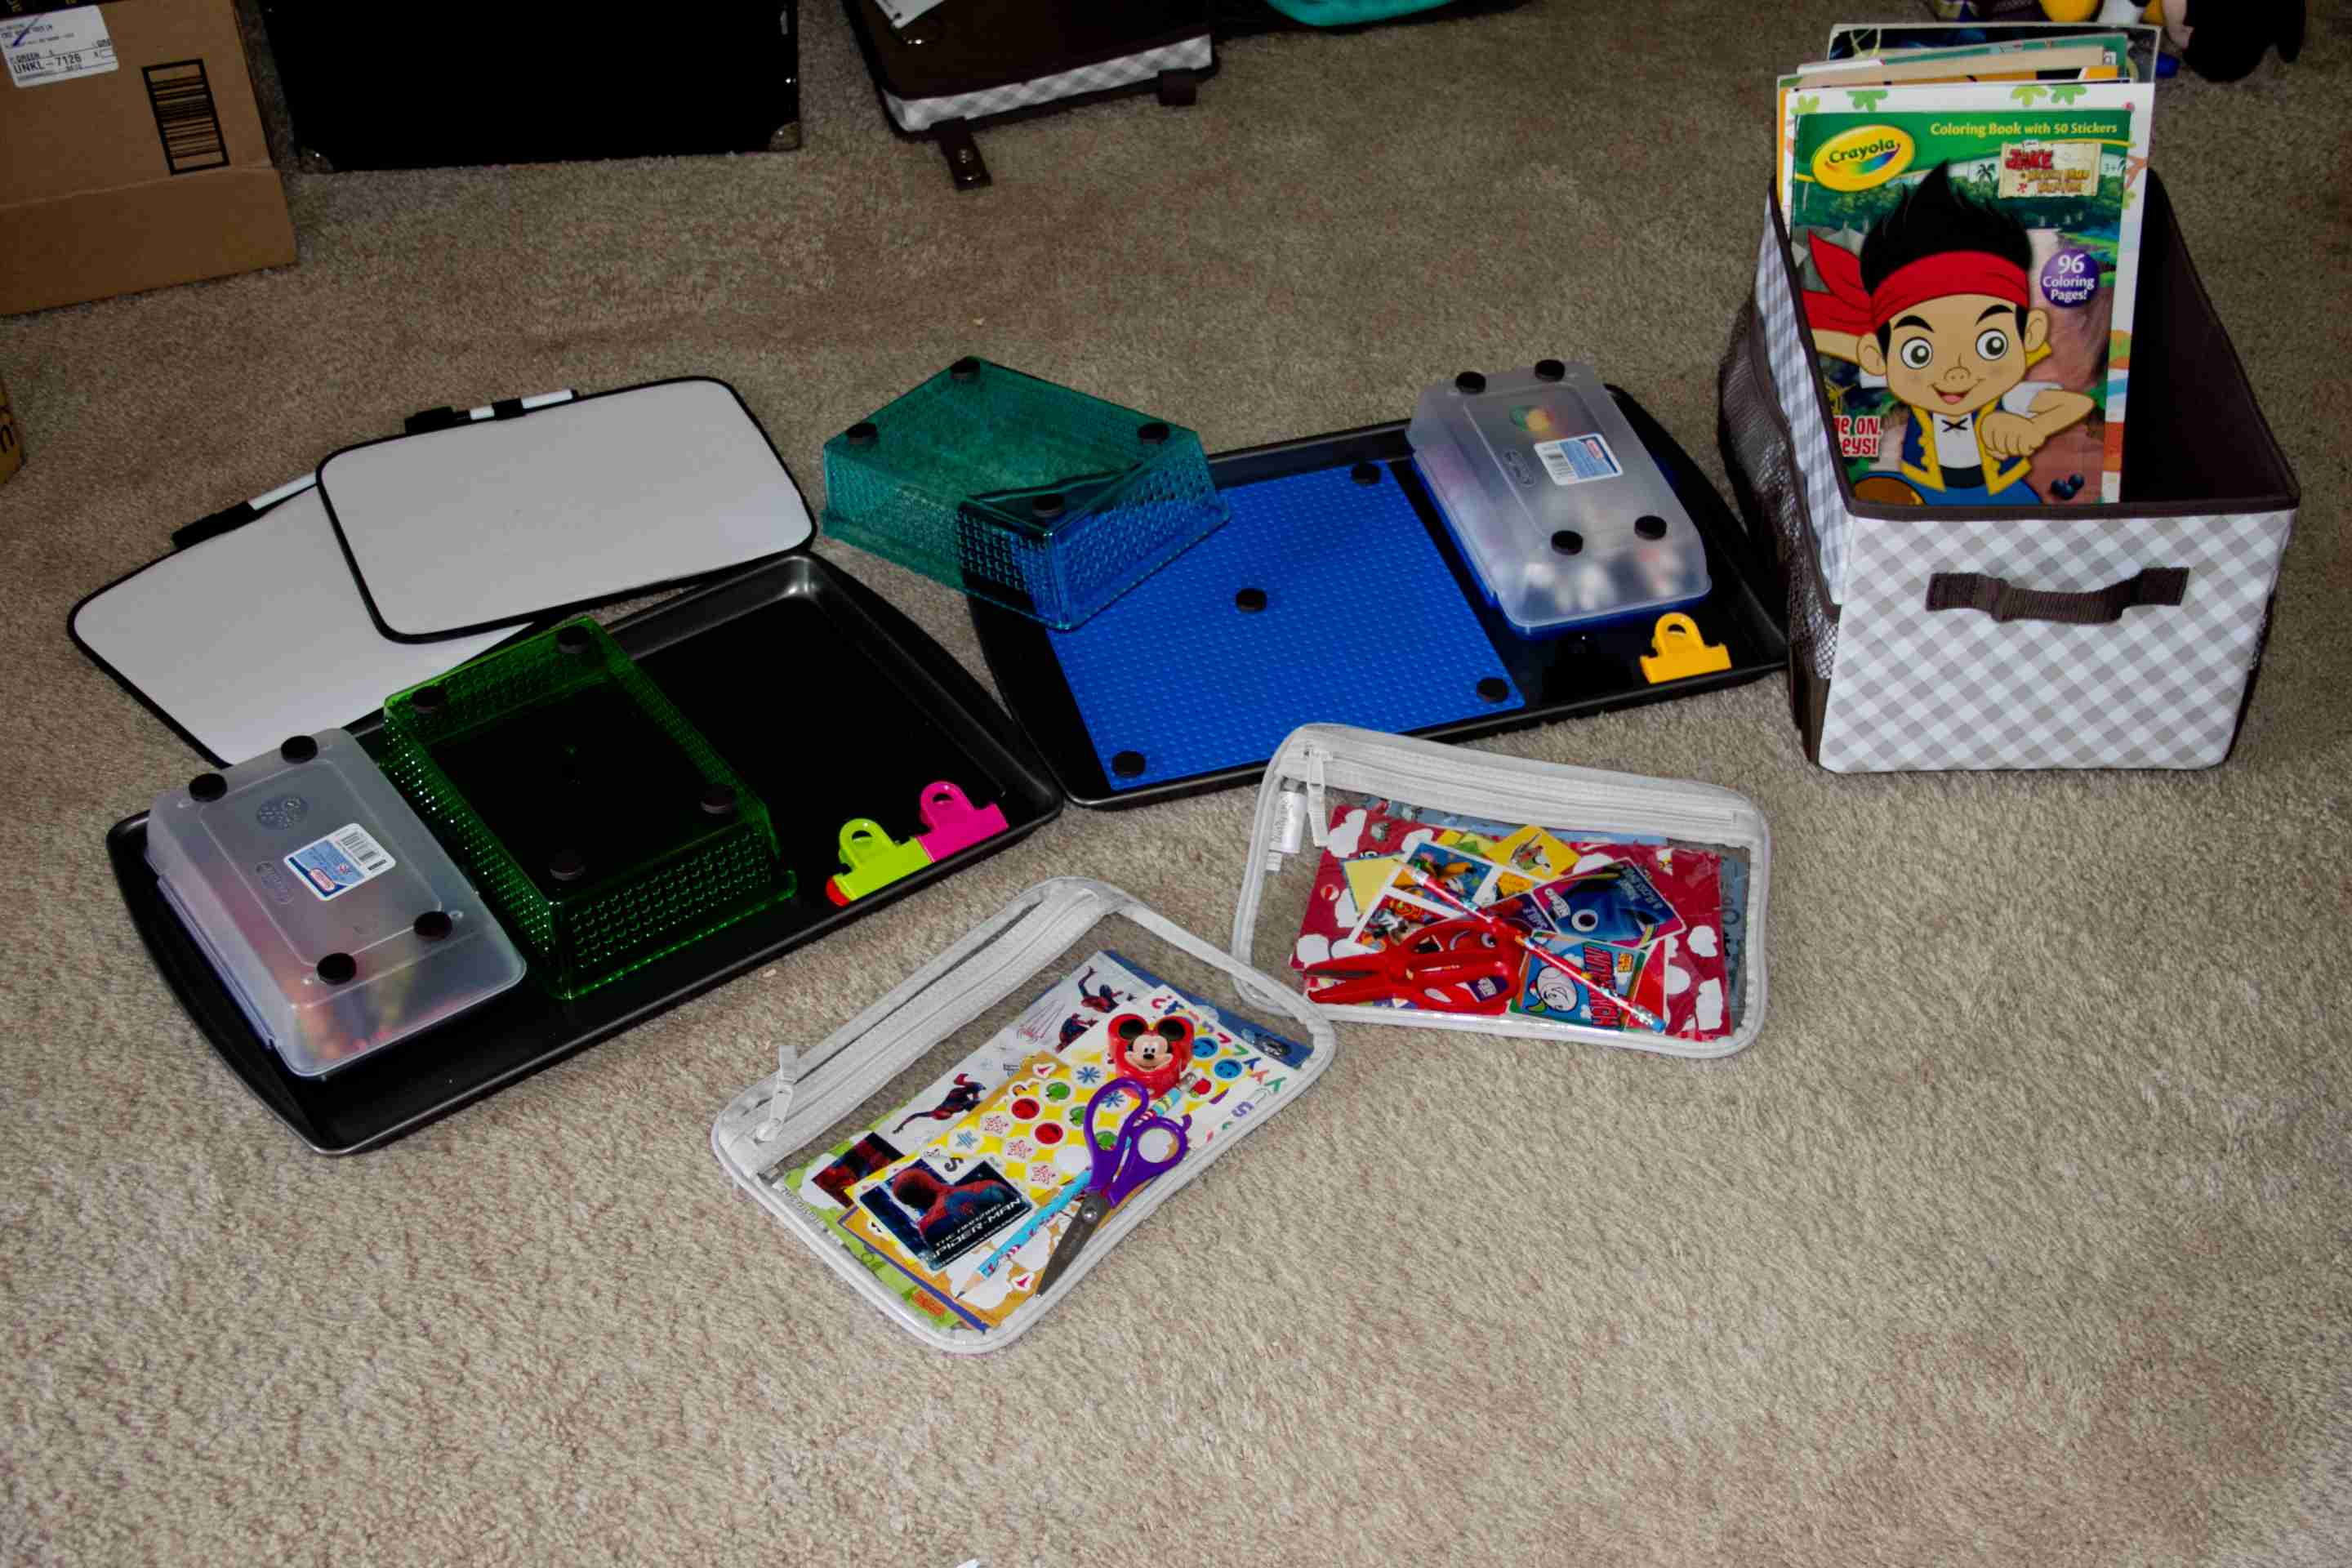
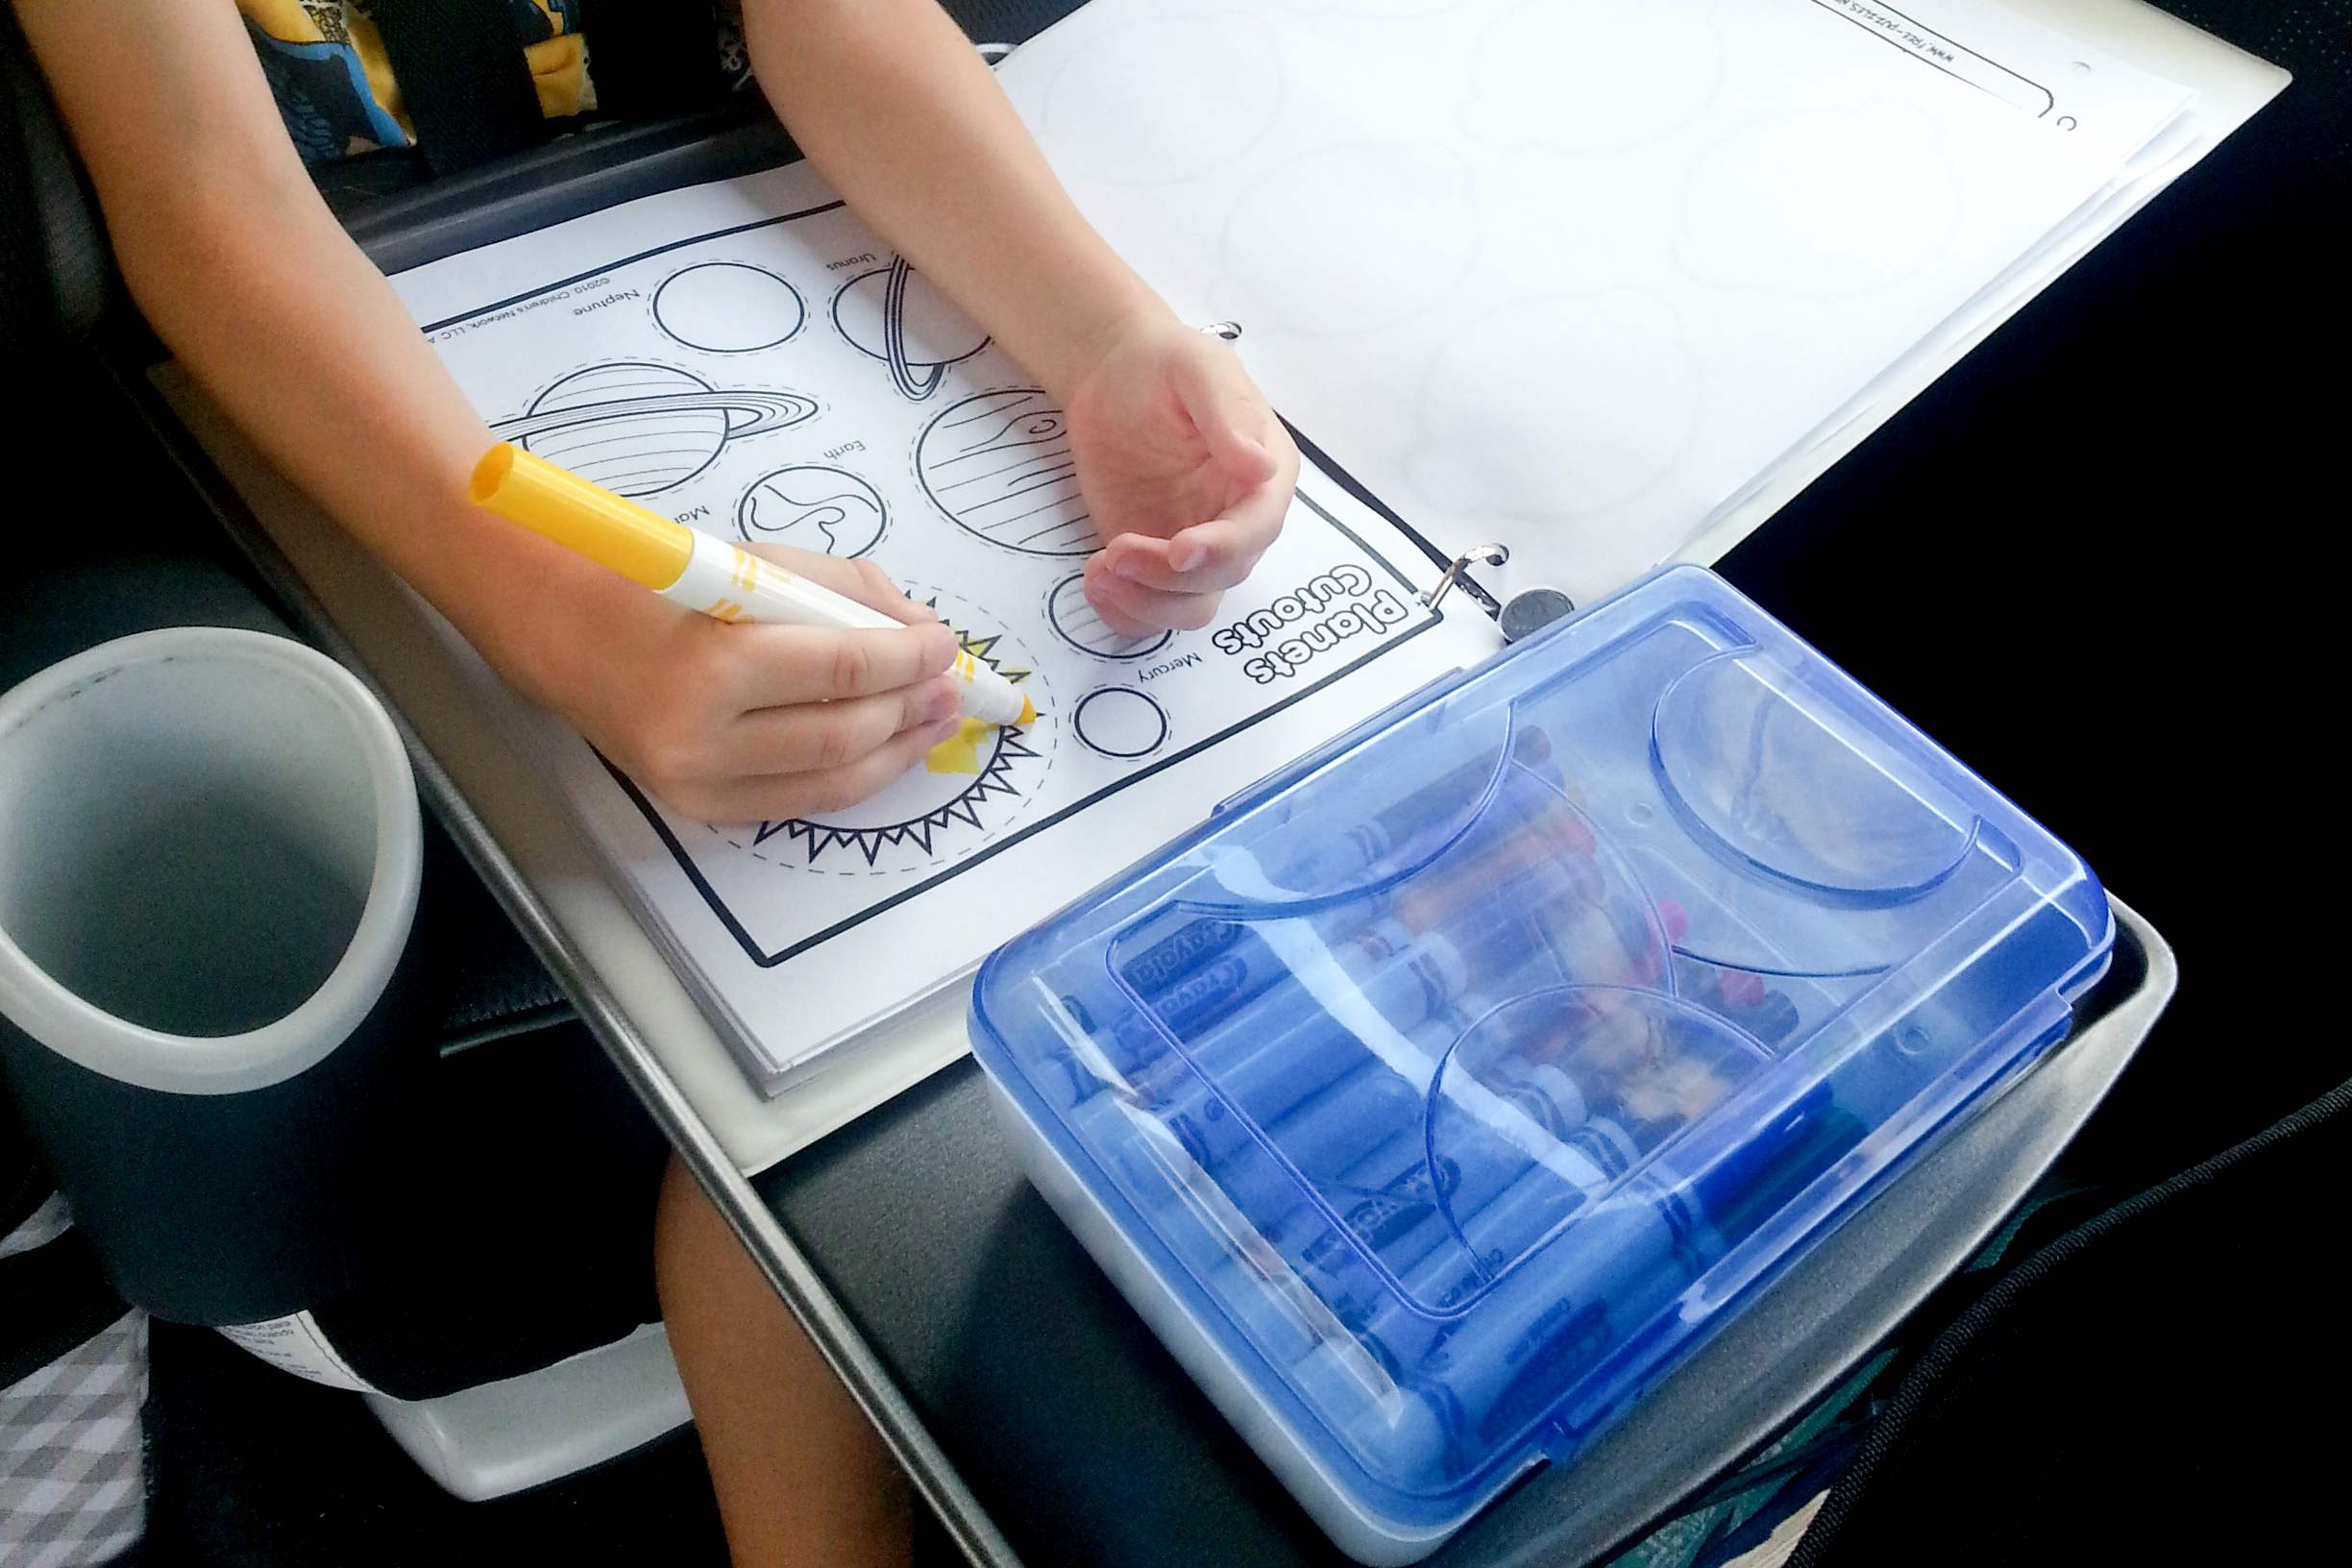
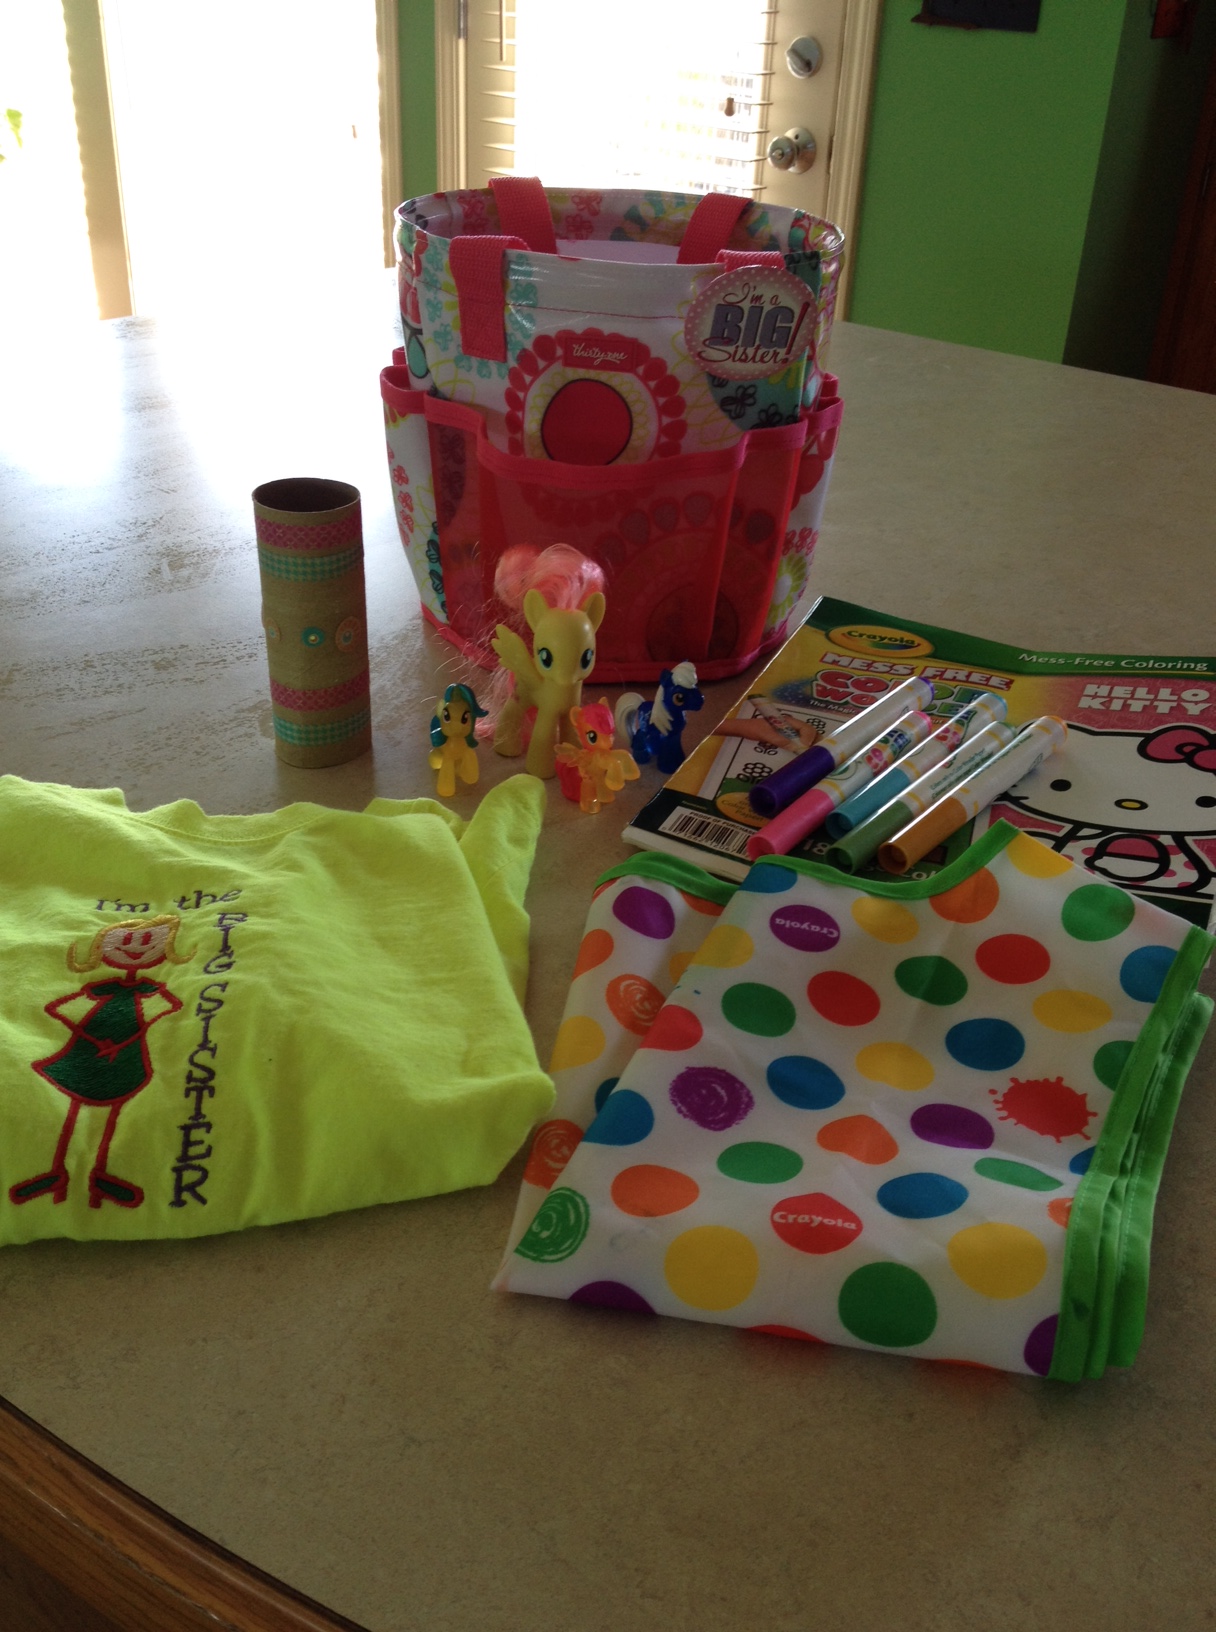
6. Activities to keep the kids busy. This is more for your sanity! Board games, cards, and coloring books are a great way to have some family fun.

7. Feeding supplies for babies. If you are a formula feeding mom do you have a way to prepare the formula without power? Are you a pumping mom? Do you have a battery pack adaptor for your pump? Or maybe a manual pump as a back up? This is one time it was really handy to be a breastfeeding mom. I didn’t have to worry about warming up a bottle.

8. Cash! If your whole area is with out power you will not be able to pay with a credit card.

9.  Know how to open your garage door without power so that you can get your car out.

10. Does your family have any special needs that you need to look at if you lost power? Medical issues? Pet issues?

11. Keep your cell phone charged! You will feel a lot less panicked if your cell phone will work and you have more than 5% battery life.

12. Keep your fridge and freezer closed as much as possible to help keep the temperature at a level to keep your food safe.

13. If you use a generator make sure that you know how to safely use it! Never set the generator up in your house or garage!
After you have managed to stay sane though the power outage and your power has come back on you will need to start checking your food to make sure that it has stayed safe to eat. If your power outage was less than 4 hours you shouldn’t have to much to worry about. A fridge that has been unopened should keep food at a safe temp for 4 hours.  A freezer that is full will keep food at a frozen temperature for about 48 hours, 24 hours if it is half full, but you have to keep the door closed. We moved our milk and cheeses to our freezer to help them keep the temp longer when we had our power outage. Here are the tips from the America Red Cross on how to check your food and know if it is safe. (http://www.redcross.org/prepare/disaster/power-outage)

  • Throw away any food that has been exposed to temperatures higher than 40° F (4° C) for 2 hours or more, or that has an unusual odor, color or texture. When in doubt, throw it out!
  • Never taste food or rely on appearance or odor to determine its safety. Some foods may look and smell fine, but if they have been at room temperature too long, bacteria causing food-borne illnesses can start growing quickly. Some types of bacteria produce toxins that cannot be destroyed by cooking.
  • If food in the freezer is colder than 40° F and has ice crystals on it, you can refreeze it.
  • If you are not sure food is cold enough, take its temperature with a food thermometer. Throw out any foods (meat, poultry, fish, eggs and leftovers) that have been exposed to temperatures higher than 40° F (4° C) for 2 hours or more, and any food that has an unusual odor, color or texture, or feels warm to touch.

If you have to throw out your food, you should check with your insurance company. Some homeowner policies have a refrigerator rider and will pay you some dollar amount to help cover the cost of your loss.

Being a breastfeeding, working mom I was really worried about my stash of breast milk. I was glad to know that the freezer would keep things frozen so long! I still wanted to make sure that my milk was safe for my little one so I went over and visited Kellymom.com. This a a wonderful website recommended to me by my lactation consultant. Here are the tips from Kellymom.com: http://kellymom.com/bf/pumpingmoms/milkstorage/frozen-milk-power-outage/

Some ways to keep your milk frozen:

  • If you have access to a generator, use it to operate your freezer during a power outage.
  • If a neighbor or a nearby store has power, ask if you can store your milk in their freezer until power is restored. Make sure your milk has contact information on it!
  • In your freezer (with no power): Open the freezer as little as possible. Food will stay frozen longer if the freezer is full: if you know ahead of time that you may lose power, fill empty spaces in your freezer with containers of water so that there is extra ice instead of empty space. Keep your expressed milk in the middle of the freezer, away from freezer walls. According to the USDA, “a full freezer will hold the temperature for approximately 48 hours (24 hours if it is half full) if the door remains closed.”
  • In a cooler: Pack the cooler as full as possible, to slow thawing. Crumpled newspaper is a good insulator if there is extra air space in the cooler. Covering the cooler with blankets will also help to keep it cold.
  • Extra air space in your freezer or cooler can be filled with dry ice, Techni Ice, “blue ice,” containers of water or ice, or snow.
  • Are you in an area with snow on the ground? You may be able to store your milk in a snow bank, out of the sun, or use snow/ice to keep your milk cool in your freezer or cooler.

I was making plans to move my freezer stash just to be safe when our power came back on.I was so happy that all my milk was still frozen and safe.

As a result of our power outage we did have to throw away a lot of the food that was in our refrigerator. Better safe than sorry. I also learned that I needed to be more prepared with my little ones. If you need more of more information I recomend checking out the American Red Cross website: http://www.redcross.org/prepare/disaster/power-outage and for more information on stored breast milk safety check out KellyMom.com here: http://kellymom.com


Stay safe!


1 Comment »

Reduce, Reuse, Build a Fort!

I scan through Pinterest several times a week, pinning the things I like into my carefully thought-out categories.  Then, I promptly forget what I pinned and go about my life.  At least, I thought I forgot.  But apparently my brain files some of those pins away to bring up just when I need them.

A few months ago, I decided to clean out my linen closet.  I was tired of dreading opening the closet because of what might fall out.  We had so many sets of sheets for our king-size bed, but I only really used two of the sets because the rest didn’t fit the bed right, or I didn’t like the feel of them (yes, I’m picky; I know).  As I sat among the several discarded sets, I wondered, what do you do with sheets you don’t want any more?  There was technically nothing wrong with the sheets, but do you donate them?  Throw them out?  Then, my brain brought up the pin I had pinned weeks earlier:

Create a Fort Kit from a set of sheets

Yes!  I have lots of nieces and nephews, and two boys of my own – this is perfect!  Then, I put the sheets in storage, so that I could create the fort kits when I had more time… and promptly forgot about them.

…Until my nephew’s birthday.  My brain again reminded me of the very cool gift idea I had and suggested that now would be a good time to make that fort kit.  So, I did.

First, I made a draw-string bag out of the pillowcase.  I turned the pillowcase inside-out, and cut a V into the two seamed edges.  Then, I folded the top edge over and sewed it down, leaving about 2 inches between the top edge and the new seam.

image004

Then, I took some rope that I had bought at a local hardware store and cut two, three-foot sections.  I threaded them both (one at a time) opposite ways through the channel created by my seam, pulling the excess rope through the notches I had cut – one rope on either side – and tied the ends of each rope together so they made two handles.

image003Then, I turned the pillowcase right-side out, and, presto! – a drawstring bag!

Then, I decorated the drawstring bag with fabric paint.

image002

I filled the bag with the flat and fitted sheets.  Originally, I was going to cut the elastic out of the fitted sheet, but after making a fort for my kids with a fitted sheet, I realized that they actually work really well for fitting around couch arms and chair backs.  I added clamps, clothespins, and the rest of the rope to the bag for the ultimate Fort Kit!  My nephew loved it!

image005

image001


So, if you have sheet sets that you don’t use any more, give them another life!


For the original pin, click here.


Leave a comment »

The Savings Addict Part 3

This is the final post in this 3 part series by Jennifer.  For her bio and to see the previous posts:
Click here for part 1
Click here for part 2

The Cherry On Top

Well, by now hopefully you are saving at least a few bucks but clipping aside, here are a few more ways!    Just to review where to start, first, pay attention to your most frequently purchased goods so that you can stock pile, watch the sales via the ads on Wednesdays and Sundays, and clip those coupons in Sunday papers or from online sources.    Here’s a great way to just add a little extra or a lot, depending on how you commit to it.  Apps and loyalty cards.   Beautiful things.  My mother never had these amazing little money savers when I was a wee girl.  I have a HyVee Fuel Saver card, a Chopper Shopper card, a CVS Extra Care card, a Walgreens Balanced Rewards card, a Hen House Rewards card.  I even have a Lamar’s donut card because I have a donut addiction.  If you use it, find a way to save while using it.  They are loyalty cards afterall, and if they want to pay for loyalty, let them.   These might get you a discount on products in store, or fuel, or even give you cash back for future use in the store.  Now that you’ve signed up for these plastic wonders there are some apps you should know about.

SavingStar.com

You clip coupons via the app or online and it tracks your purchases by your loyalty cards.  You enter those in when you set up your account.  You can get your coupon savings back via your back account, PayPal or gift cards from various retailers.  I had this before I finally jumped on board the the smart phone train.

Ibotta

You take surveys, post on Facebook, or watch a video to earn a certain amount of money.  You do need a smart phone or tablet for this.  You buy the product, scan the UPC, then take a picture of the receipt and viola, the money is yours.  They have bonuses for completing certain tasks which earn you extra money.  They also can be used at restaurants, online retailers, pet stores, home improvement stores, health and beauty retailers, and movies.  In less than a year its given me back $160.  You get your rebates back via PayPal, Venmo (like PayPal) or giftcards.  For me that was about $20 a month.

Shopmium

This app lets you upload the receipt for certain products and then once confirmed the rebate is put directly into your PayPal account.

Shopkick

This you don’t even have to buy anything.  You earn kicks for walking into stores with app open and for scanning products.  However if you want to enter your credit card info, they will give you more kicks as you buy certain items within these retailers.  You can buy gift cards with these kicks and if you just save them up over time maybe that can help with a big purchase.

Checkout 51

This app lets you upload the receipt for certain products and then once confirmed the rebate is added to your account.  When you reach $20 you can cash out and they will send you a check in the mail.  It changes every Wednesday and occasionally has a bonus way to earn extra.

Cartwheel

This is a Target exclusive but my favorite.  This one can be used simultaneously with Target coupons and manufacturer coupons.  This is a flat percentage off of items.  It can be anything from groceries to toys to clothing and more.  You don’t actually need the app but can sign up on Target’s website for it and select the items you’d like to save on then print out the barcode before going to the store.  Sometimes it just saves a buck or two and other times it saves way way more!  I’ve been using it since May 2013, so a little over a year, and have saved $468.  You can only use it in store but it is a gold mine.  The more you use it the more slots for savings you get.  I have 23 slots to fill and I can move things off if I want something else more.  There are limitations.  You can only buy four of each type of Cartwheel item and only use it once a day.
Little by little you will see the savings add up.  Then you can feel less of the squeeze each month or save for that special vacation or splurge or maybe just that rainy day.  However, you choose to use your savings, enjoy!  And remember, there are savings everywhere, you just have to look!


Leave a comment »

The Cakeless Birthday

Cake.  It’s the traditional birthday food.  You put candles on it.  You eat it with ice-cream.  If you’re going to a birthday party, you can always count on cake being there.

But what if you (or your kids) don’t like cake?

I know it sounds unbelievable that any kid wouldn’t like cake, but mine don’t.  They never have.  For their first few birthdays, I still made cake or cupcakes because that’s what you do for birthdays.  I’d serve the cake to the guests, and give the birthday boy Oreos or Reeses for his dessert – what he really wanted. But then I thought, why make something they don’t like (as cute as those cakes and cupcakes were)?  It’s THEIR birthday, and who says we HAVE to have cake?  So, I started coming up with alternatives.

Sugar Cookies

My oldest son loves sugar cookies, so that’s been his birthday dessert of choice for the last two years.  They are a great alternative because you can find cookie cutter shapes for almost any theme!  An added bonus is that my kids love to help make sugar cookies, making it a fun pre-birthday party activity to do together!

image007

image009


Rice Krispie Treats

I love this option because you can mold Rice Krispie Treats into any cake pan and decorate it with icing like a cake!  And, you can even add some variety and make them with other kinds of cereal – in this case, I also used Trix.  This is a great option, too, if you’re worried about kids with milk allergies (but in this case you’d probably have to omit the icing).

image003

image004


Donut “Cake”

Technically, donuts are kind of a form of cake, but that deep-fried goodness somehow makes them so much better (and magically makes them ok to eat for breakfast).  I love this because you can stack them like a cake, add icing to decorate them like a cake, and they’re already separated into portions.  And, you can get several different kinds so that everyone is sure to find something they like!

DonutCake

DonutCake2


Oreos

For my youngest son’s last birthday, I made Cookie’s ‘n Cream cupcakes, but I reserved some of the plain Oreos for non-cake lovers.  Since he had a Mickey Mouse birthday party, I made the Oreos look like Mickey, so they went perfectly with the theme!

image011


For your next party, don’t be afraid to think outside the cake pan!  Be creative!

Leave a comment »

Savings Addict Part 2

Make sure you read Part 1 of Jennifer’s guest post.  It introduces you to her and has great ideas for savings!

Click here to see part 1.

Part II- Payday!

Where are the coupons?

Well, I get a Sunday and Wednesday paper (no, not at full price, haven’t you been reading?)  I buy a 6 month subscription for $19 (less than $1 per paper) on LivingSocial or Groupon with a one month hiatus in between so I qualify as a “new subscriber” by the fine print of those deals.  In that month I have to truck it to a Dollar Tree that sells a Sunday paper for, you guessed it, $1 when it is $2 everywhere else. You should be getting the ads in your mailbox if you don’t receive the paper every Tuesday. Man I love saving everywhere! But, look out it gets addicting.


Savings Receipt

Savings!

Online:

Coupons.com

Redplum.com

Smartsource.com

Commonkindness.com

Hopster.com


Store coupons sites:

Coupons.Target.com

CVS.com (printed out at the store with a CVS rewards card)

Walgreens.com (or printed out in booklets monthly in the store)

Sprouts.com (or printed out in booklets monthly in the store)

Wholefoods.com

Other:

Brand websites

Facebook pages for brands

At the store with the catalina coupon printer (you know the thing that spits out a whole bunch of paper  next to your receipts when check out that the cashier might be throwing away in the trash…eek Money!)

What you should know about online coupons is when you print them off, usually they are set up to only let your computer print them two times and sometimes just once.  This is where having a second computer comes in handy.  You have to download a lot of coupon printer software as you go, but once its set up, you’re golden.


Combining coupons:

My personal favorites for Super Savings is Target because you can use a store coupon, a manufacturer coupon, cartwheel (to be discussed in the next entry if you’re curious), and a sale.  A lot of times I can get things FREE or very very cheap if I’m paying attention.  If you add a red card there’s an extra 5% off your purchase too.

Rules:

The rules for couponing are…read the fine print.  Some only allow you to use a few per shopping trip and one per product purchased. Also, know the store’s coupon policies.  Most have it on their website, but you can always ask a manager for it if you are in the store without it on hand.  While you can probably get away with using more with an absent minded cashier, it doesn’t mean you should.  Save by the rules please!  That way this beautiful way of keeping your money in your pocket instead of the store’s pockets keeps on happening!

Now that you’ve got all those coupons you have to find a way to organize them in a way that works for you.  The couponistas out there use binders.  I have 3 kiddos that go shopping with me 95% of the time and that little precious basket seat at the front is taken so there is no room at the inn for a behemoth binder.  I use a coupon organizer that I got at Target in the office organizing aisle and that goes with me everywhere.  Just in case I run into a store unplanned to pick up something.  Nothing hurts like knowing you have the coupon for something but its not with you.

Coupon Organizer 1

Coupon OrganizerCoupon Organizer 2


Big thing here…do what works for you.  If its not manageable, you won’t stick with it.  If you don’t stick with it, then you’ll be missing out on  A LOT OF DOUGH over time!  Happy saving!

Leave a comment »

Bucket of Fun!

I recently gave birth to my second child, a handsome and wonderful baby boy! We made every effort to try and get big sister as ready for a new sibling as we could. One of the things I decided to do was to make a big sister bucket for her to receive at the hospital after the new little one was born. We also let big sister pick out a few small gifts to take to the new baby in the hospital. She loved getting to pick out a few things for the new baby!

The big sister bucket was a huge hit!

photo 1 (2)  photo 2 (2)


I chose  a Thirty One round -about caddy for my bucket. These little caddies are great! They are water- resistant and have a mesh bottom which makes them great for taking toys to the pool or just playing with in the bathtub. This was something that big sister would have a lot of fun using since she is such a water baby. I also had her name put on the front of the bucket to make it even more fun.

photo 3 (3)


Most of the items in the big sister bucket were for big sister to have something to do while we were at the hospital. I wanted to make sure that she had something to entertain her while everyone else was checking out the new baby. So here is a list of what I put in the bucket.

photo 3 (2)

  1. A mess free Crayola coloring set. This was wonderful as the markers will only color on the paper that came with the kit so I didn’t have to worry if she colored off of the page.
  2. Some My Little Ponies. This are very popular in our house and get lots of play time.
  3. An art smock…What toddler doesn’t need an art smock!
  4. photo 5 (2)    A toy tester. More on this later!
  5. And of course a big sister shirt embroidered by grandma! You can’t make a big sister bucket without a big sister shirt!

photo 4 (2)

The toy tester was an idea given to me by my parents as teacher educator. I thought that it was a great way to show my daughter what toys she could safely share with the baby. The toy tester started out as just a toilet paper tube. I added some stickers and some washy tape to it to make it look prettier. My daughter also uses it as a telescope. How the toy tester works is if a toy fits though the tube then it is too small for the baby.

photo 1 (3)


Not a  safe size for baby!

If the toy will not fit in the tube them the baby can play with it.

photo 2 (3)

A safe size for baby.


Big sister stills loves playing with the items that she received in her big sister bucket even now that we are home from the hospital. We often get the toy tester out and test what she wants to give to little brother. This was a fun bucket for me to put together and I really made it nice for my daughter to have something to play with while visiting me in the hospital.


Leave a comment »

Savings Addict Part 1

Jennifer is a stay at home mom to 3 kids, under 5 years of age.  She is also addicted to savings.  AND she’s willing to tell you how you can be too!

Jennifer

Do you like getting a raise?  A bump in the bank account?  I do.  That can be a hard thing to do especially when it isn’t the time of year where your paycheck might actually be increasing.  But did you know that there is money in the Sunday paper and on websites that you’re probably leaving on the table?  I’m not a crazy coupon lady or an extreme couponer, but I do know that I cut my grocery budget by 35% a month by doing a few simple things. I’ll focus on the first two today.  Consider it the observation phase.

  1. Knowing my buying habits and paying attention to the supply and demand of the household
  2. Learning to shop the sales and knowing when certain items were at their lowest prices of the year.
  3. Learning the stores you shop at most, the lowest prices they sell the things you buy, and their coupon policies
  4. Finding the coupons and finding a way that worked for me to keep track and actually use them
  5. Using my smart phone to download a few apps that worked in a rebate sort of function

Savings Addict Pantry

I know what my family goes through.  I know that we go through on average 2-3 boxes of cereal a week.  Cereal has a long shelf life and so this is something I have a lot of on stock in my pantry (notice the 30+ boxes in the picture).  You have to know what those things are because you’re not saving if you’re throwing away a lot of food.  Waste not, want not.  On the other hand you are wasting money if you are waiting to buy something when you run out of it and it is not on sale and there is no coupon for it.  Maybe you’re luckier than I am, but that never happens for me.    Make a list of the top 20 things you buy and start there.

Secondly, there are sale patterns based on holidays and harvest

January- Vitamins, Health & Diet foods

February- Steak, Lobster, and Junk food

March- Frozen food

April-  Candy, Cleaning products, Baking Products and Organic and eco-friendly products

May- Condiments, charcoal, pickles, and chips

June- Salad dressing, condiments, chips, and hot dogs

July- School supplies and Ice cream

August- Lunch supplies and snack foods

September- Meat

October- Candy

November- Turkey and Thanksgiving fixings (stuffing, gravy, and canned veggies, baking products)

December- Baking products, Turkey, and Ham

As for produce, if you buy it when it is in season then you will save money.  It is also good nutritionally for you to have variety. You can see this usually on the front pages of the ads and by what is featured for the sales each week.

Happy Observing!


Leave a comment »