Remember all those tomatoes you planted a few months ago? Well, it’s time to do something with them! There are actually a lot of options when it comes to what to do with tomatoes, other than just canning or freezing them plain. My favorite? Homemade tomato sauce. Tomato sauce is a staple in our house. It’s great for Chicken Parmesan, spaghetti, pizza, bread sticks… well, you get the idea. And homemade is sooooo much better than store bought. And you know exactly what went into making it (and there aren’t any ingredients you can’t pronounce)! The best thing is that it isn’t that hard to make – although it is a little time consuming.
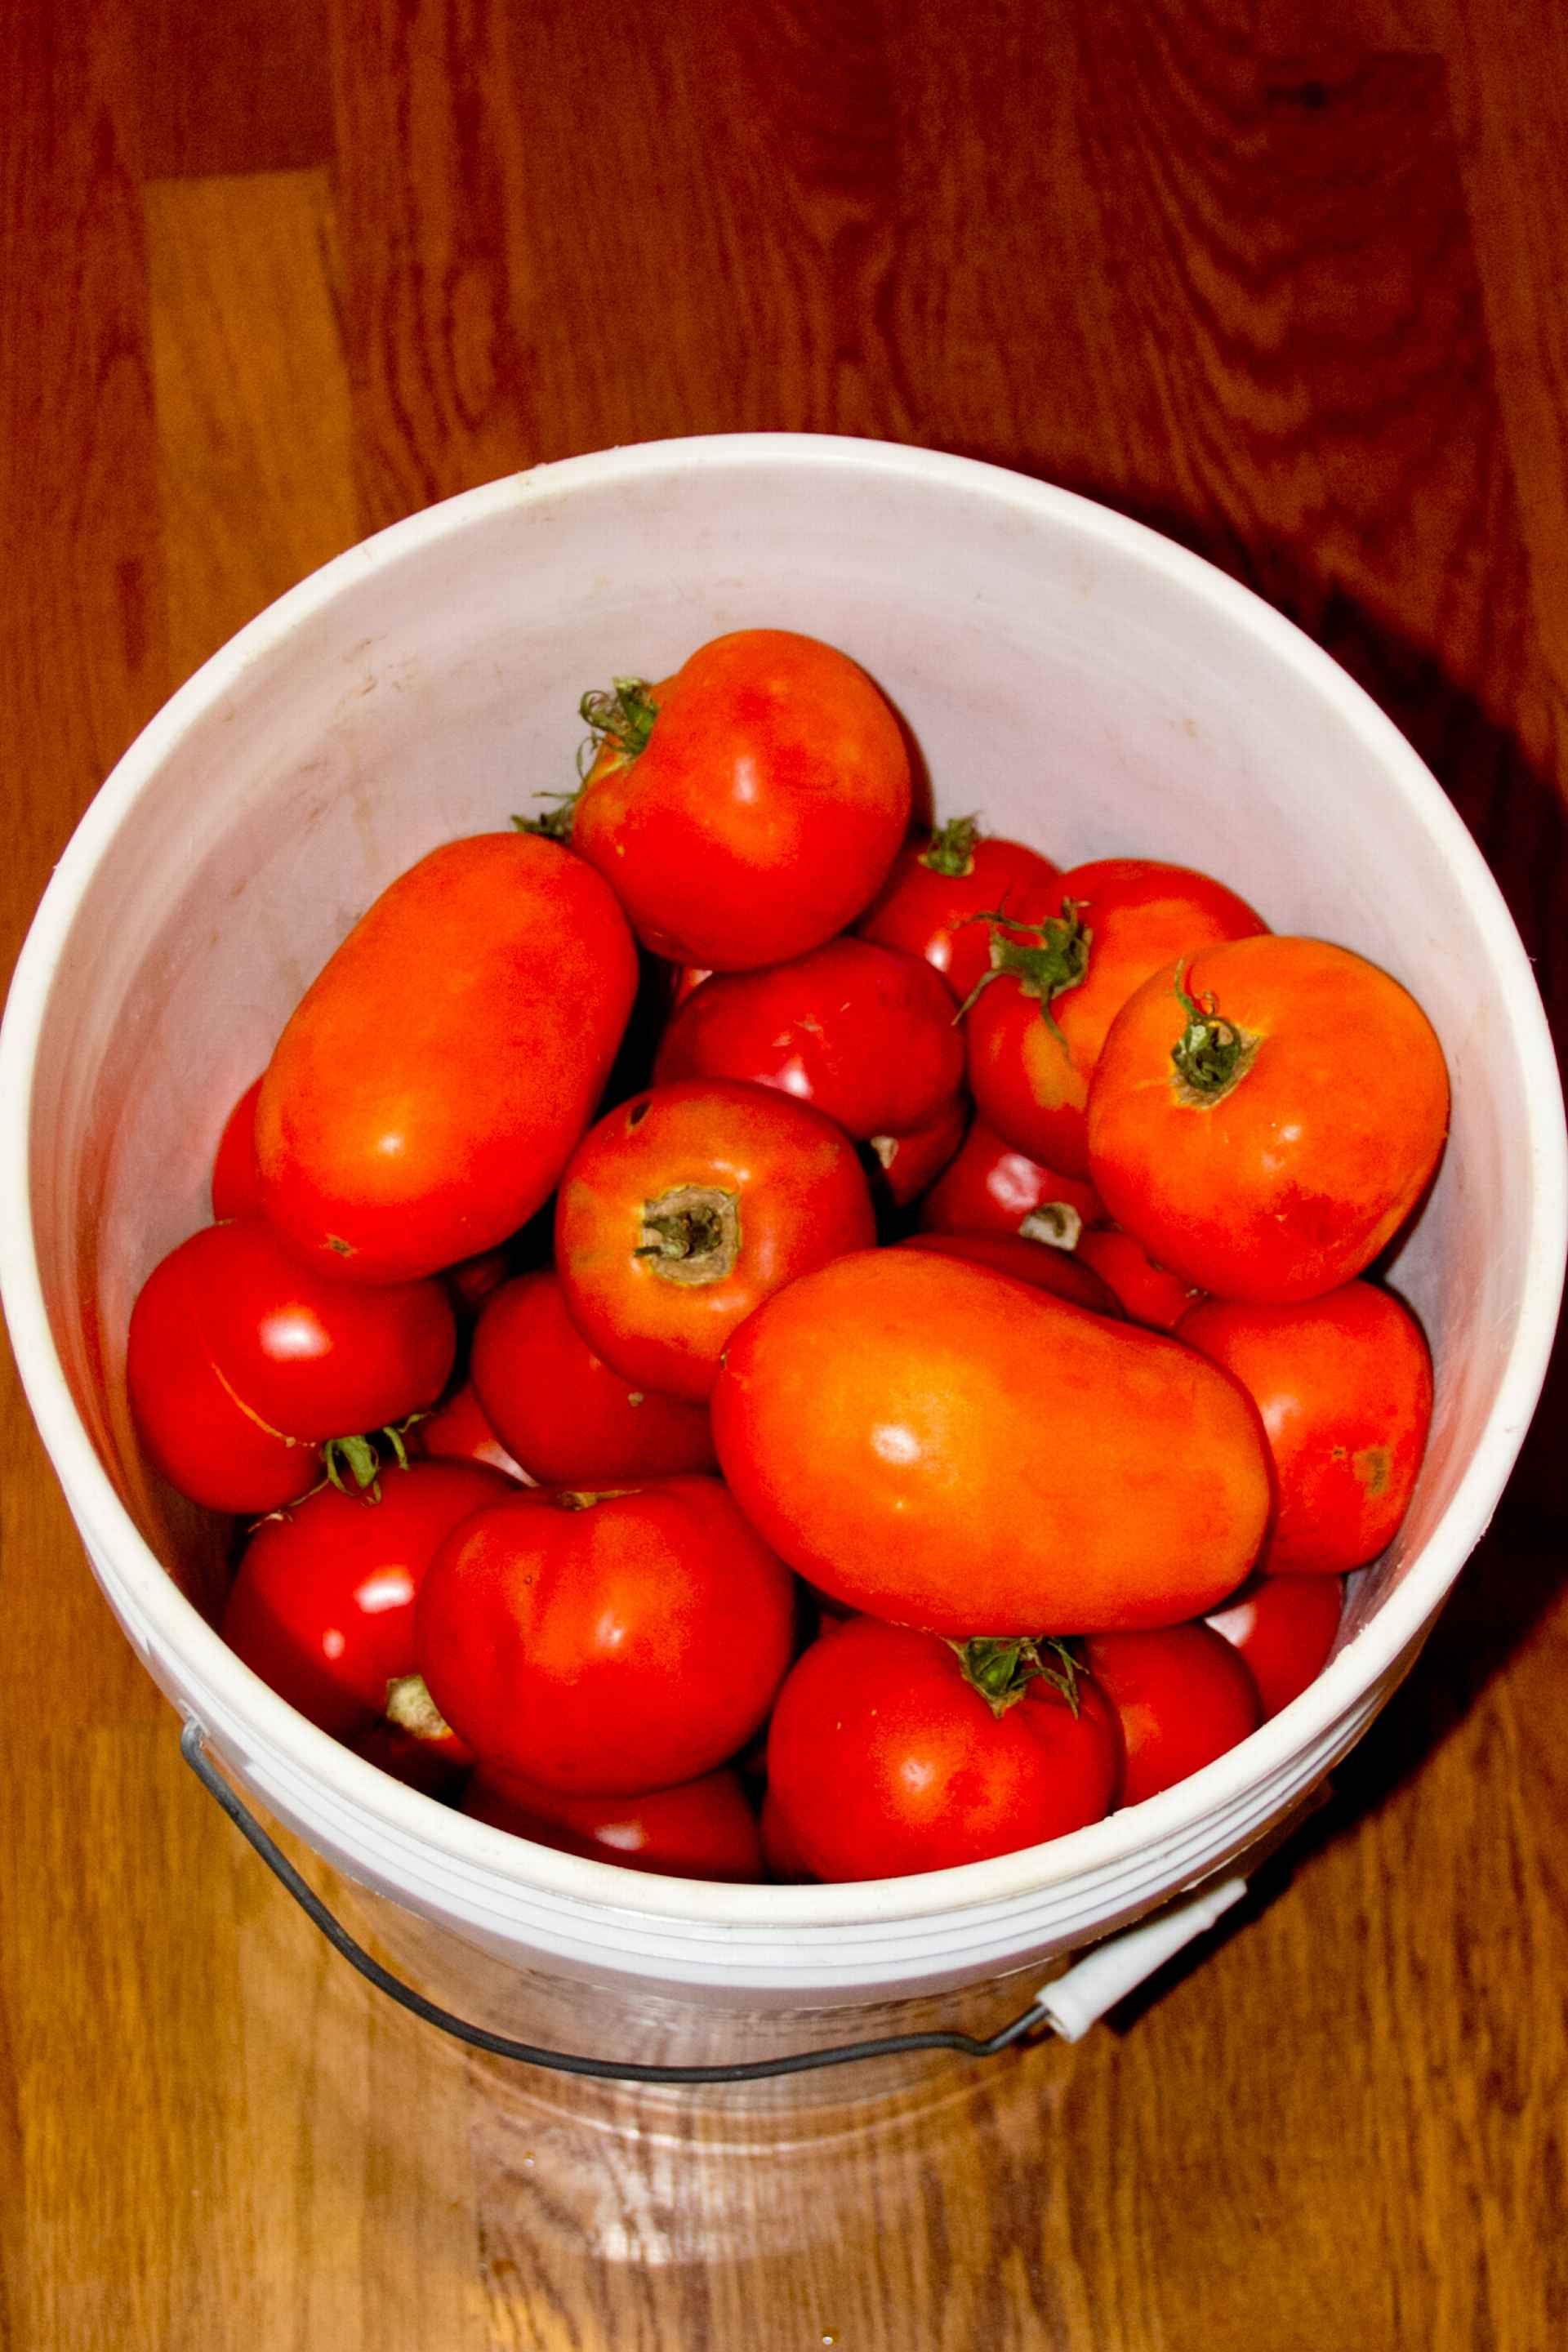
First, you need A LOT of tomatoes. I’ve found that, generally, since the tomatoes have to be boiled down to make the sauce, I get about a half cup of sauce per pound of tomatoes. I started with about 25 pounds of tomatoes.
So what happens if you didn’t grow that many – or any at all? No problem! Find a local farm that sells their produce to the community or visit your local Farmer’s Market. Don’t know how to find a farm? Check out http://www.pickyourown.org/. Not only can you find local farms and orchards for a variety of produce, it also has instructions for canning and recipes!
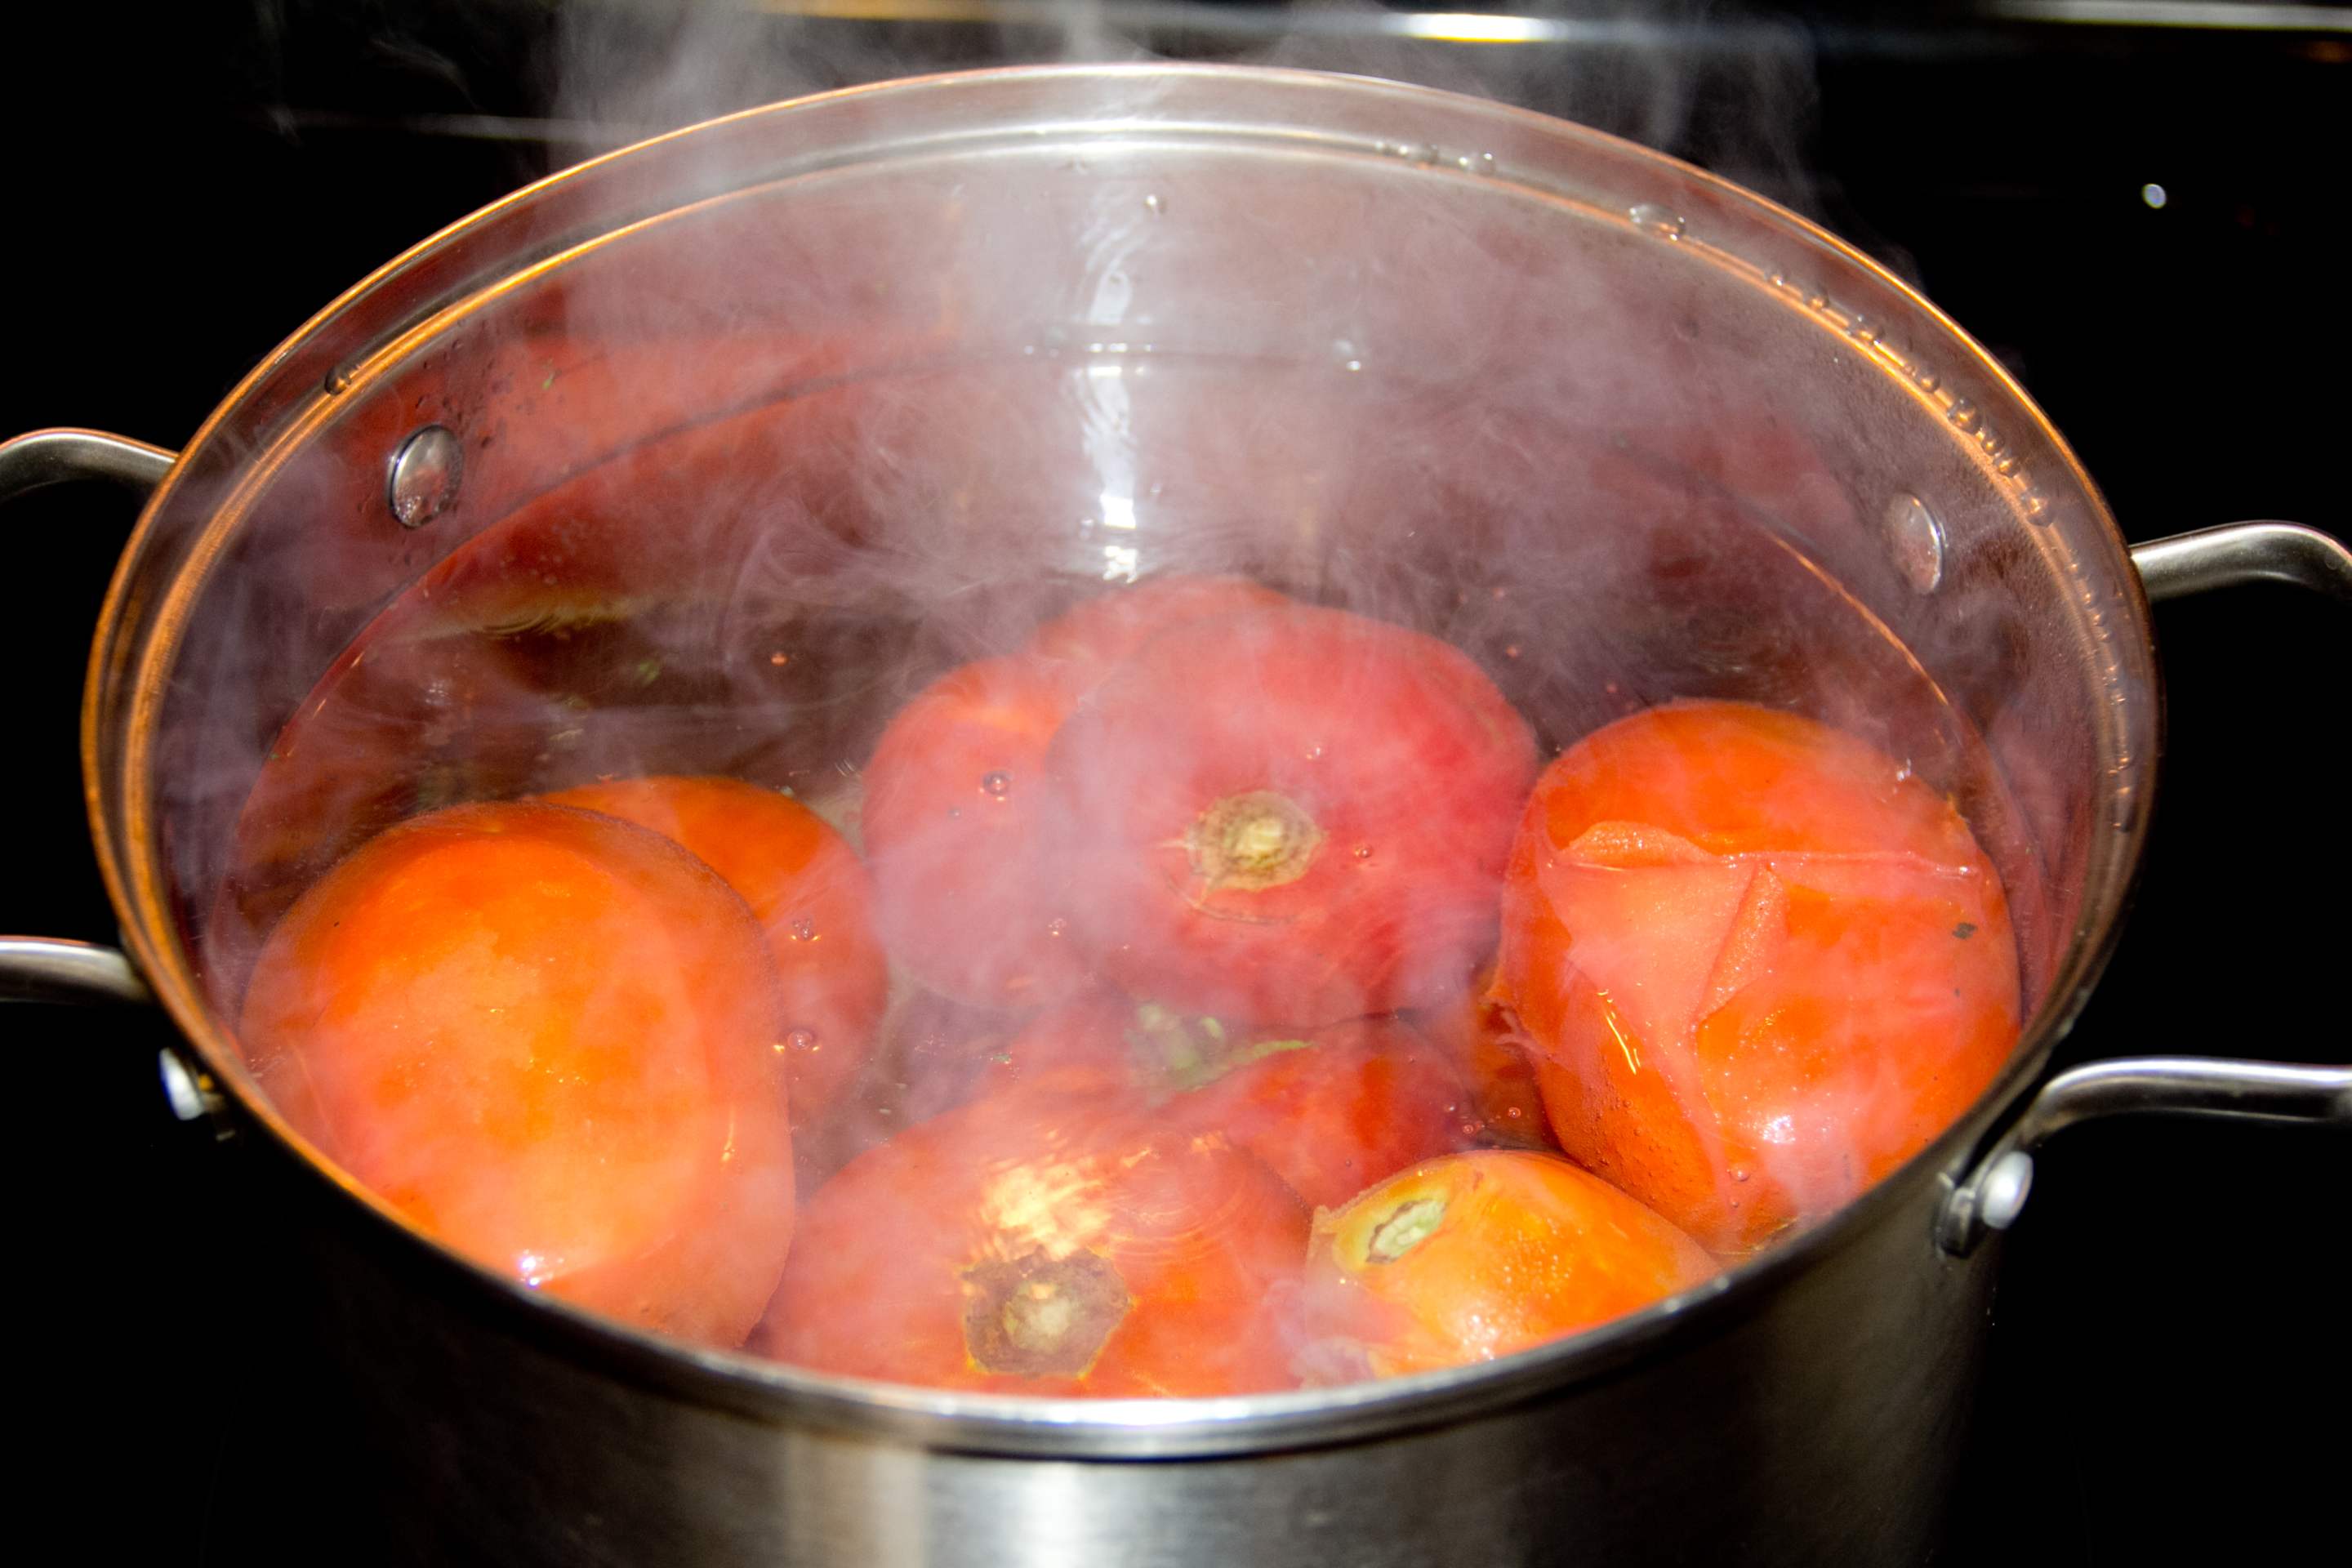
Boil water in a big stock pot. When the water is boiling, put in as many tomatoes as will fit and boil for 4-5 minutes. This will loosen the skins, making them easy to peel.
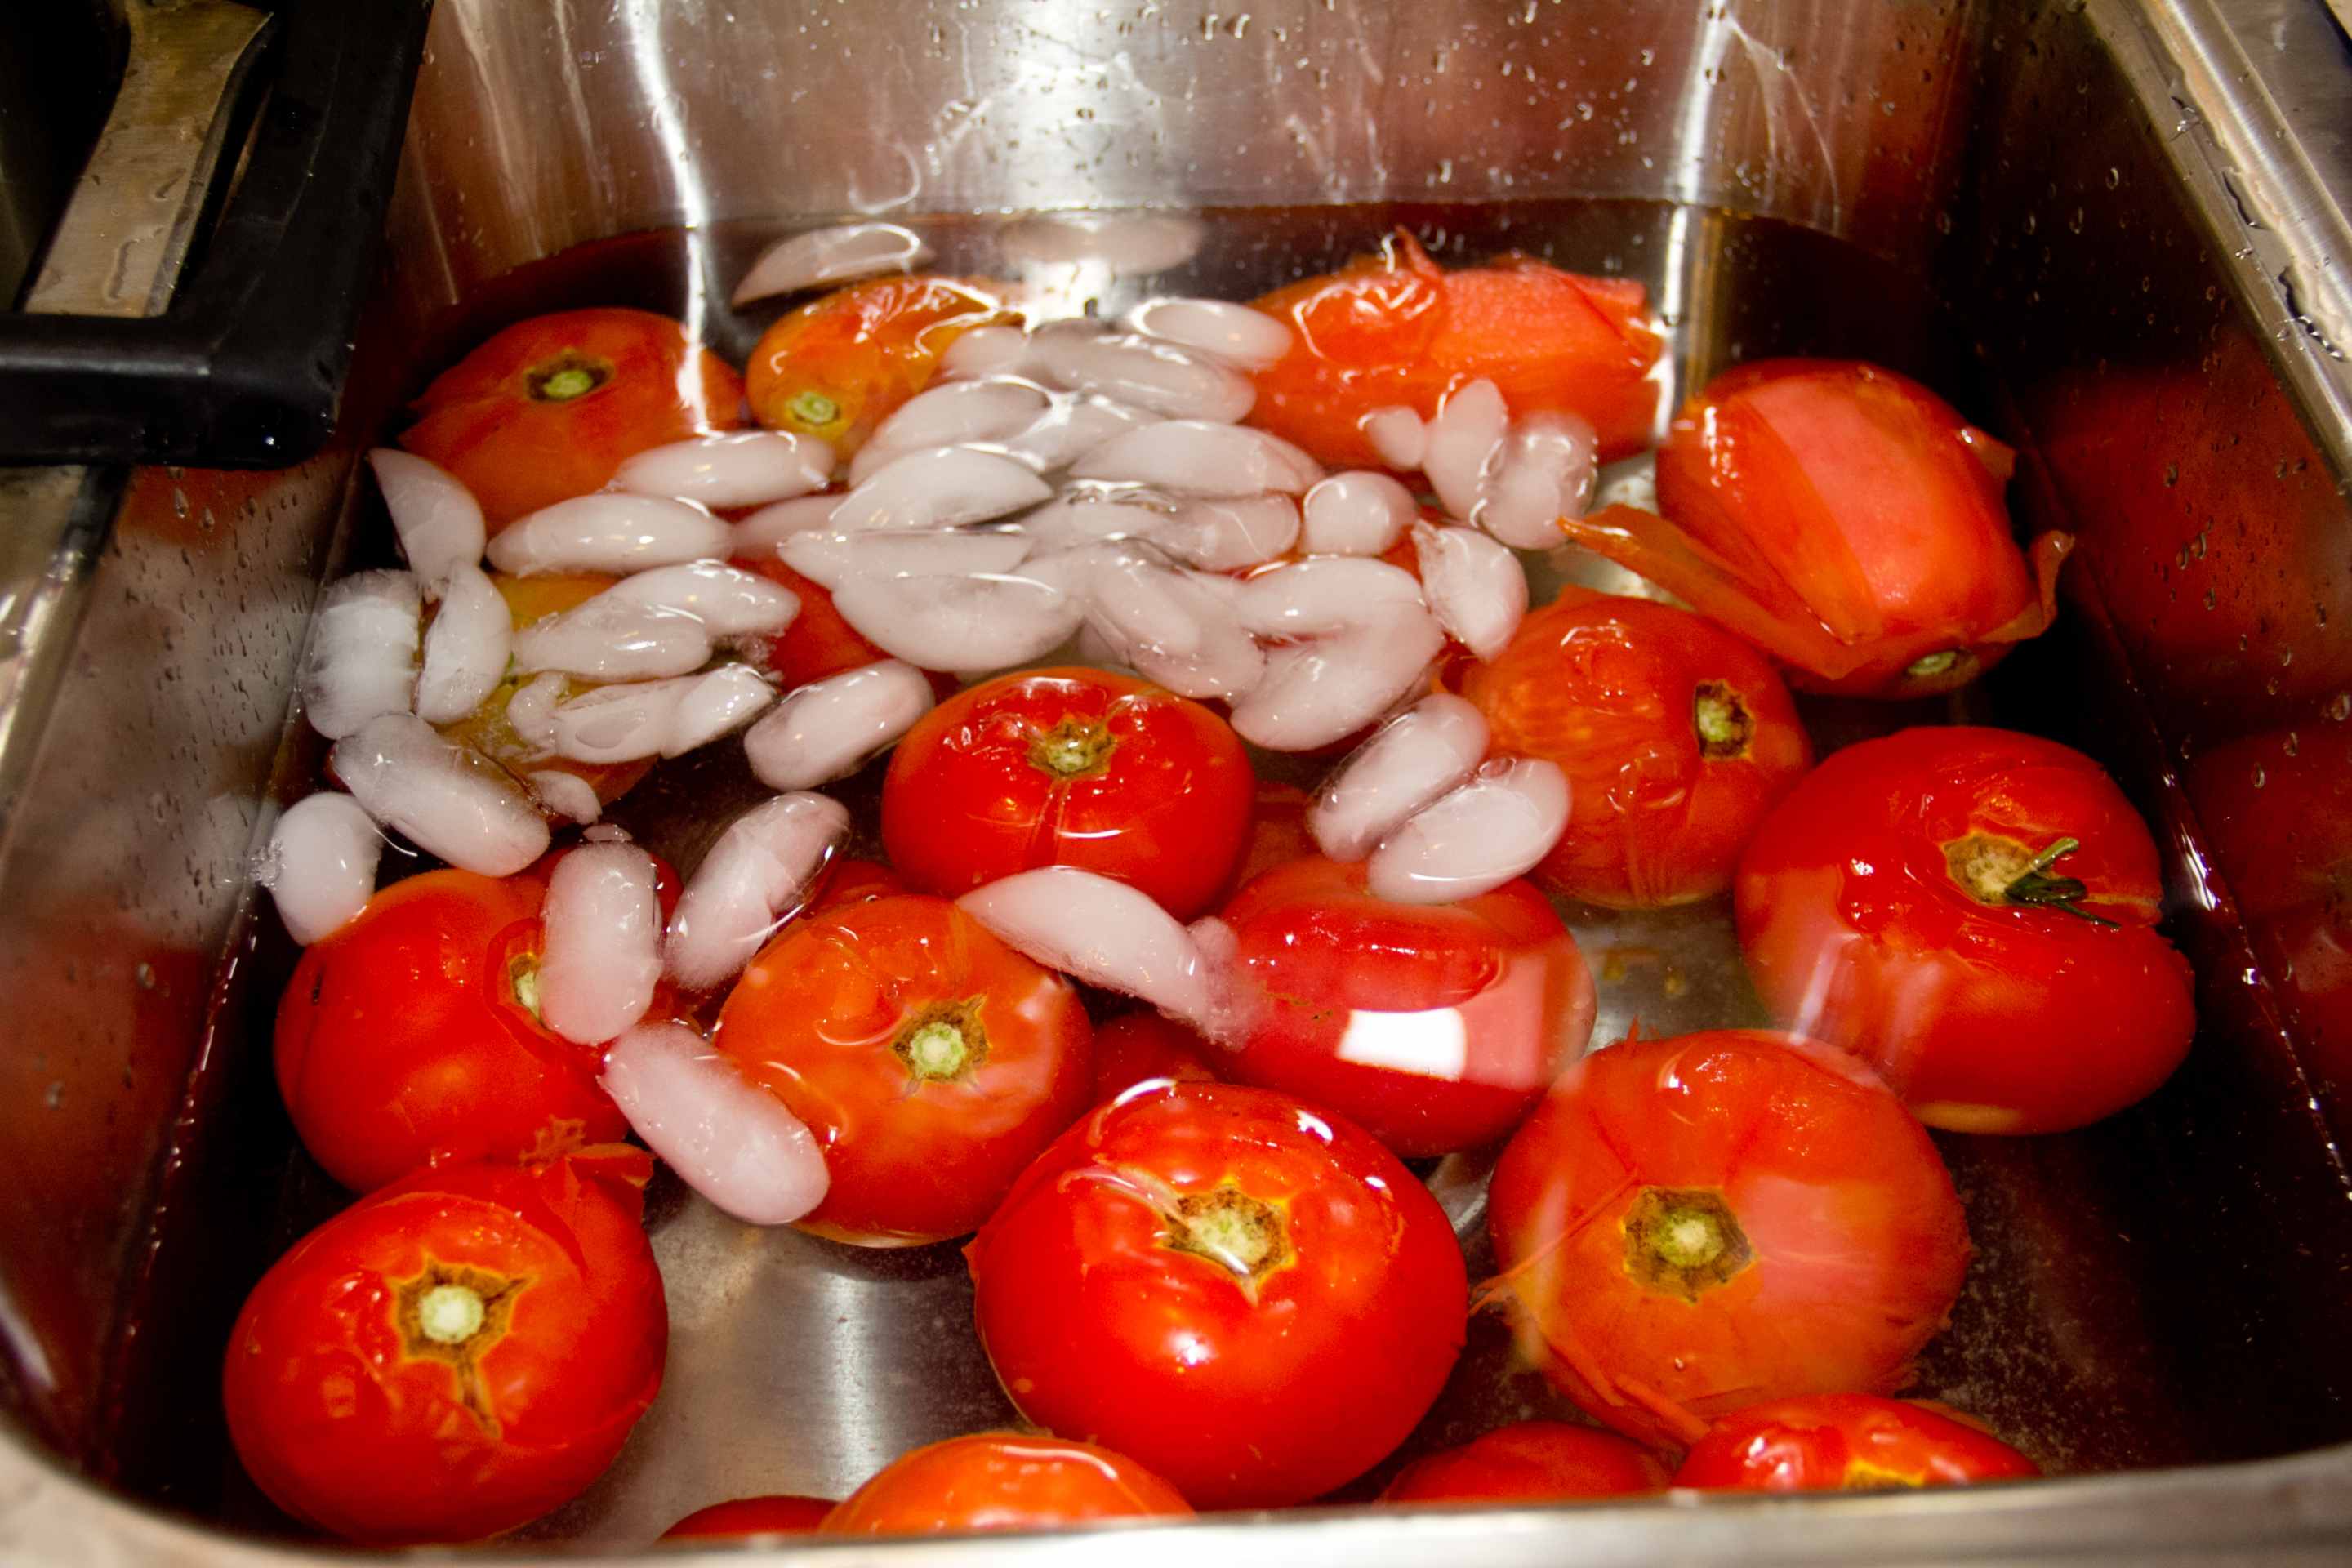
When the 4-5 minutes are up, take the tomatoes out of the pot – you can use tongs or a big, slotted spoon – and put them in an ice bath. They can stay in the cold water while you work on peeling each tomato. Repeat these steps for the rest of your tomatoes.
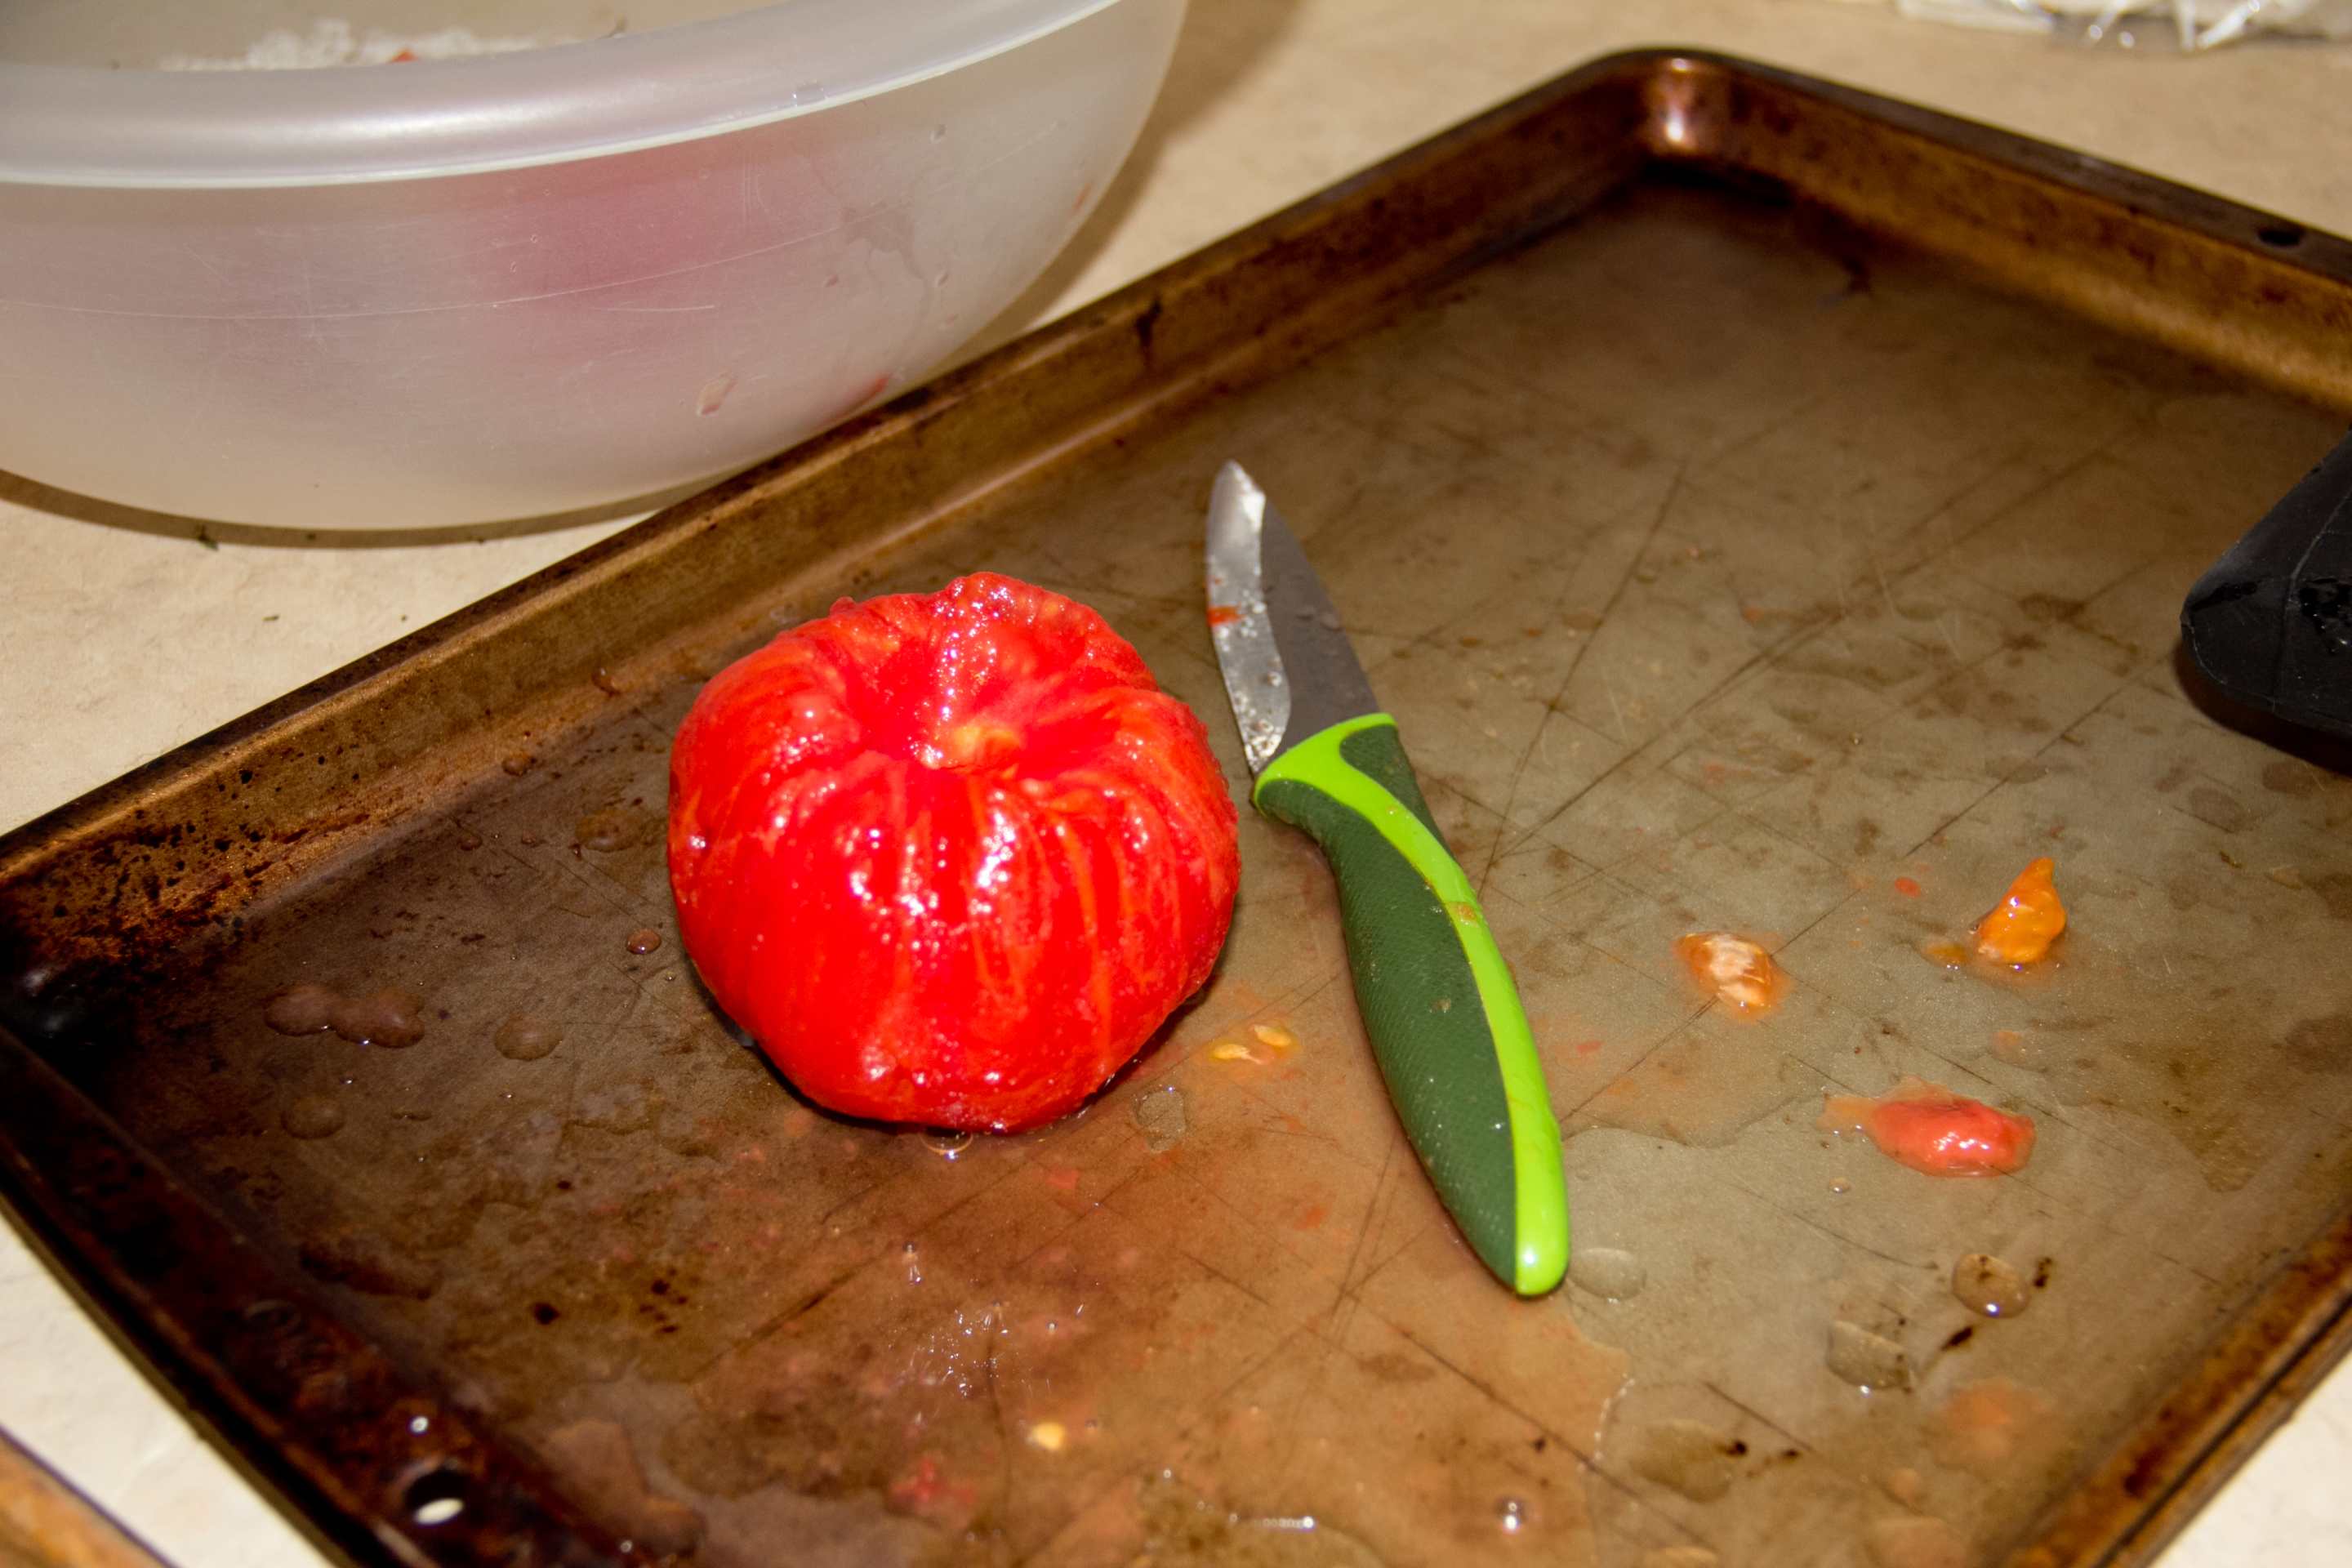
In between putting tomatoes into boiling water and then into the ice bath, you can start coring and peeling the tomatoes. After your core and peel a tomato, cut it into quarters, then squeeze the juice out of each quarter (I just use my hands) and put it into a colander to drain more while you core, peel, cut, and squeeze the others. You can also put a bowl under the colander to catch the juice that comes off of the tomatoes. You can use this juice in cooking or to drink!
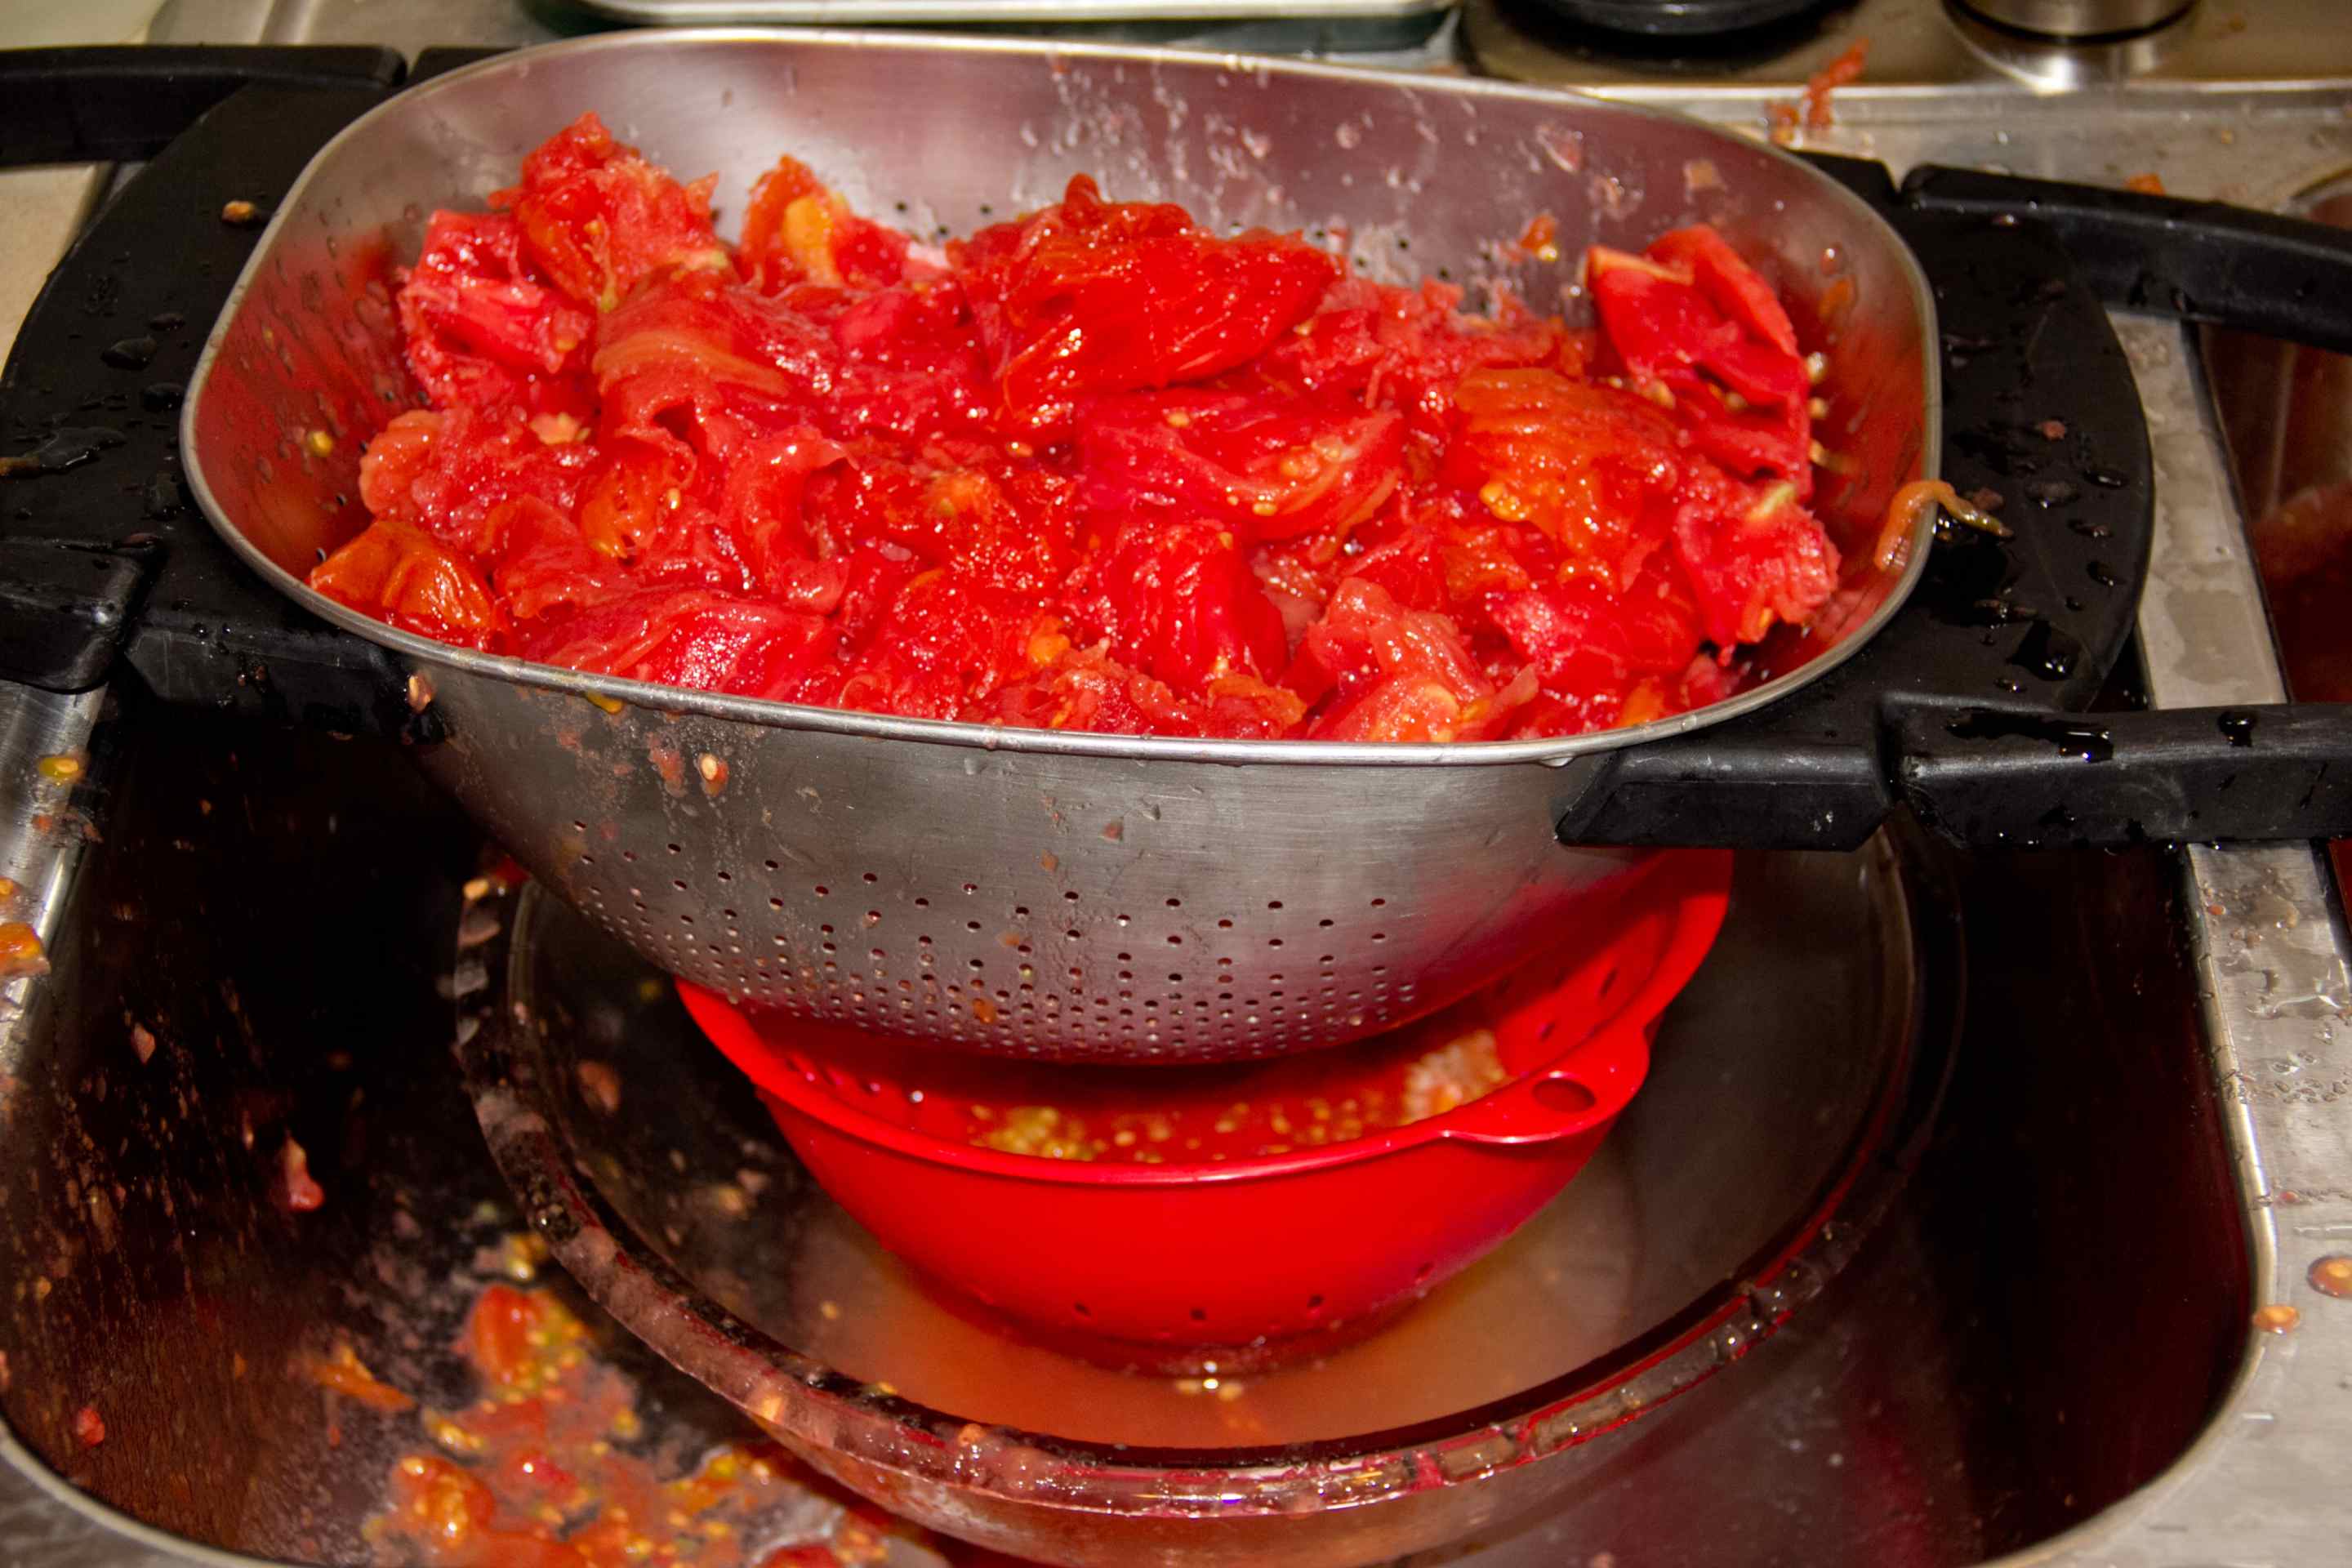
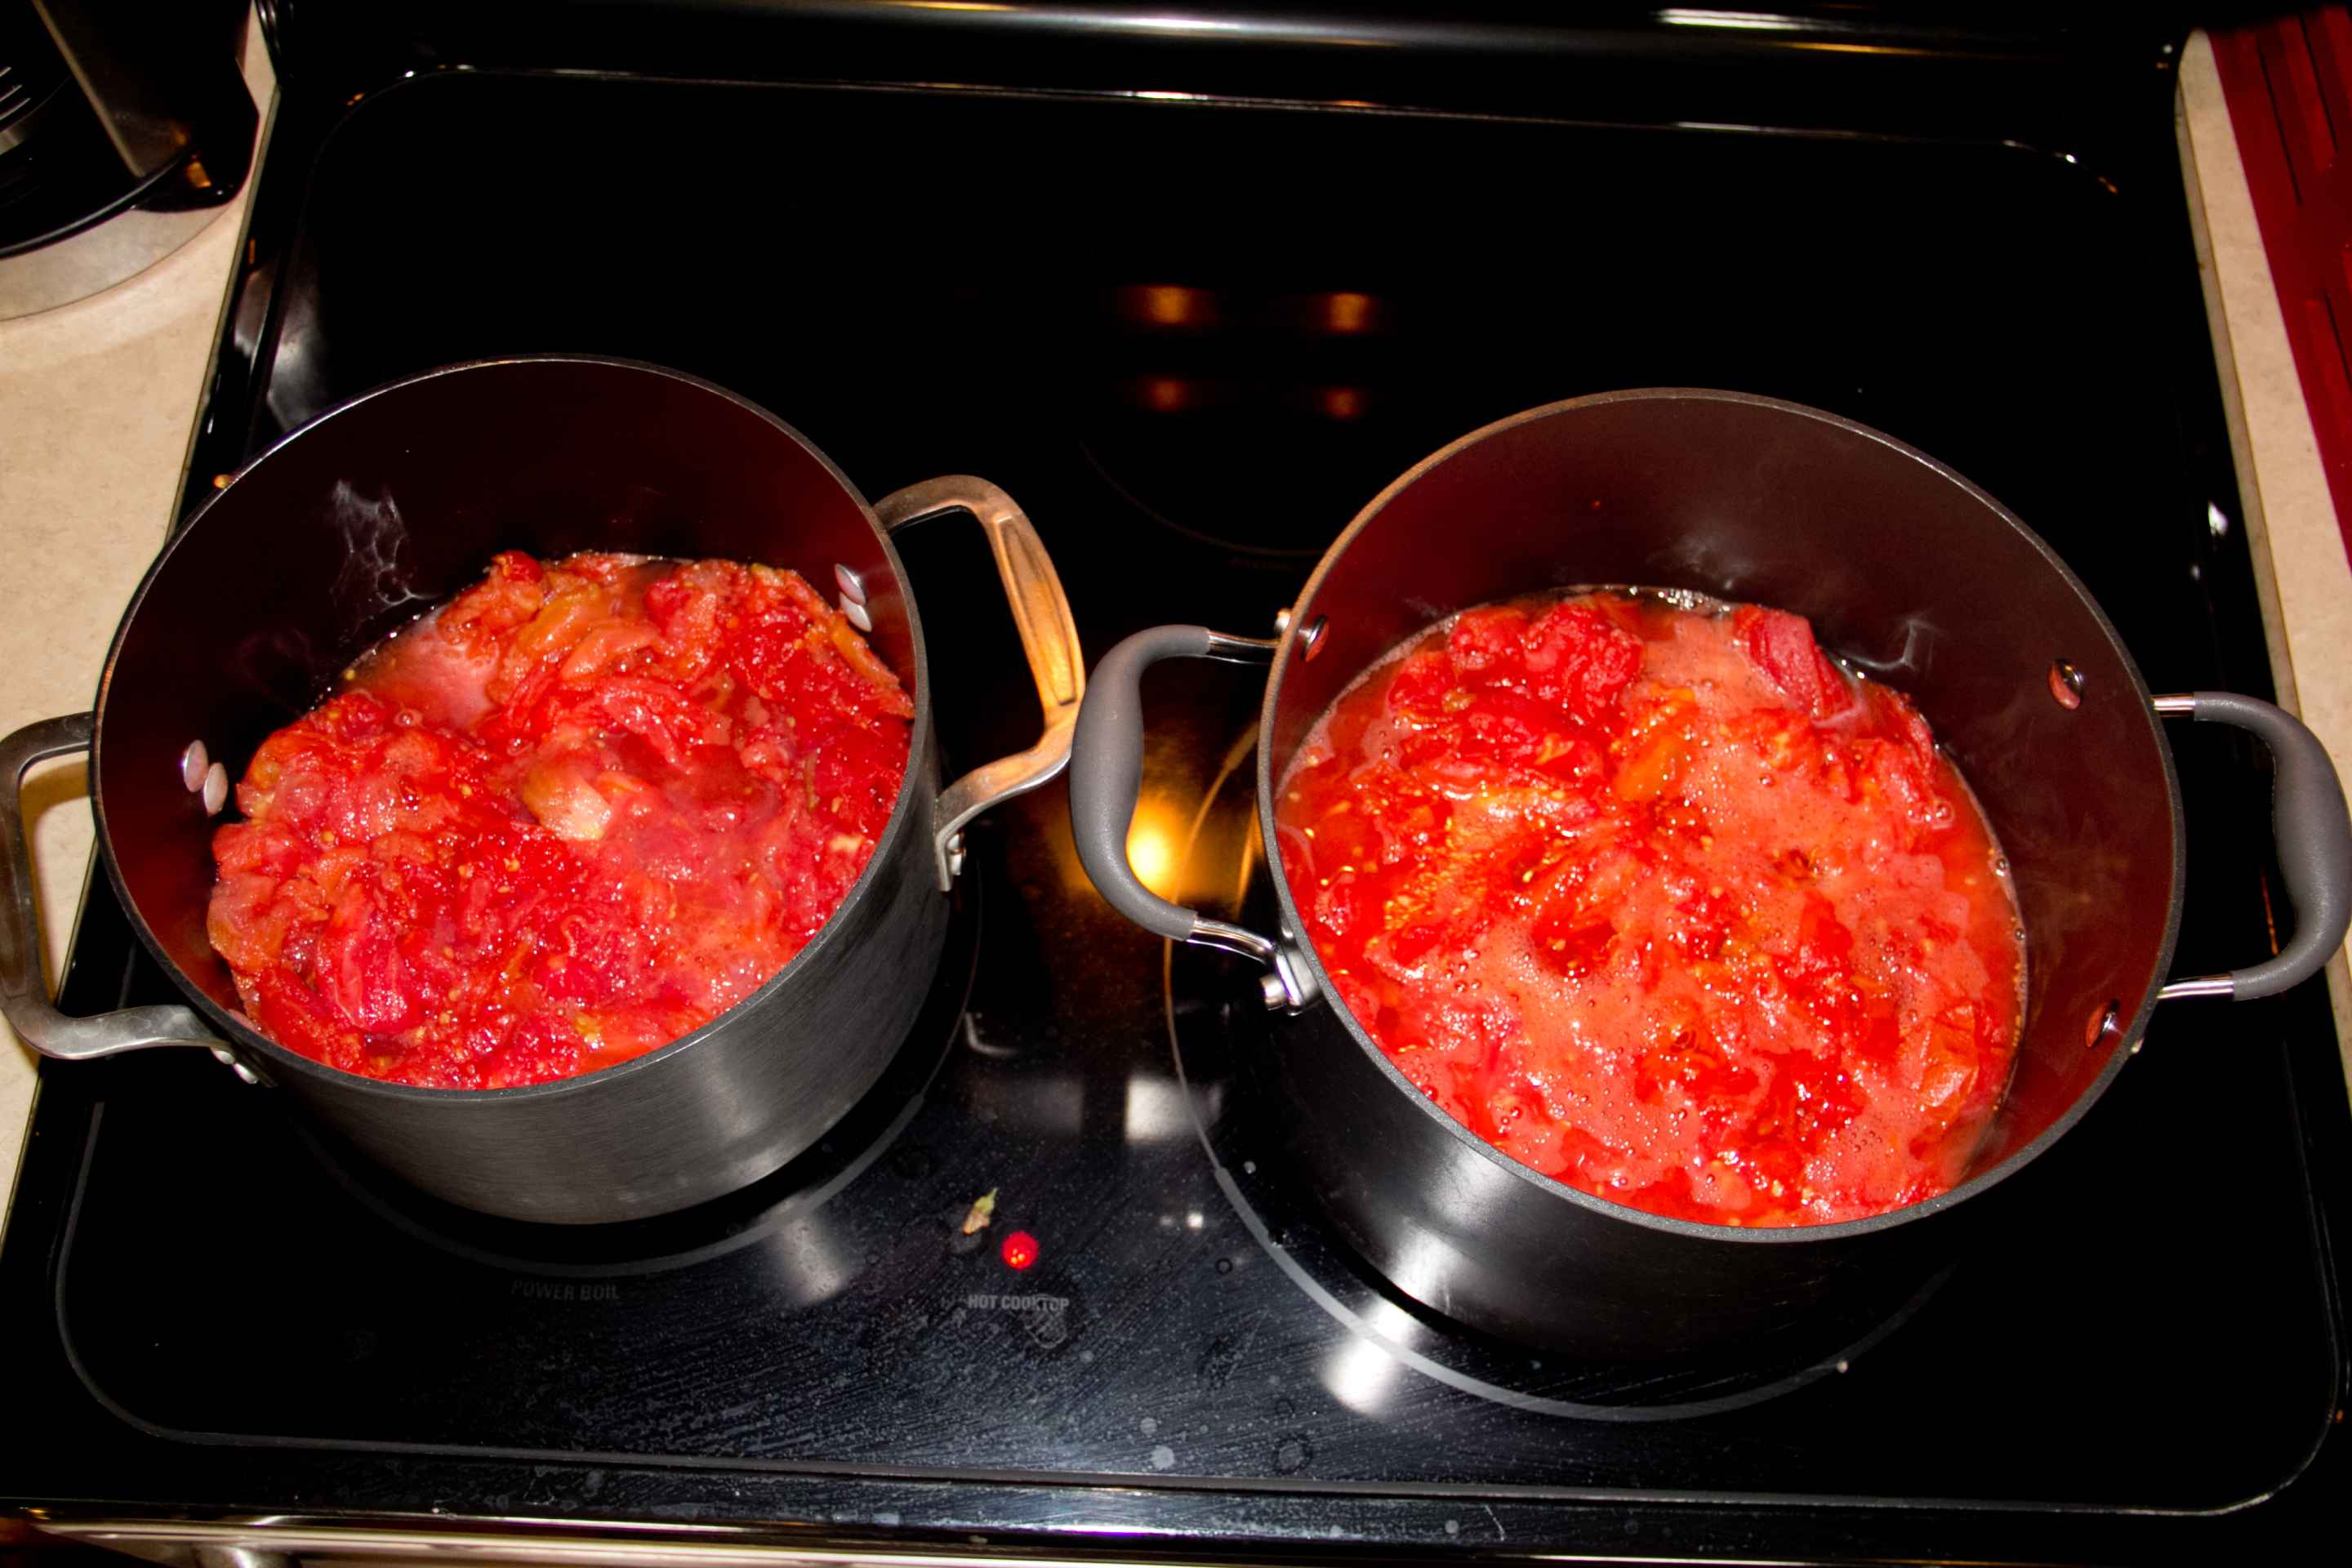
When you’re done boiling, coring, peeling, cutting and squeezing all of your tomatoes, give them a good press in the colander to squeeze out the rest of the juice, then put them into a stock pot. On a side note, if you’d rather not make sauce, you can just freeze or can the squeezed tomaotes for use in soups and stews later. I used two stock pots because I wanted two different flavors of red sauce. Turn the heat on high until the tomatoes start to boil, then reduce the heat to simmer. There really isn’t a way to put a definite time on how long to keep them simmering; just until the tomatoes have a sauce-like consistency. While you’re waiting for the tomatoes to boil down, cut up whatever spices you want to put in your sauce and add them to the pot!
You can add whatever spices/vegetables you want! Here are some options:
- Minced garlic
- Salt
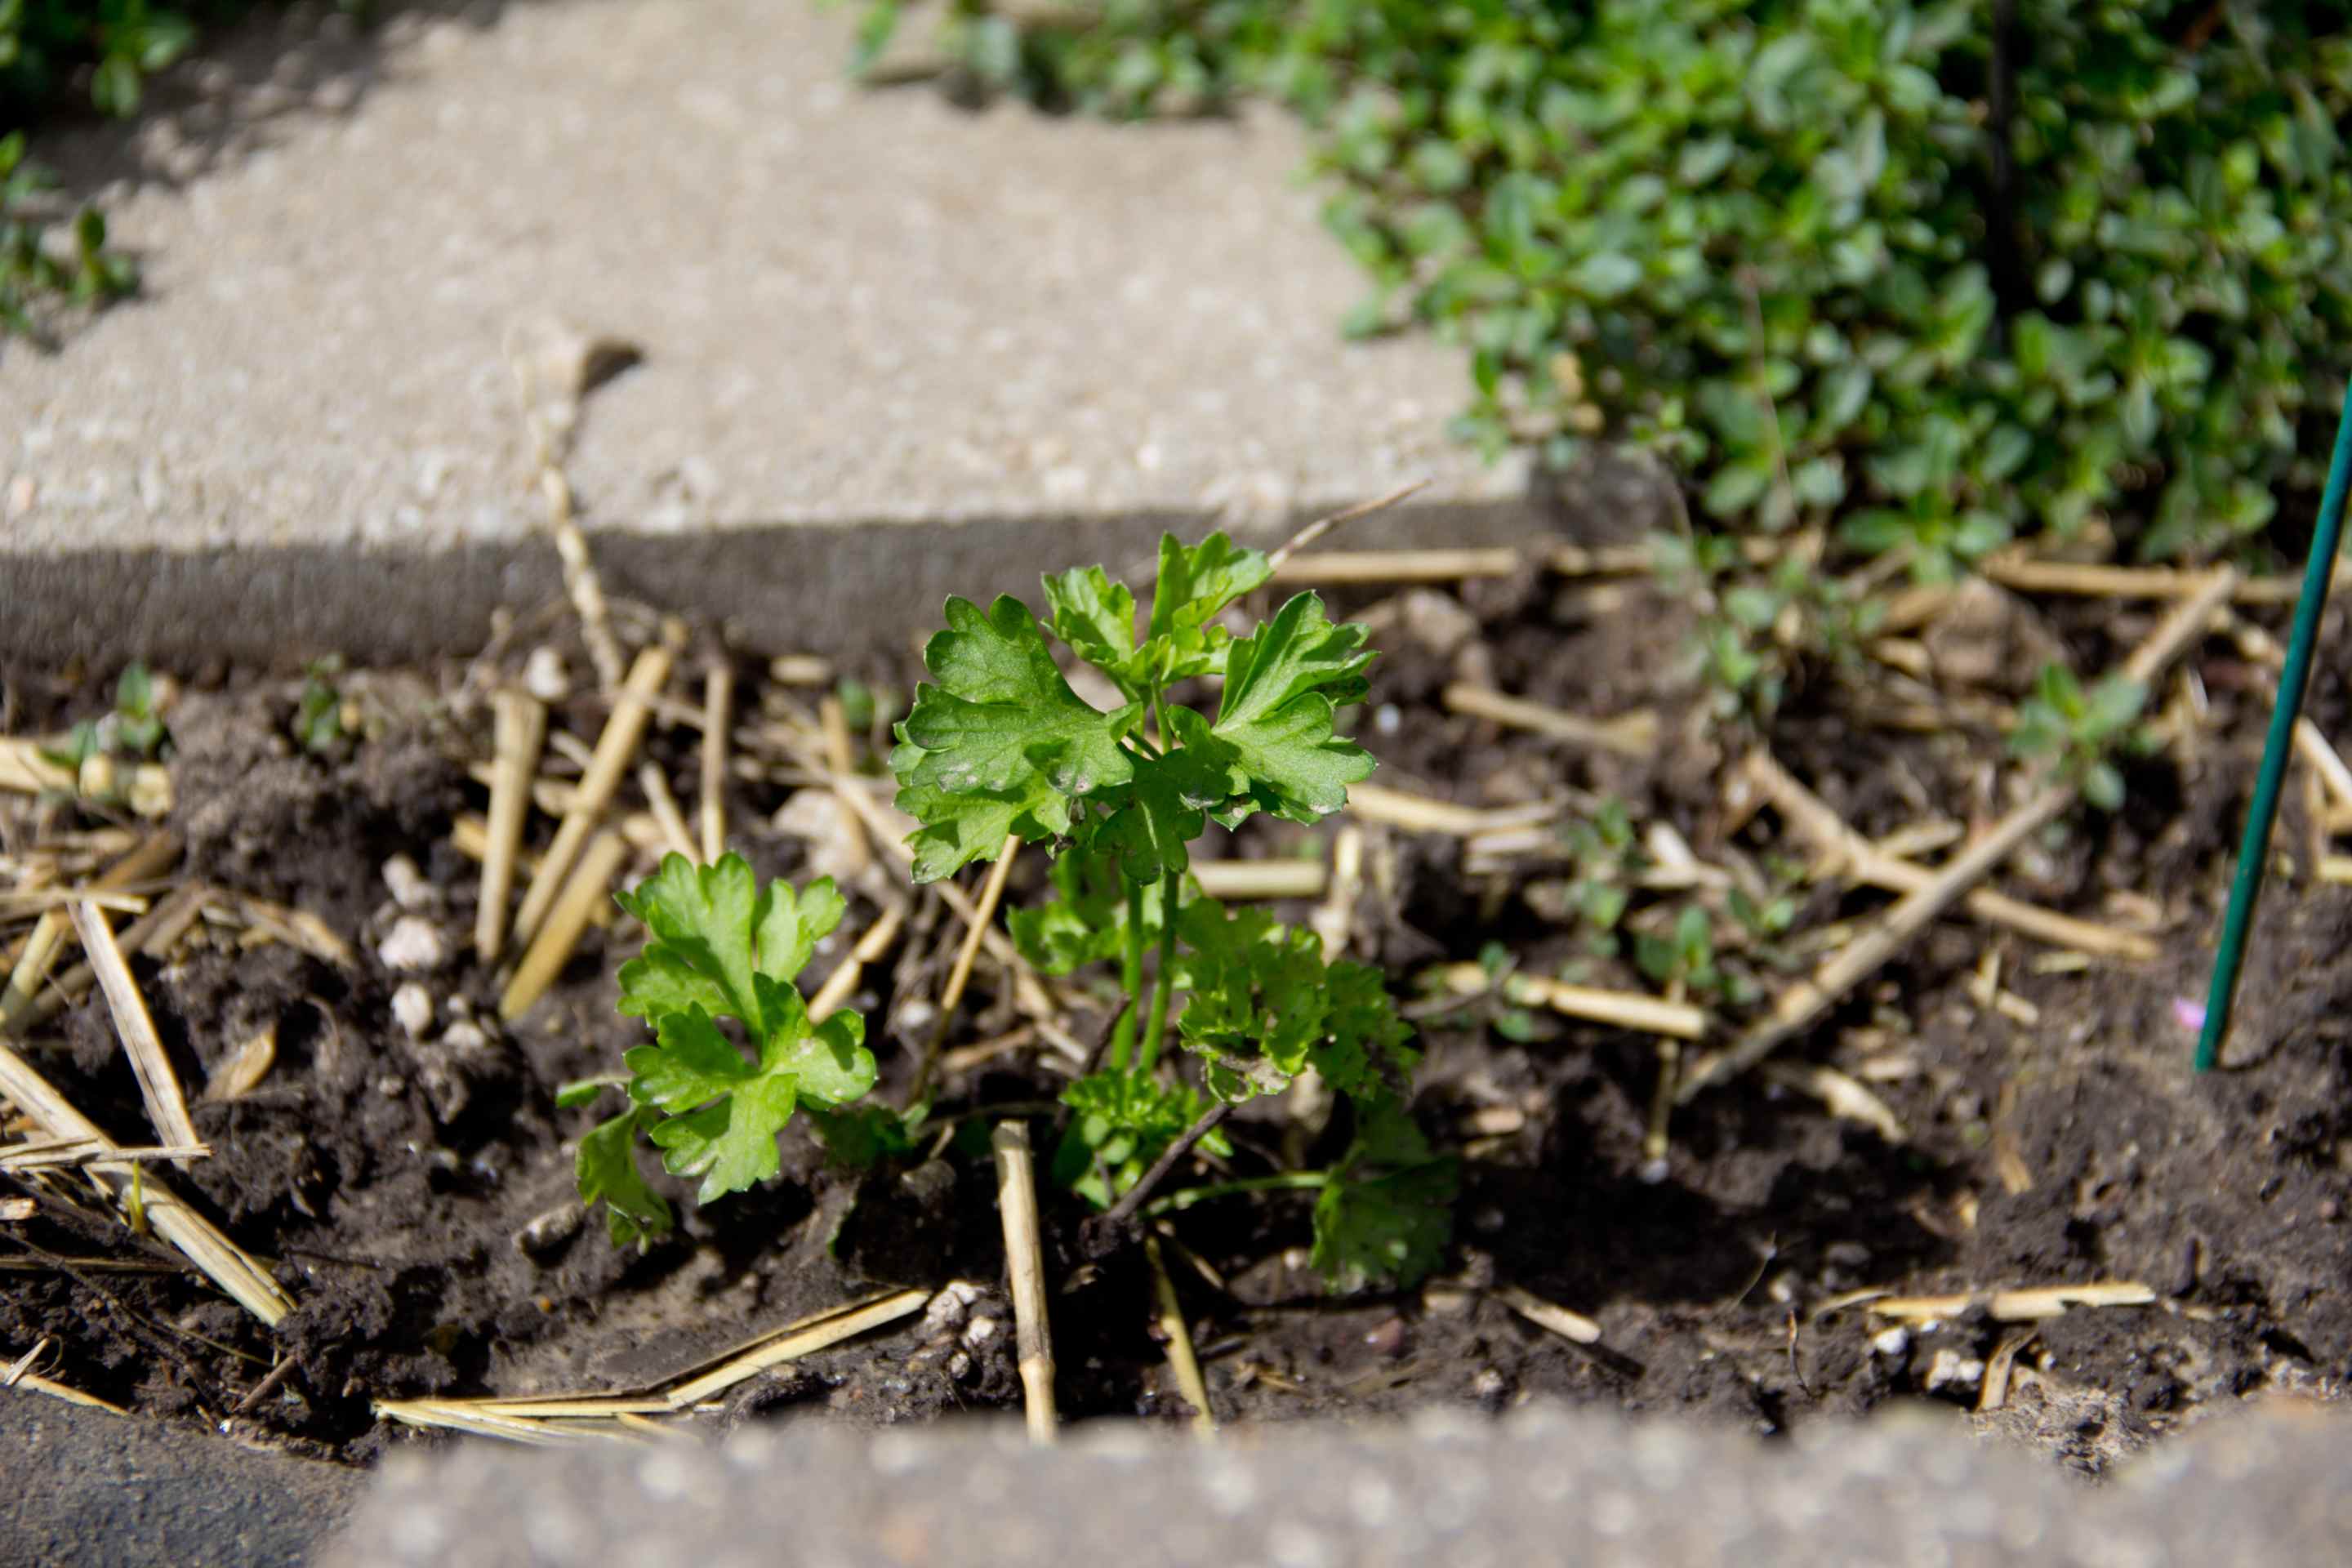
- Parsley
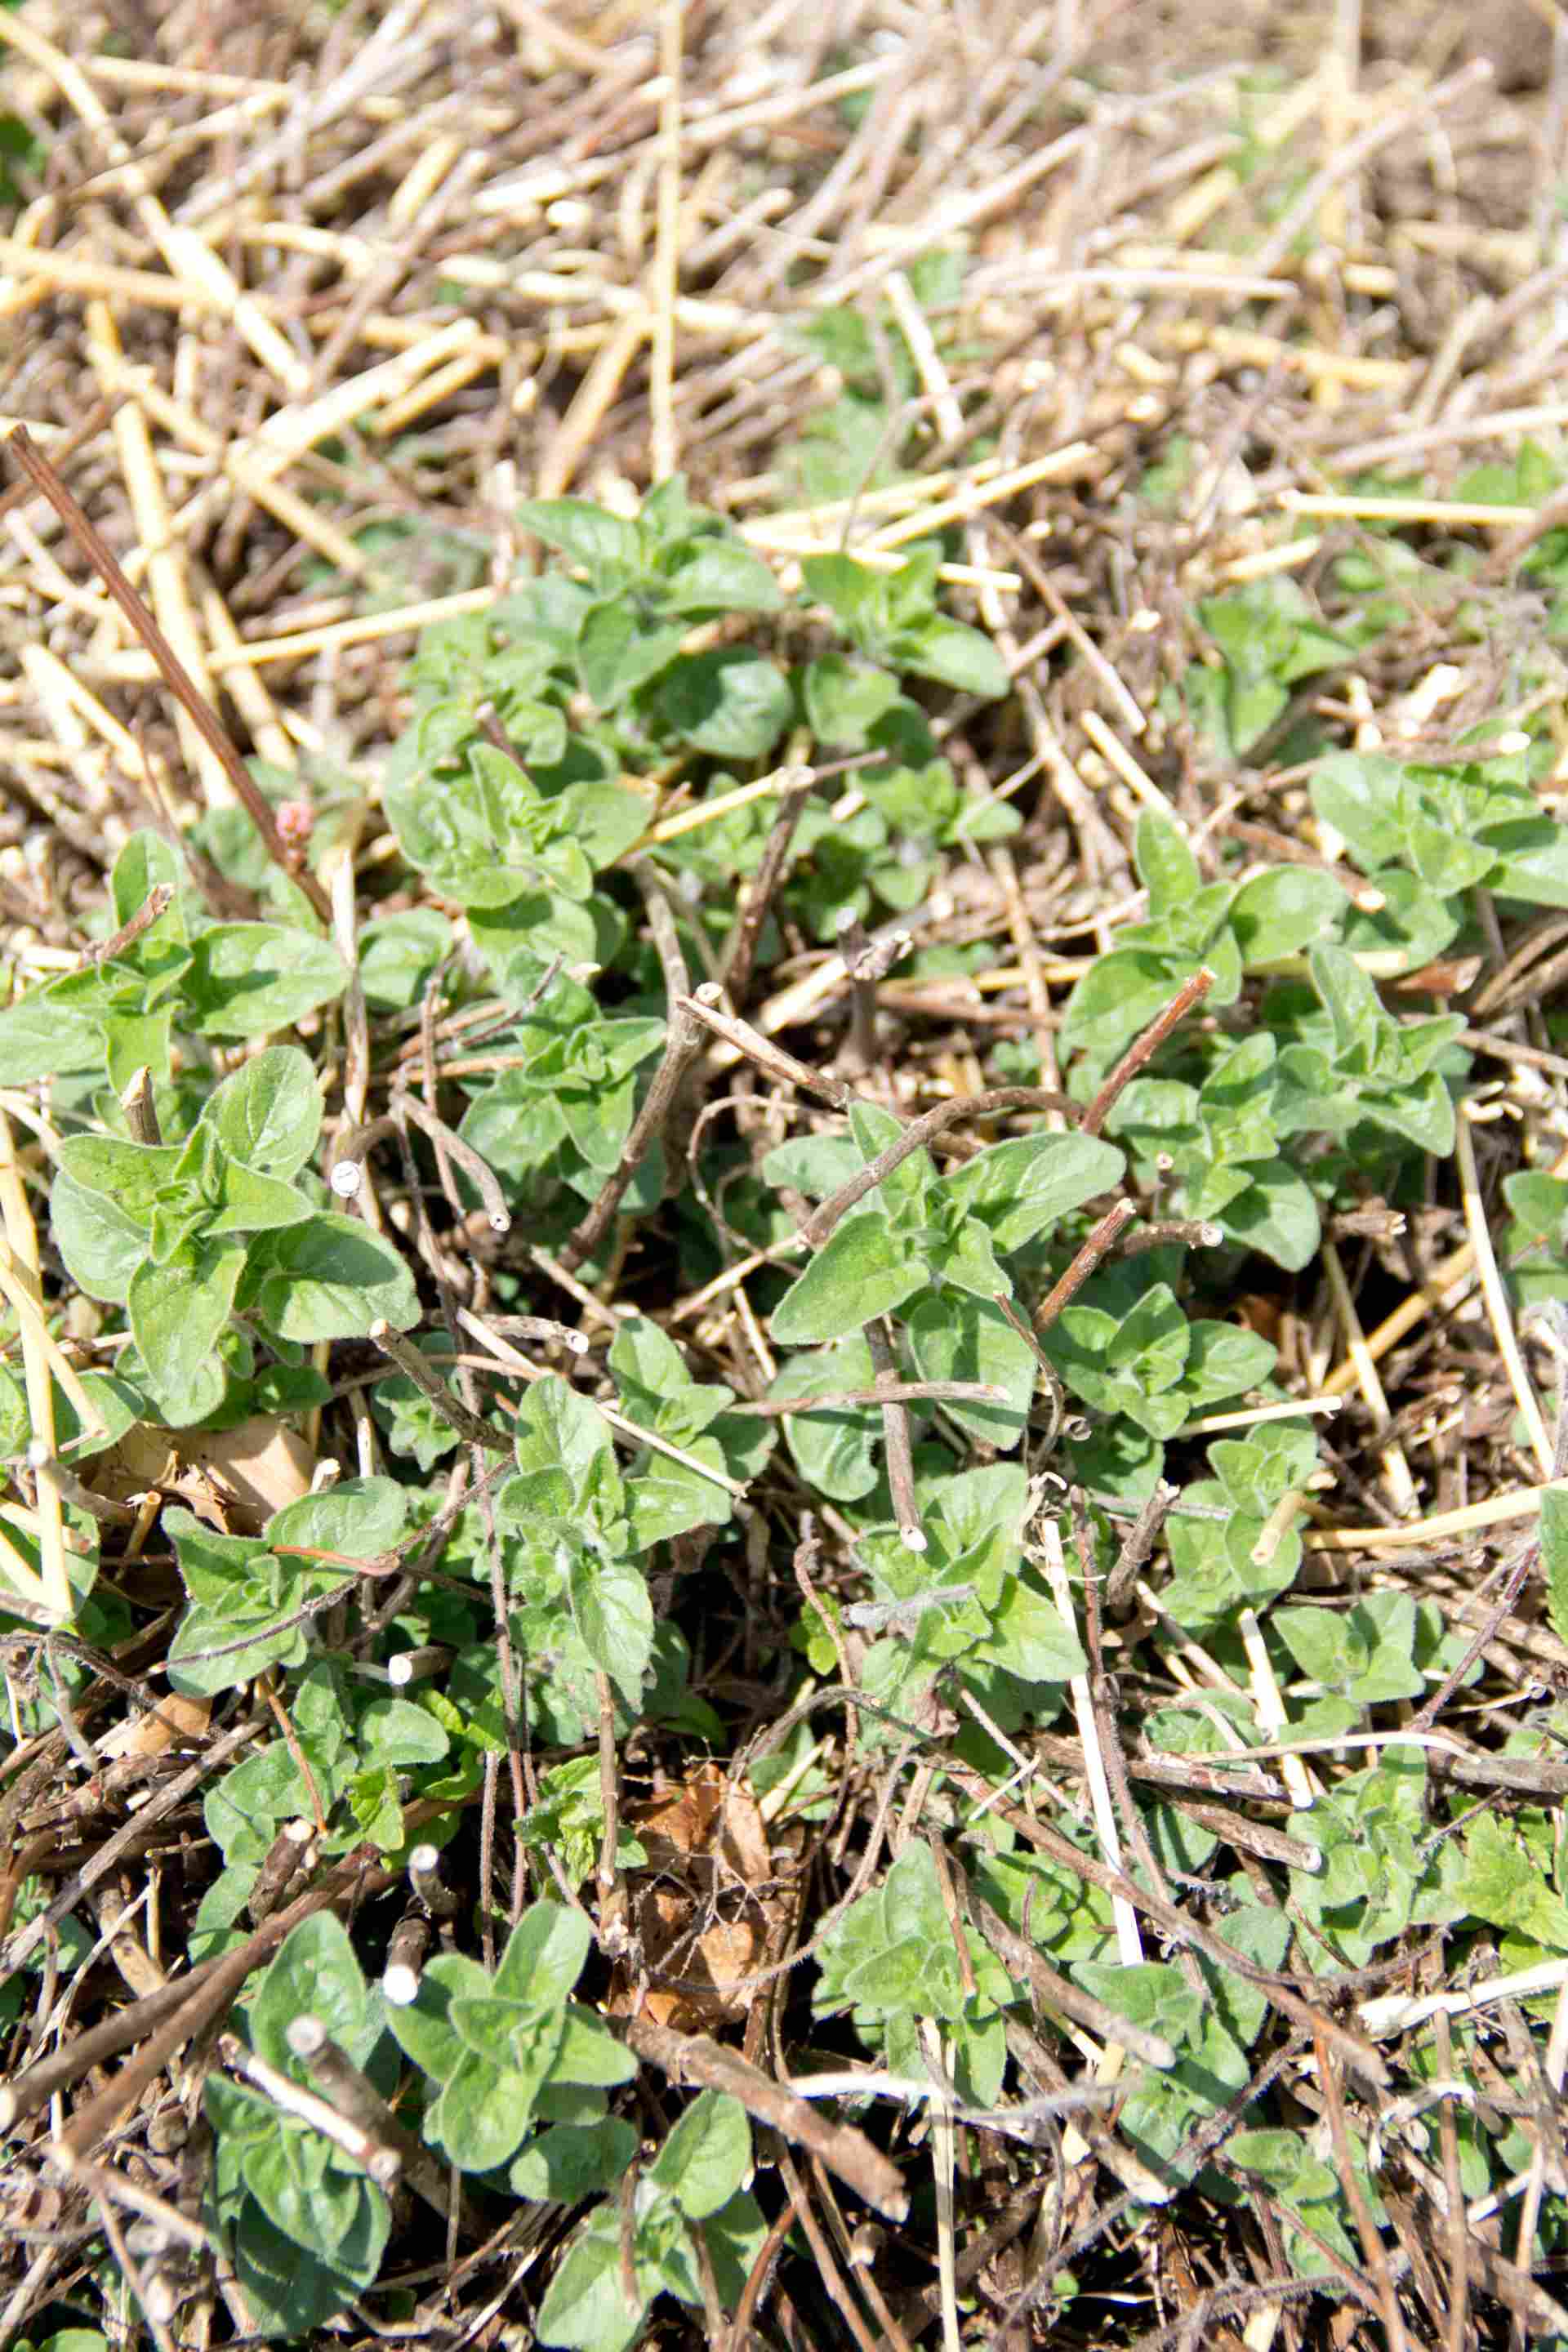
- Oregano
- Basil
- Green Peppers
- Onion
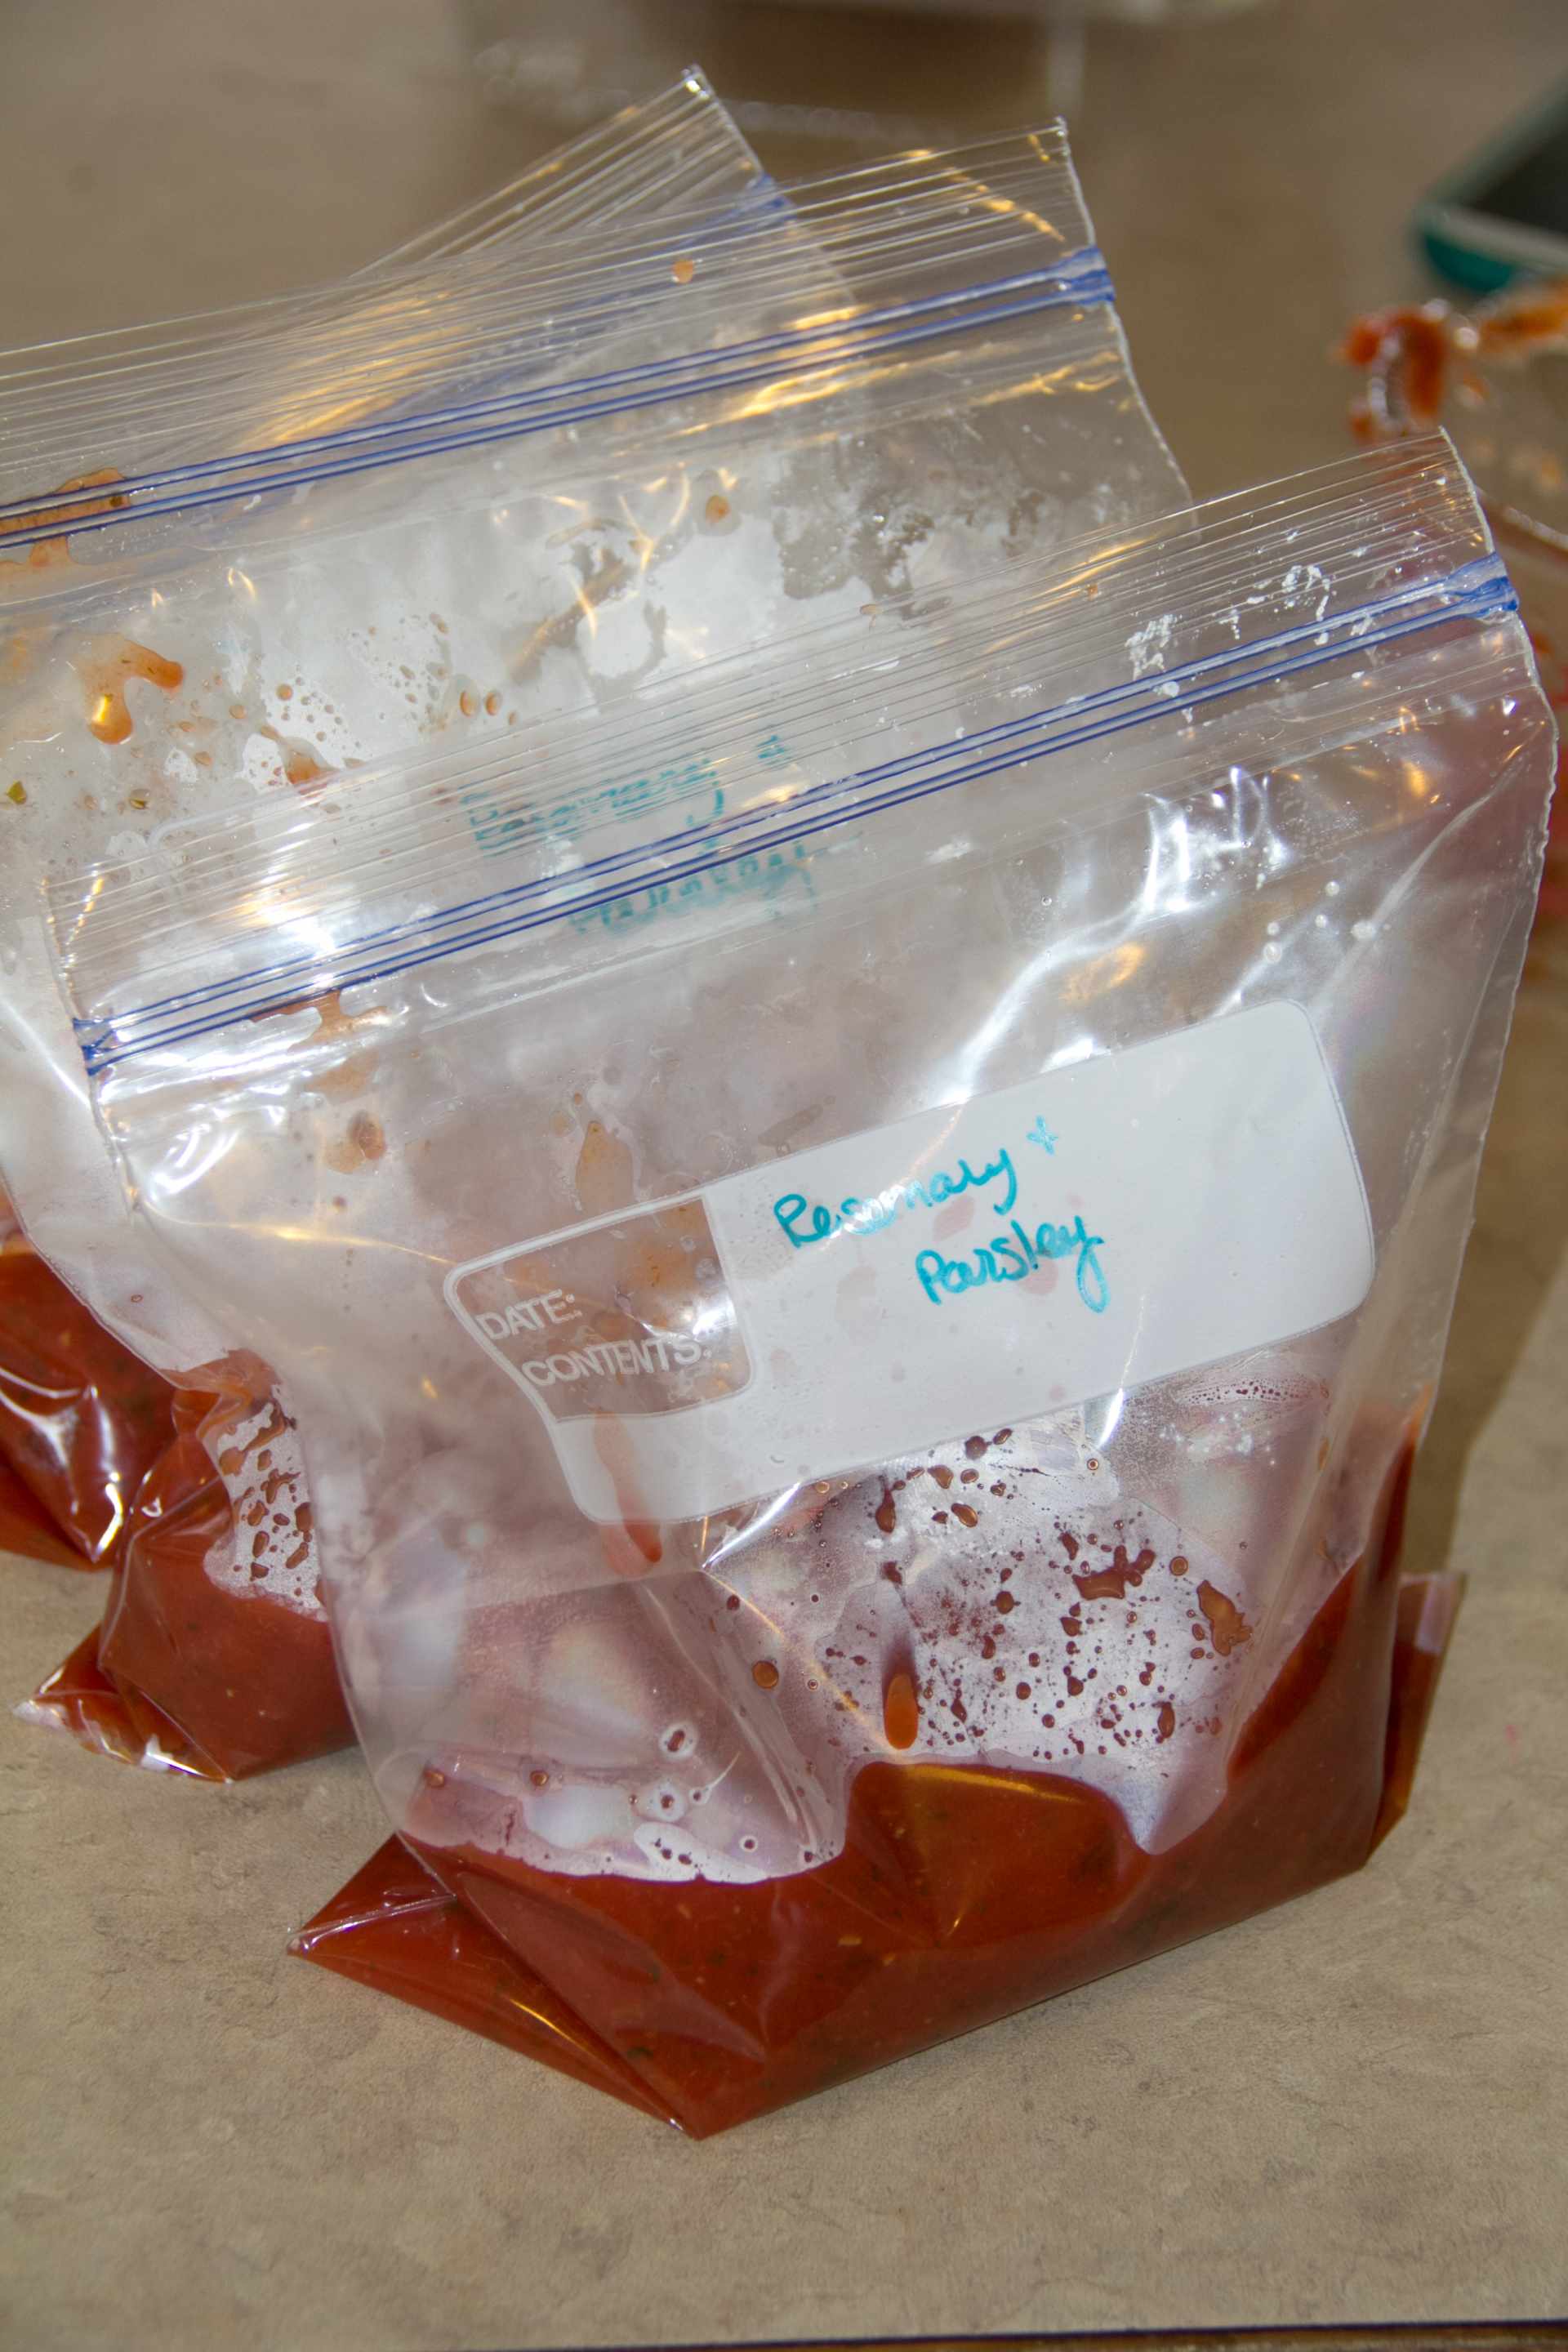
I made two batches: One with just oregano and one with Rosemary and Parsley.
When your sauce starts to look like this:
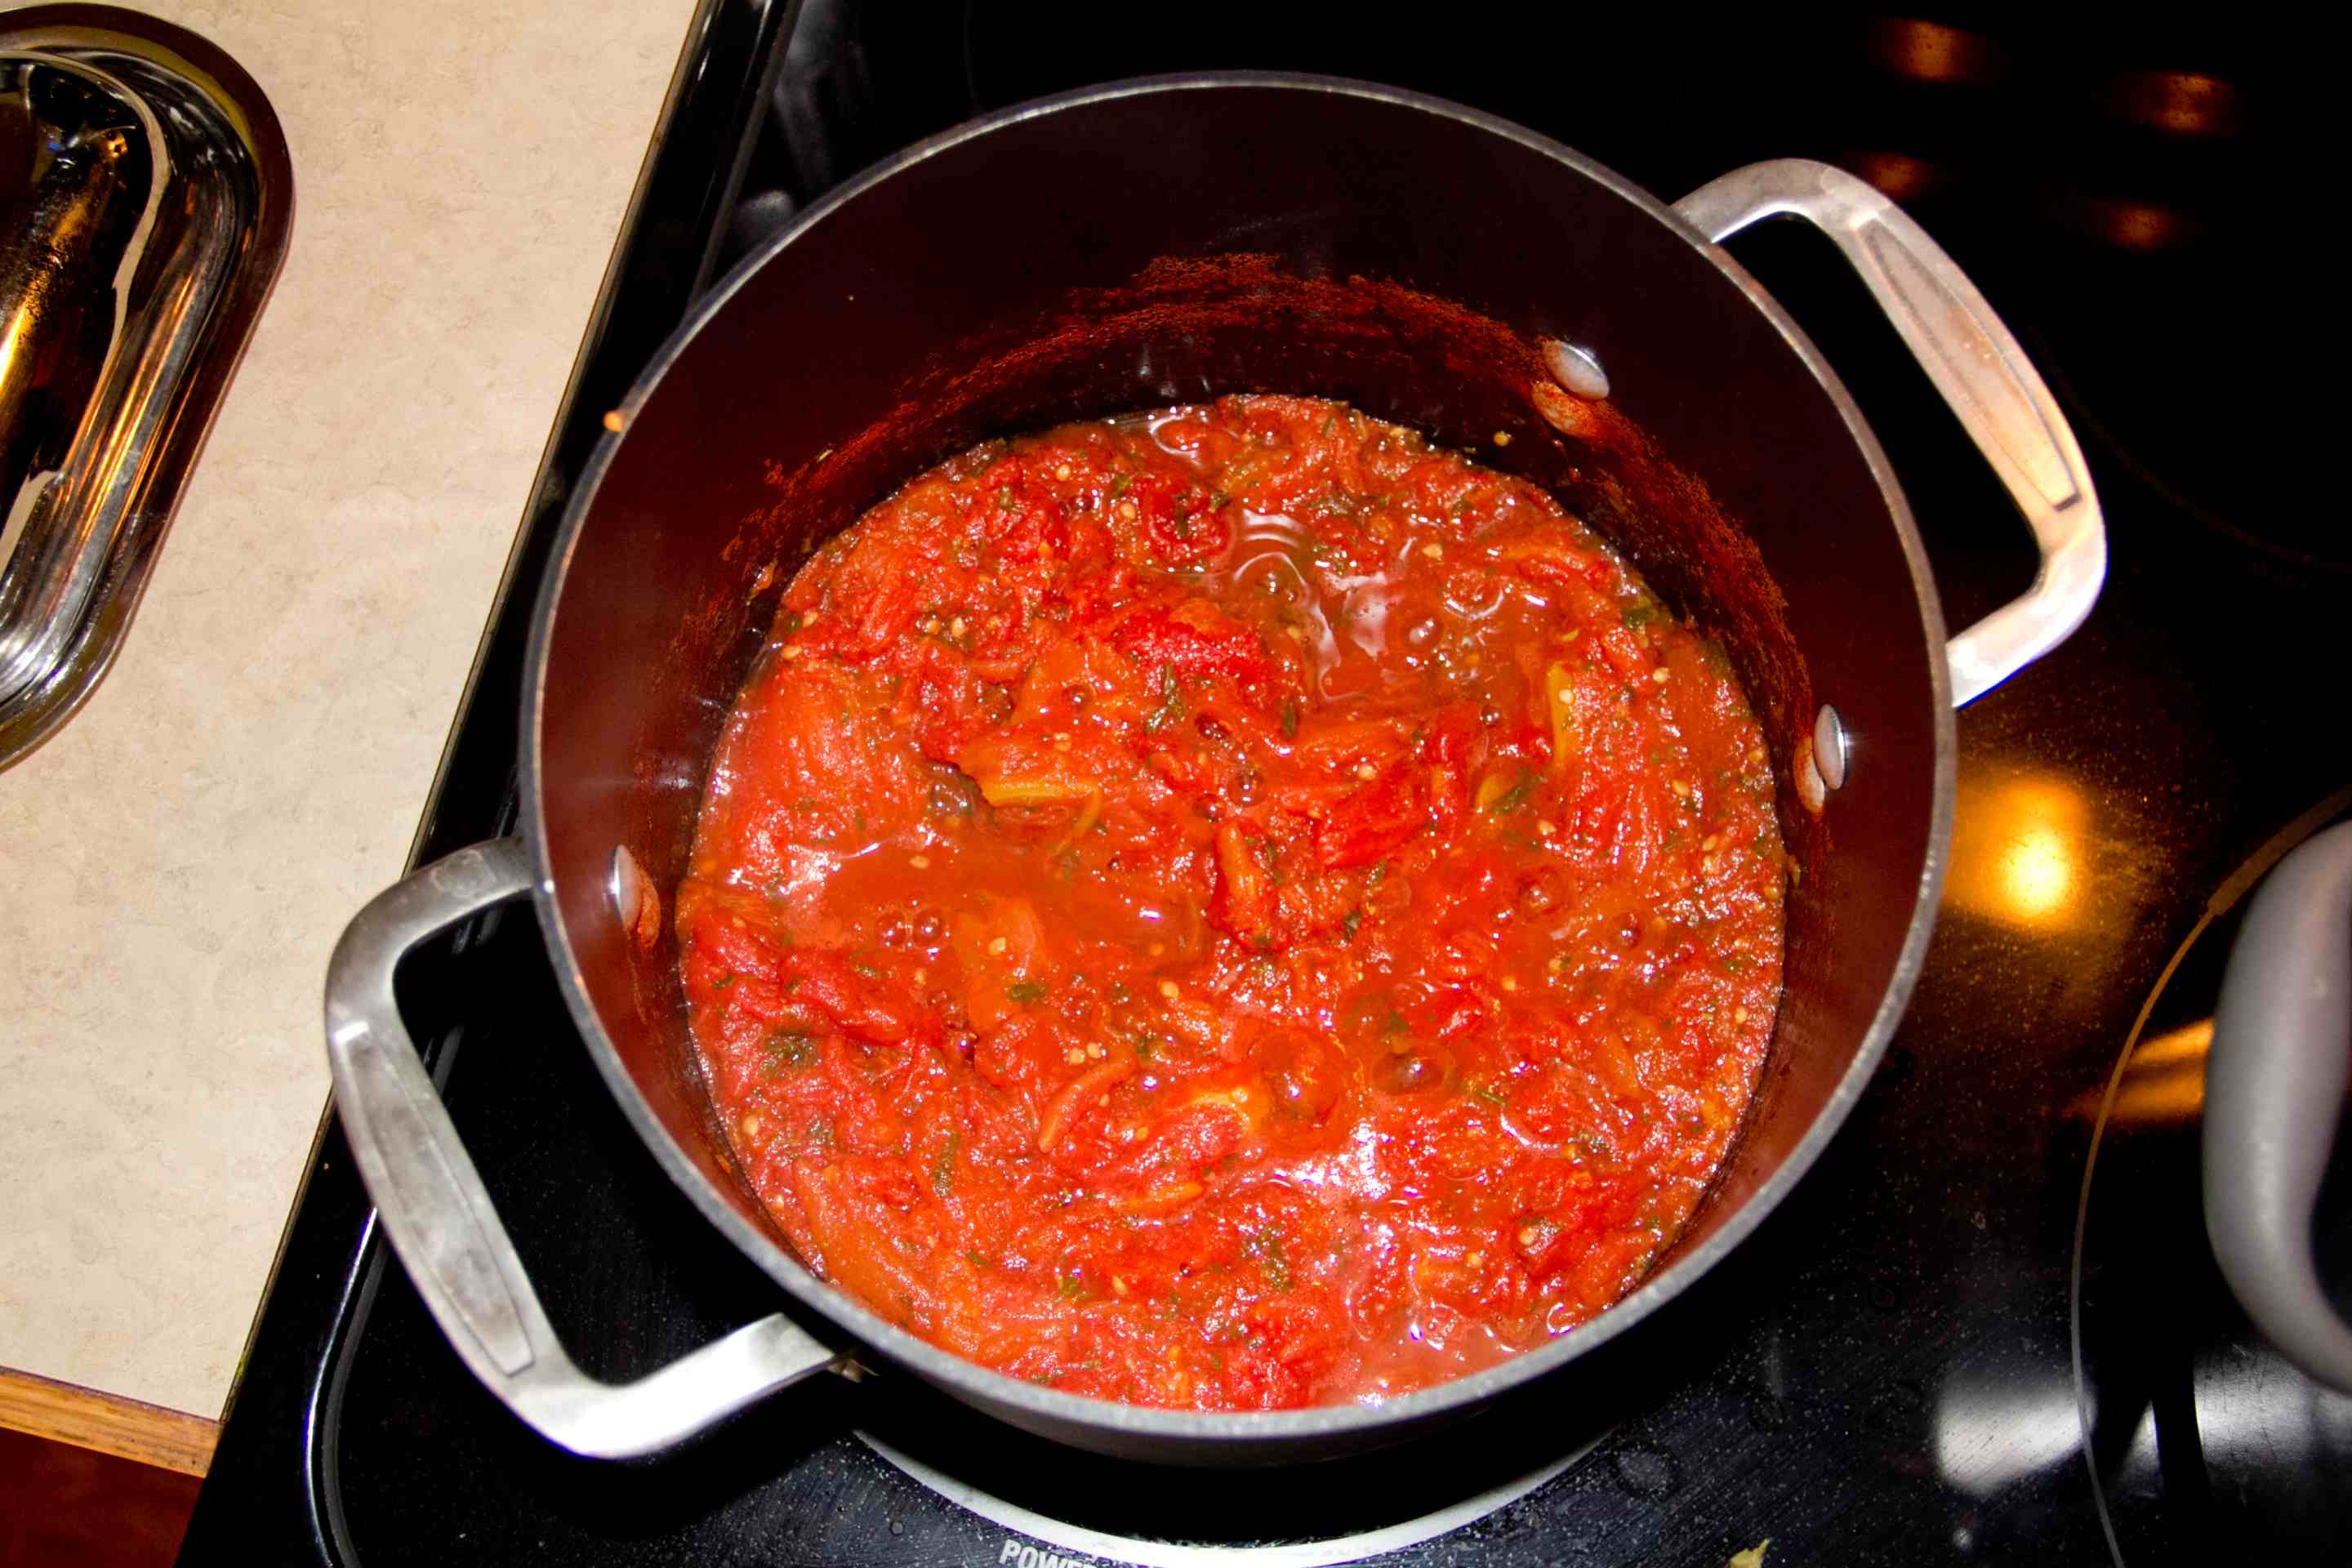
it’s done!
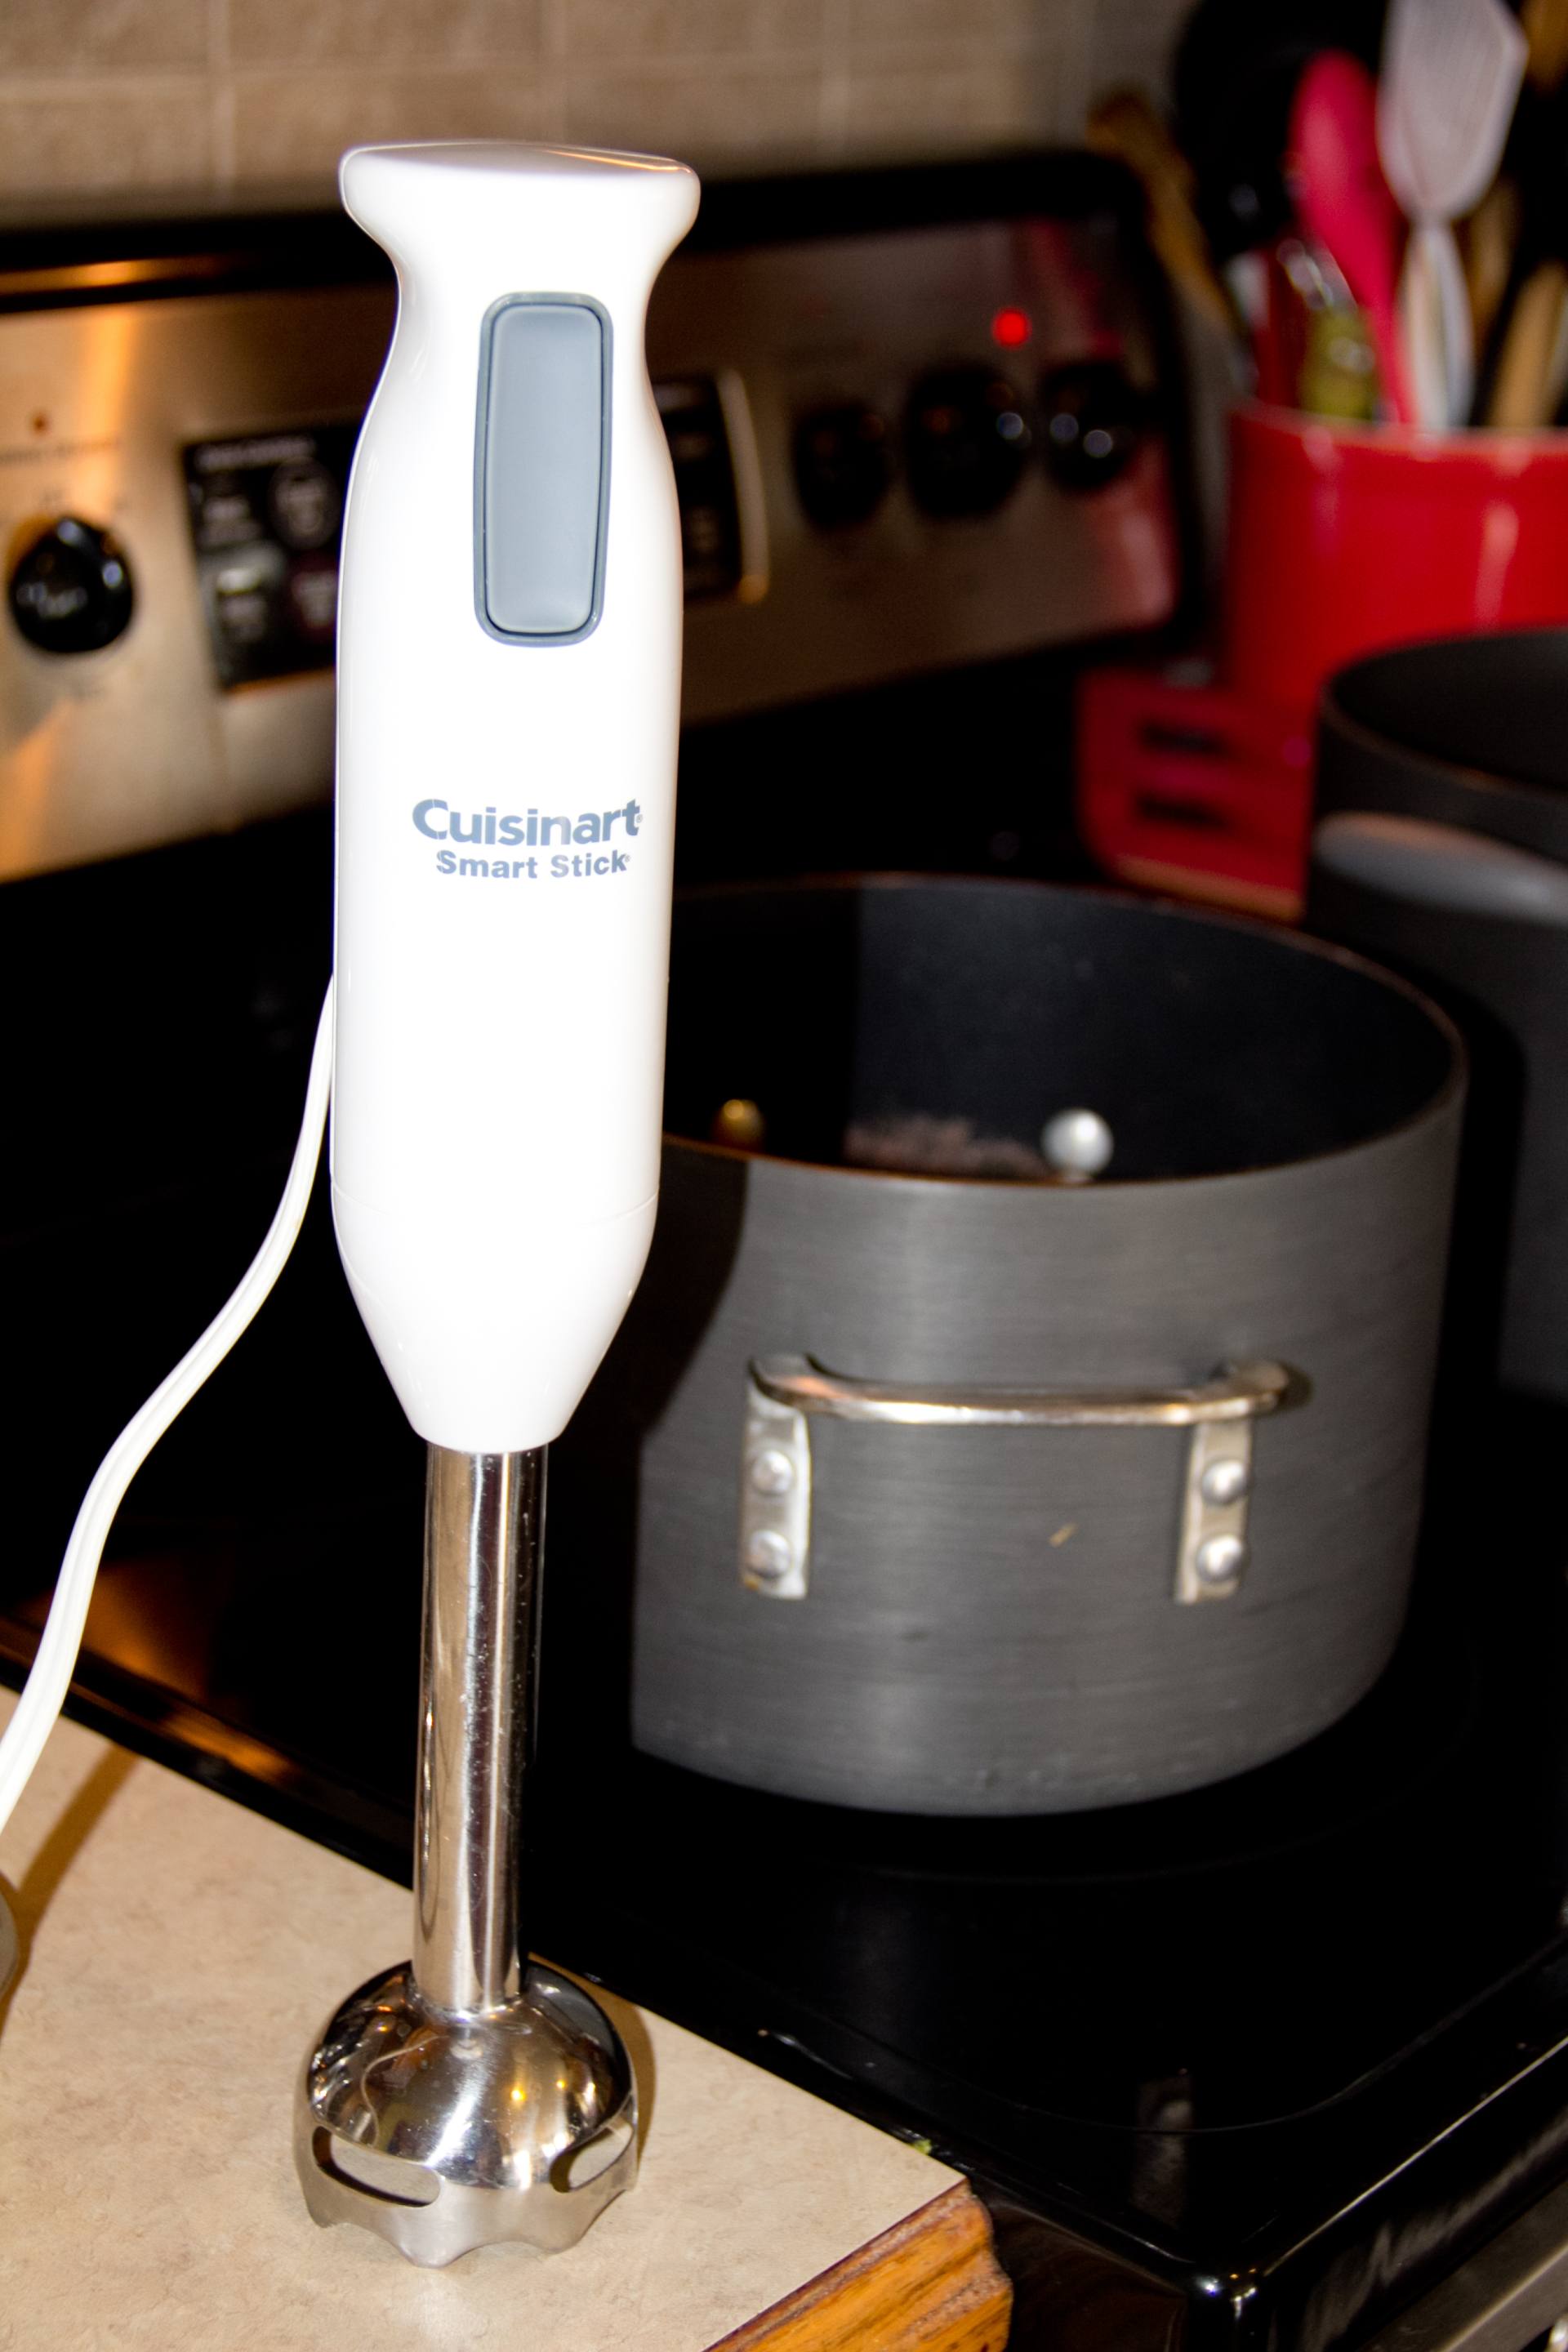
Some people like a chunky texture to their tomato sauce. If that’s your preference, you’re done! I prefer a smoother texture. You can put the sauce in a blender and blend until smooth, or you can use an immersion blender (my favorite small kitchen appliance).
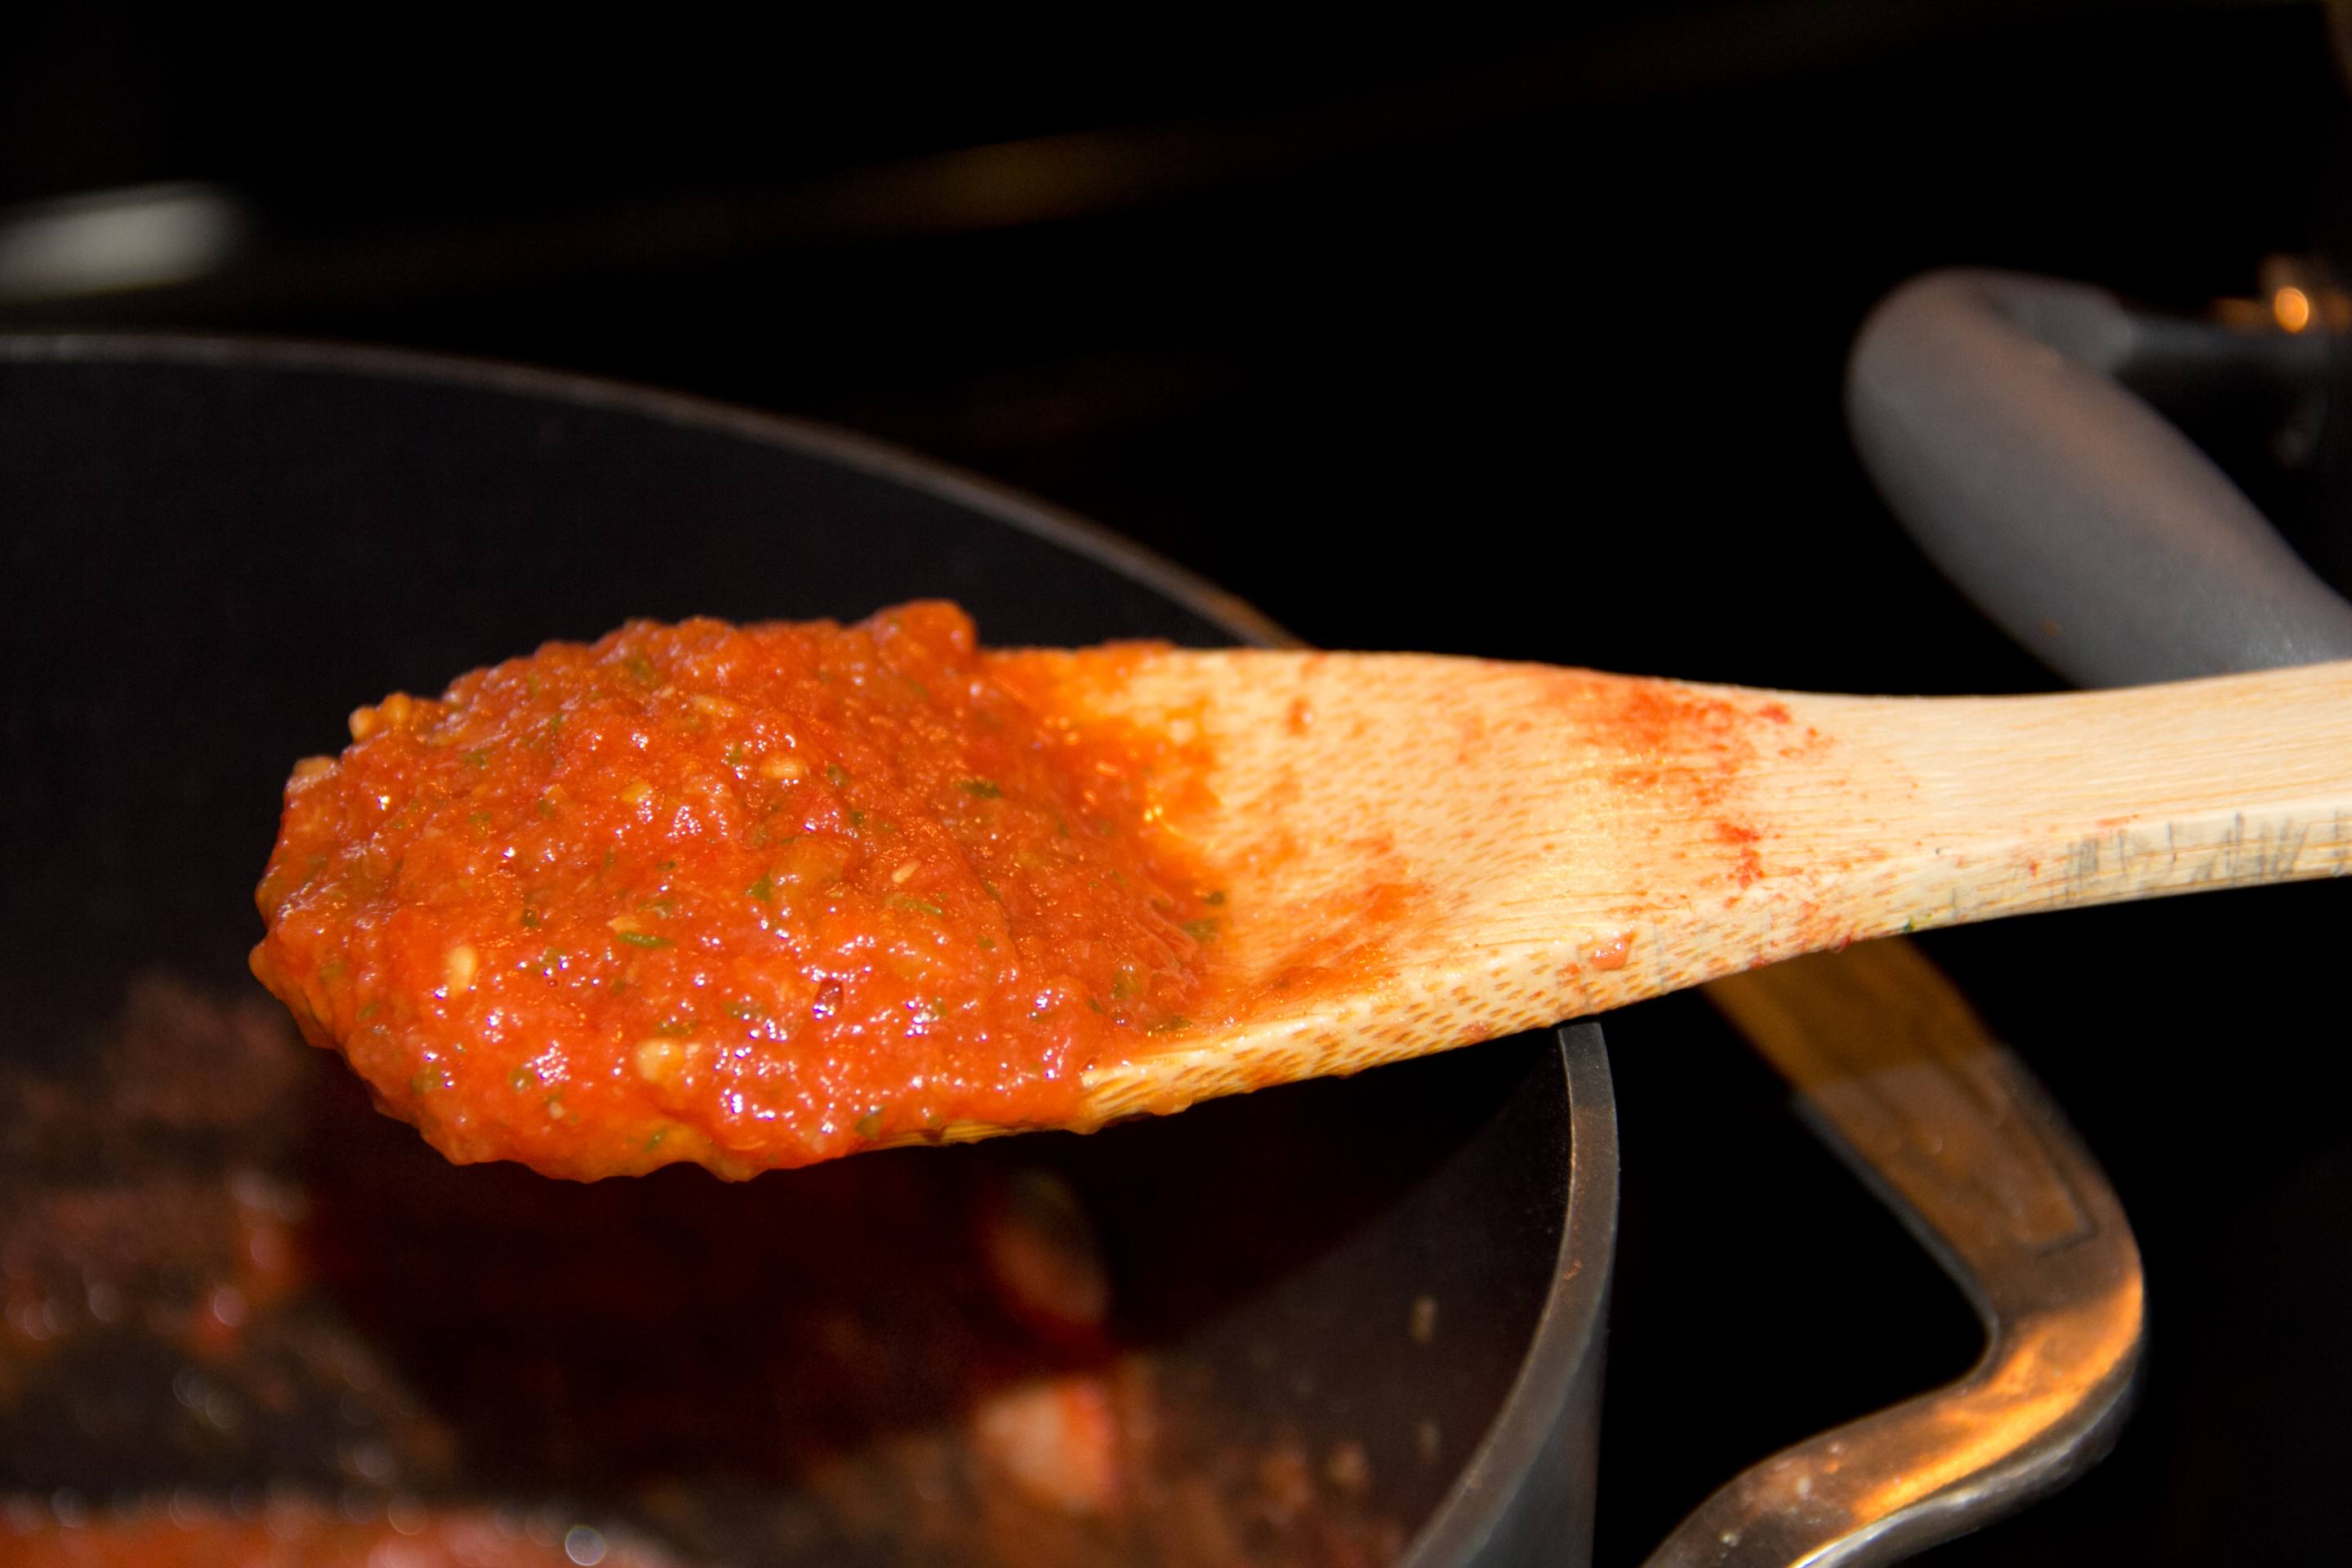
YUM!
Now, you have two options: Can it or freeze it. I am not a big fan of canning, and since we have a big deep freezer, I freeze it! Wait for the sauce to cool, then transfer it to freezer bags (I do so in 1-cup increments). Put it in your freezer for use this winter!
Want to try your hand at canning? Check out Pick Your Own’s canning directions!
Want to make salsa instead? Check out Pick Your Own’s salsa recipe!