I hate mini-blinds. Not the way they look necessarily. Trying to keep them clean. We don’t buy the expensive kind, so maybe those are easier to clean. I don’t know. But the inexpensive kind are NOT easy to clean. My mom had a great idea. Why not buy the pull down kind and cover them with fabric ourselves? Why not, I said. So, we picked a day, did a little shopping, and did it.
What you need
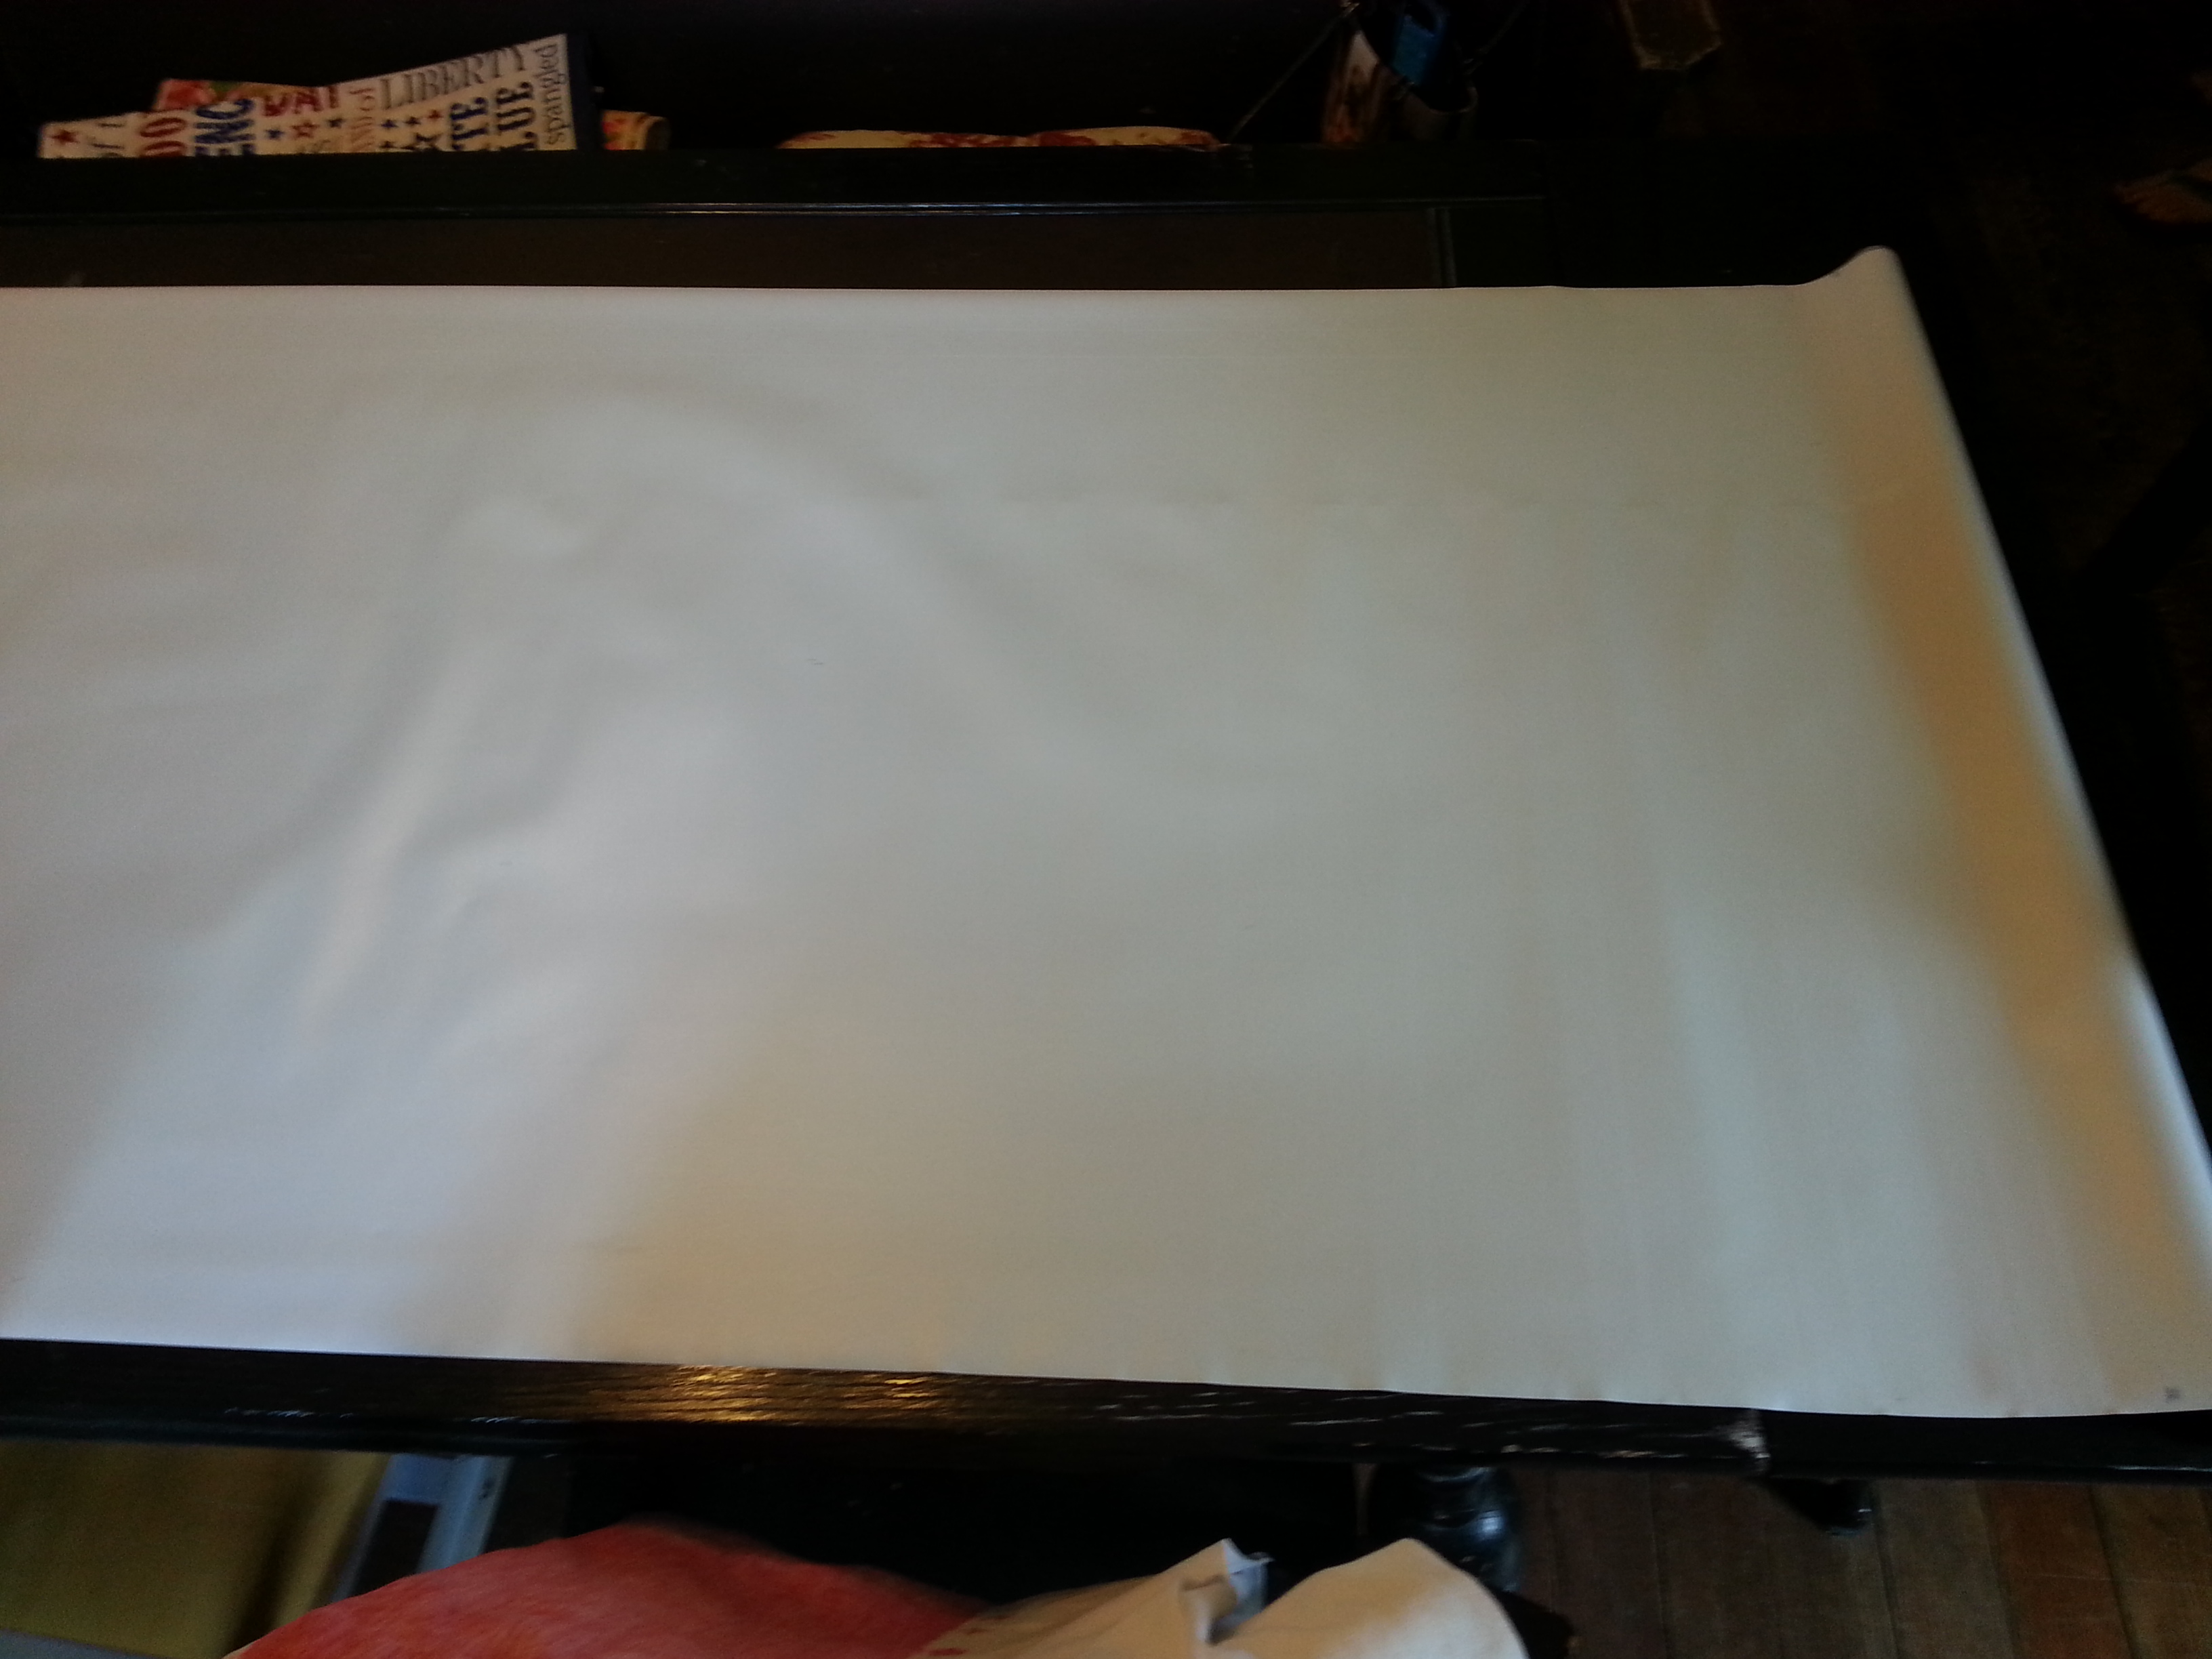
Pull down blind.
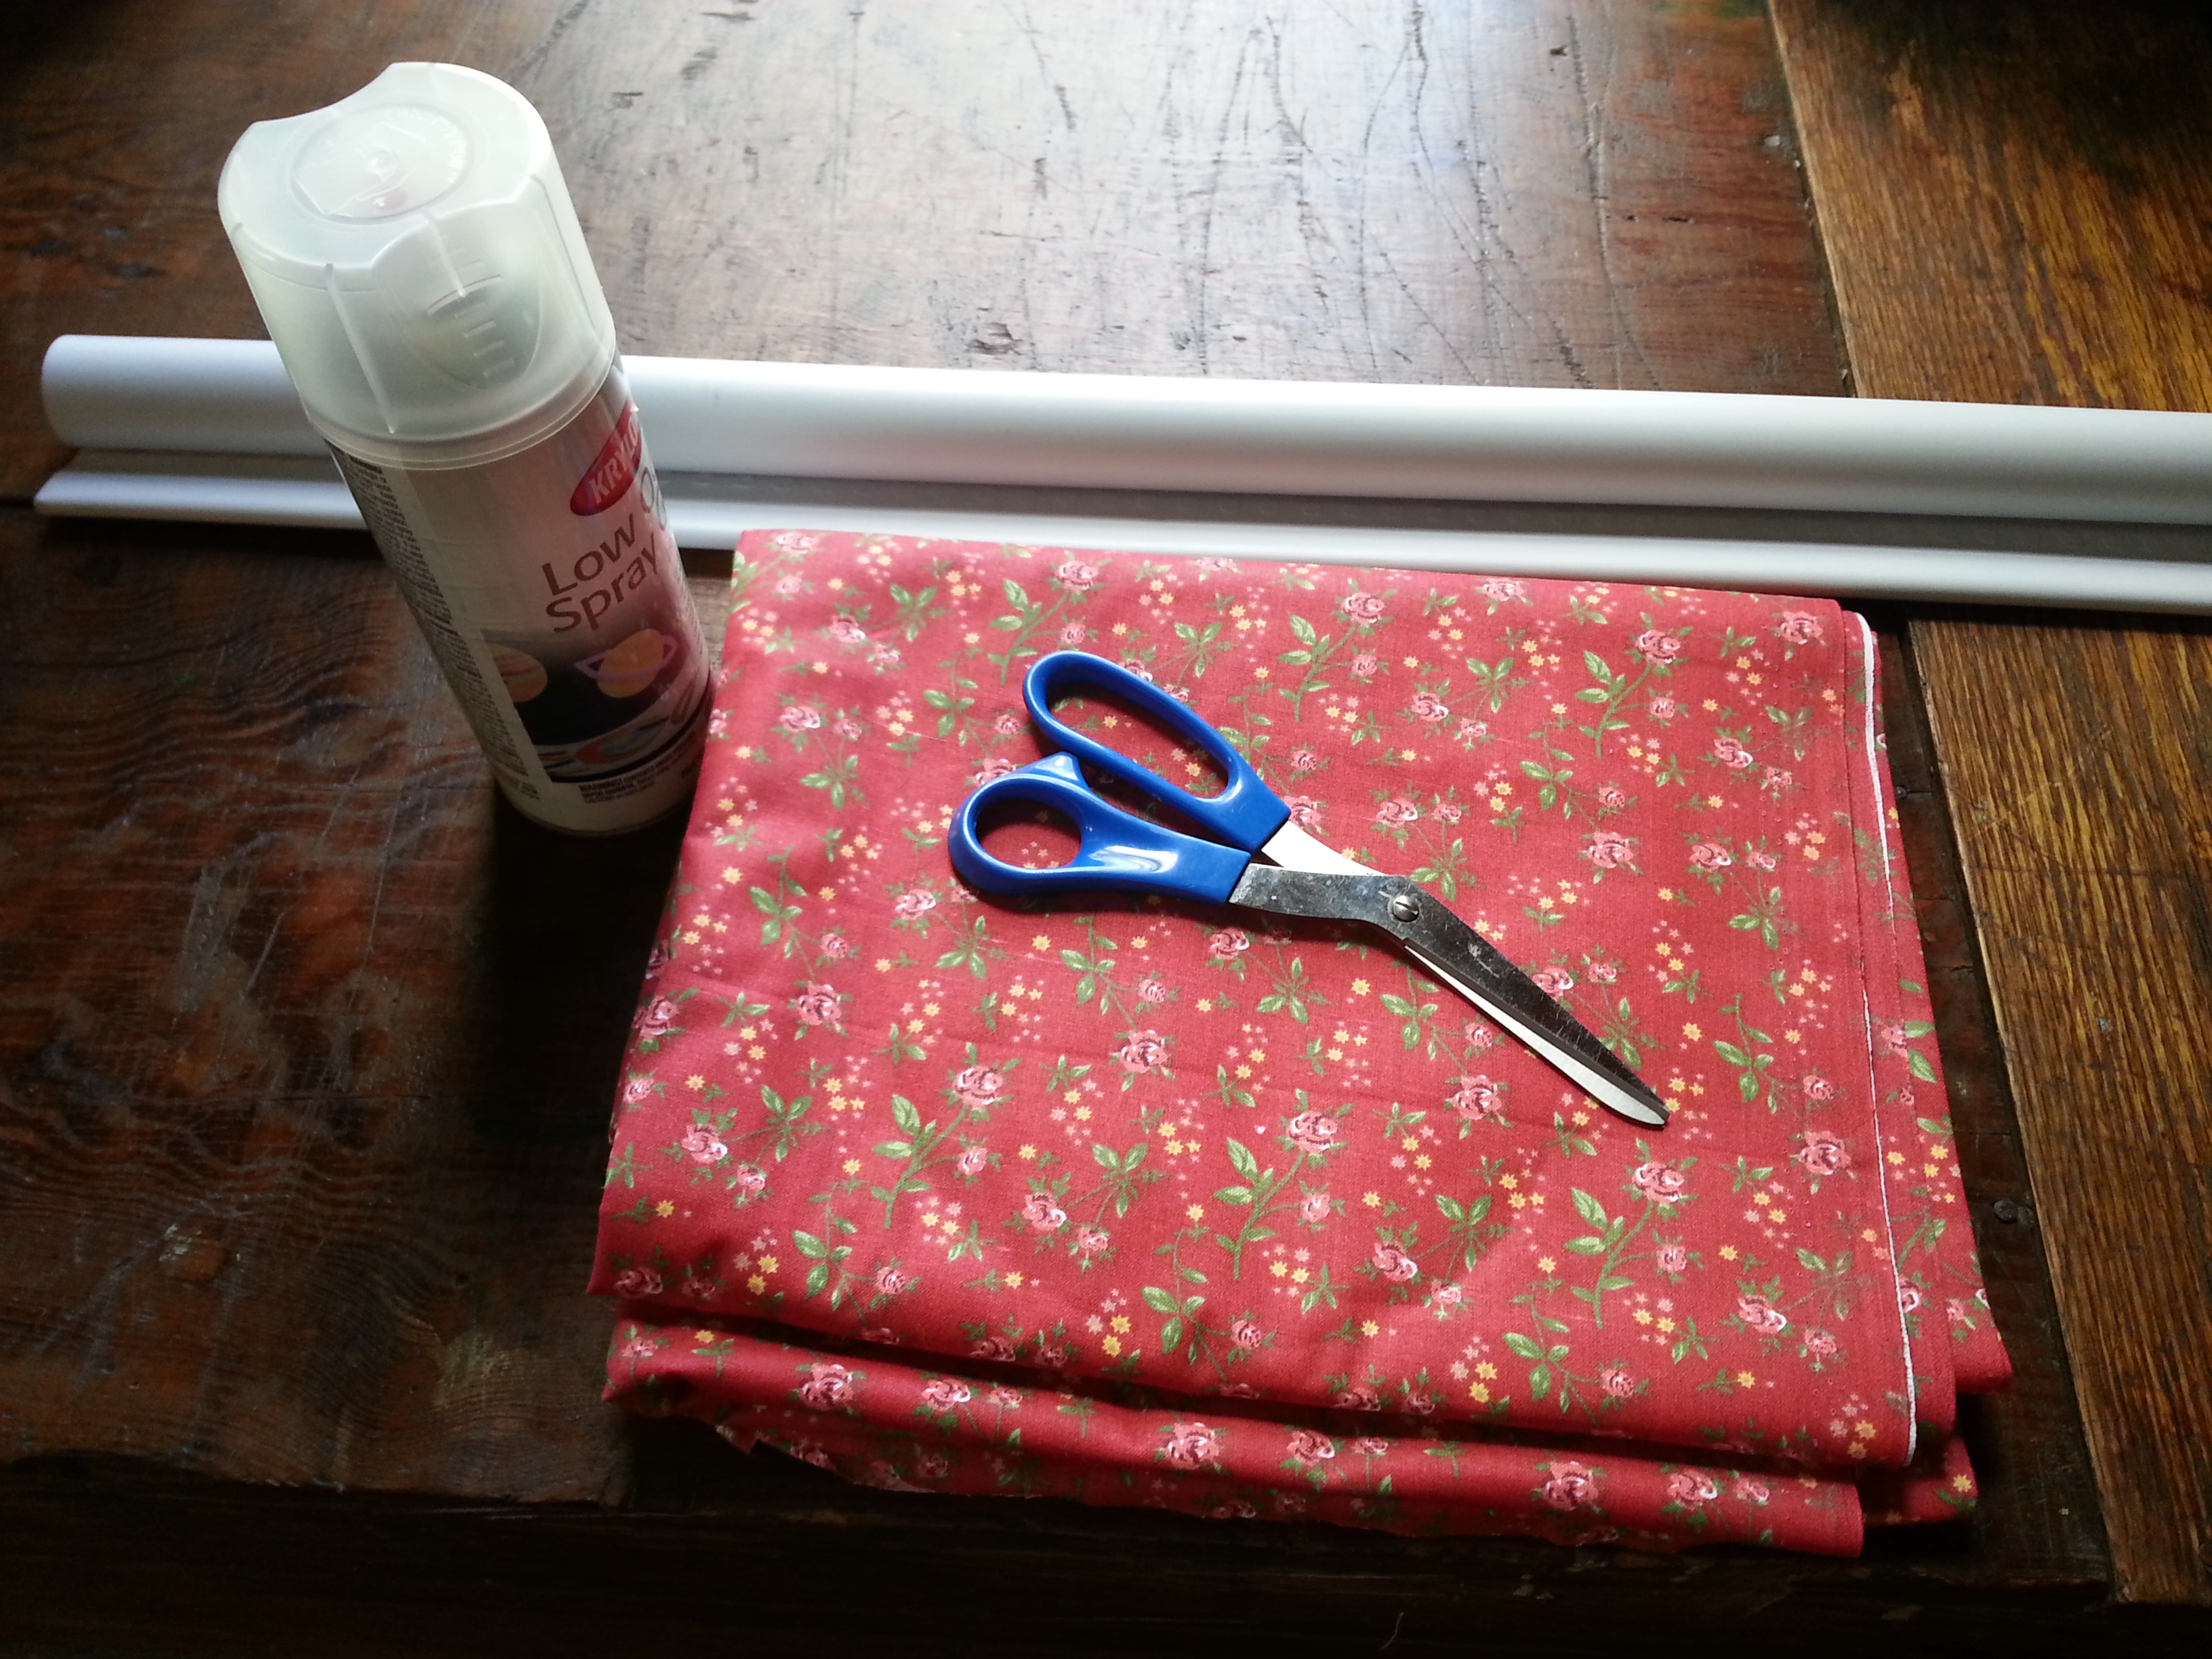
Material. I bought 4 yards, which was just enough for 2 blinds with none left over. But, our house has huge windows.
Measuring tape.
Pen or pencil.
Spray adhesive. I used this. I liked it a lot because it gives you time to reposition even after it’s sprayed. It also sprays on white, but dries clear. Since we were using a white blind, that didn’t really matter, but it could come in handy for other projects.
An outdoor table that you can get the adhesive on.
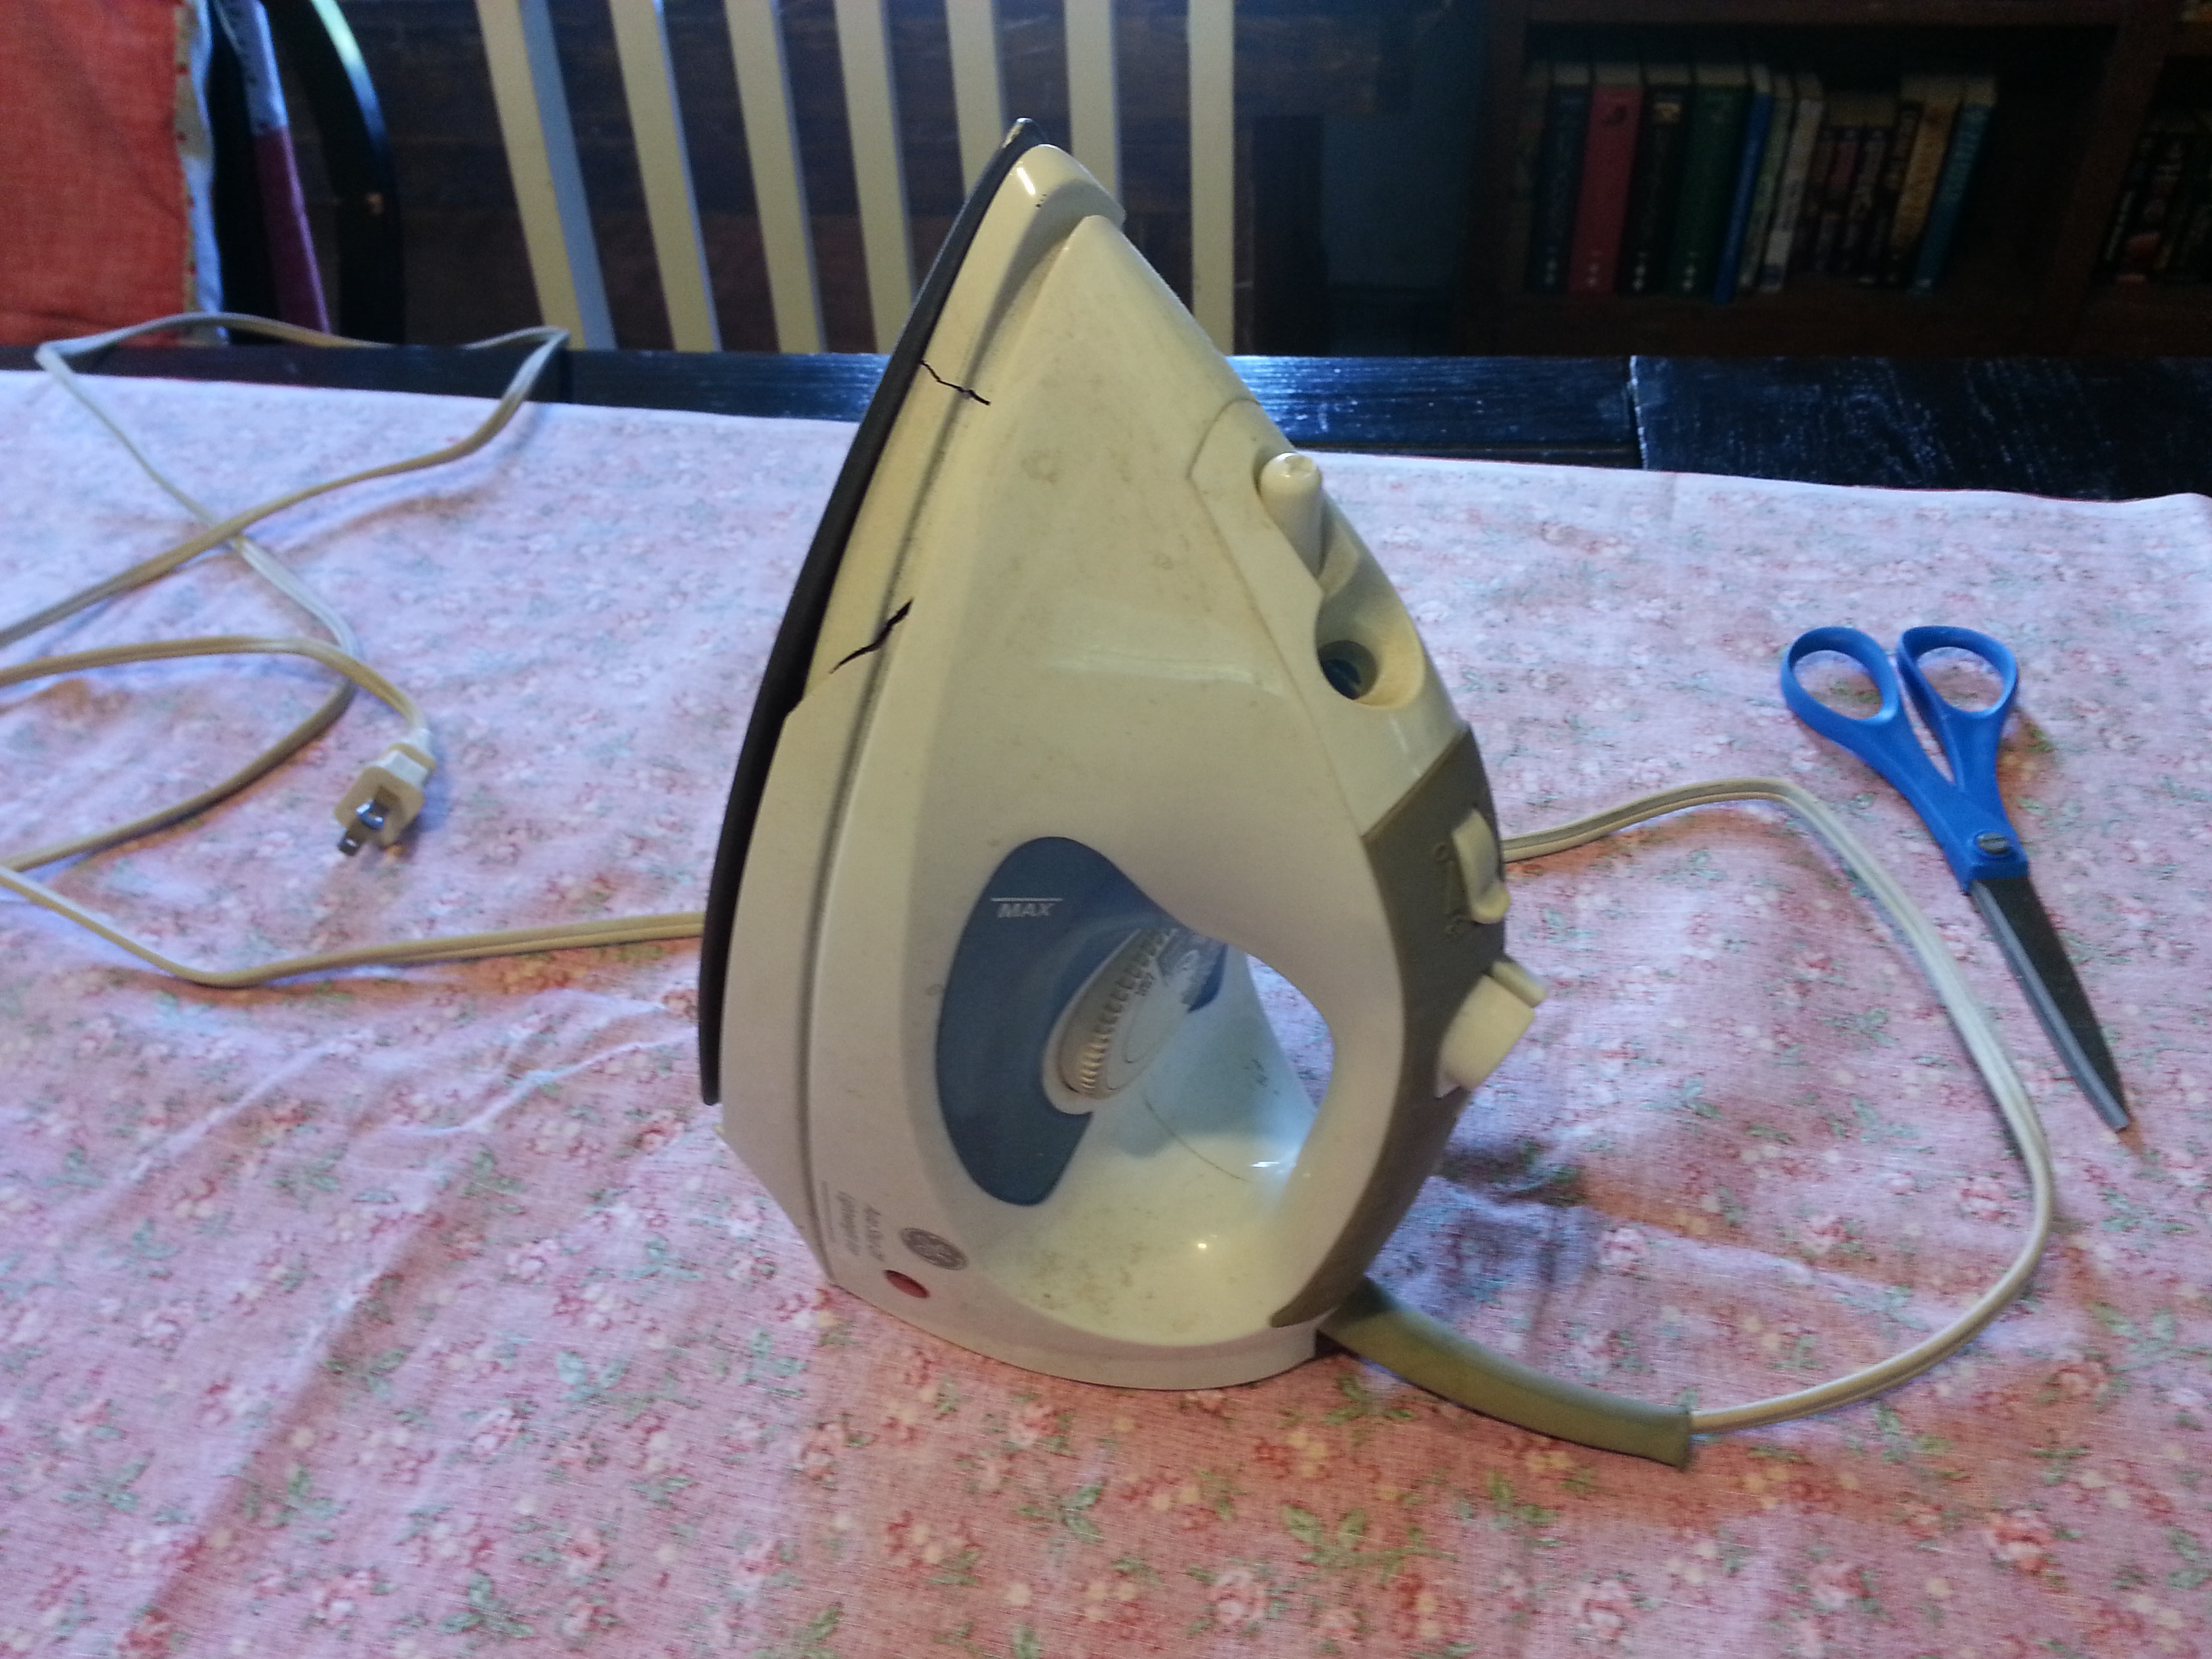
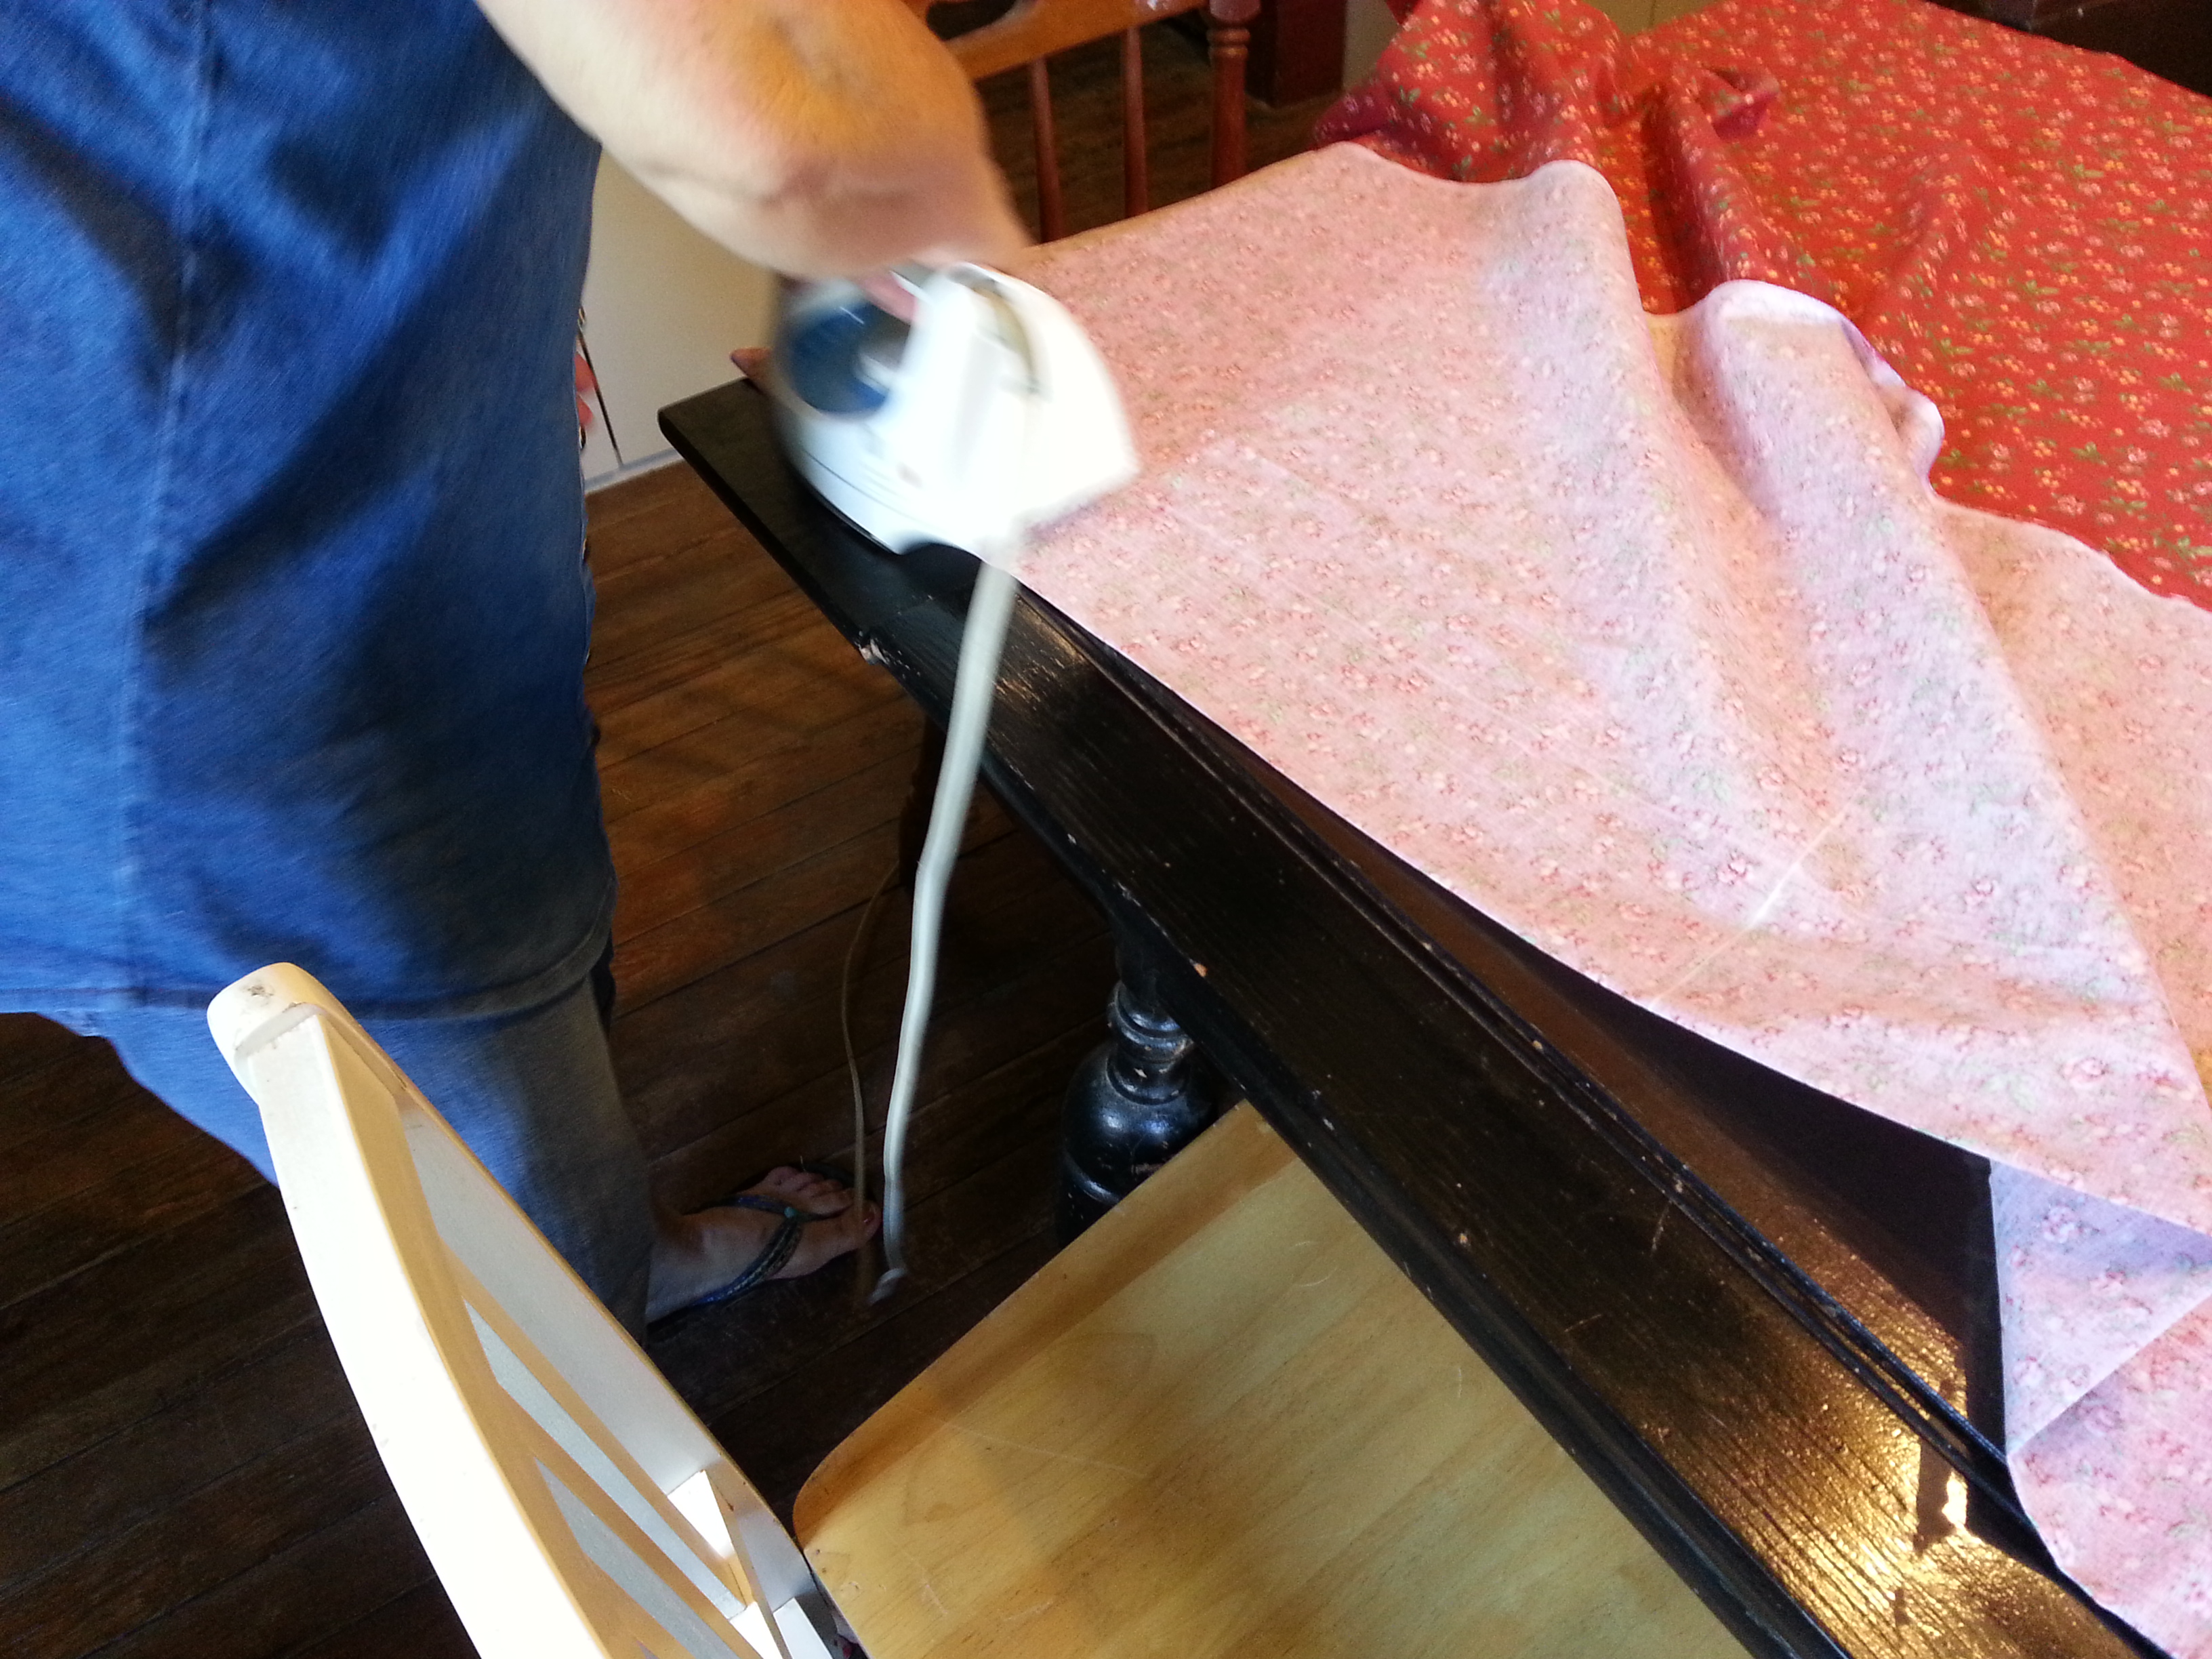
An iron and a table big enough to iron the material on.
A sharp pair of scissors.
A second person (I HIGHLY recommend this).
Instructions
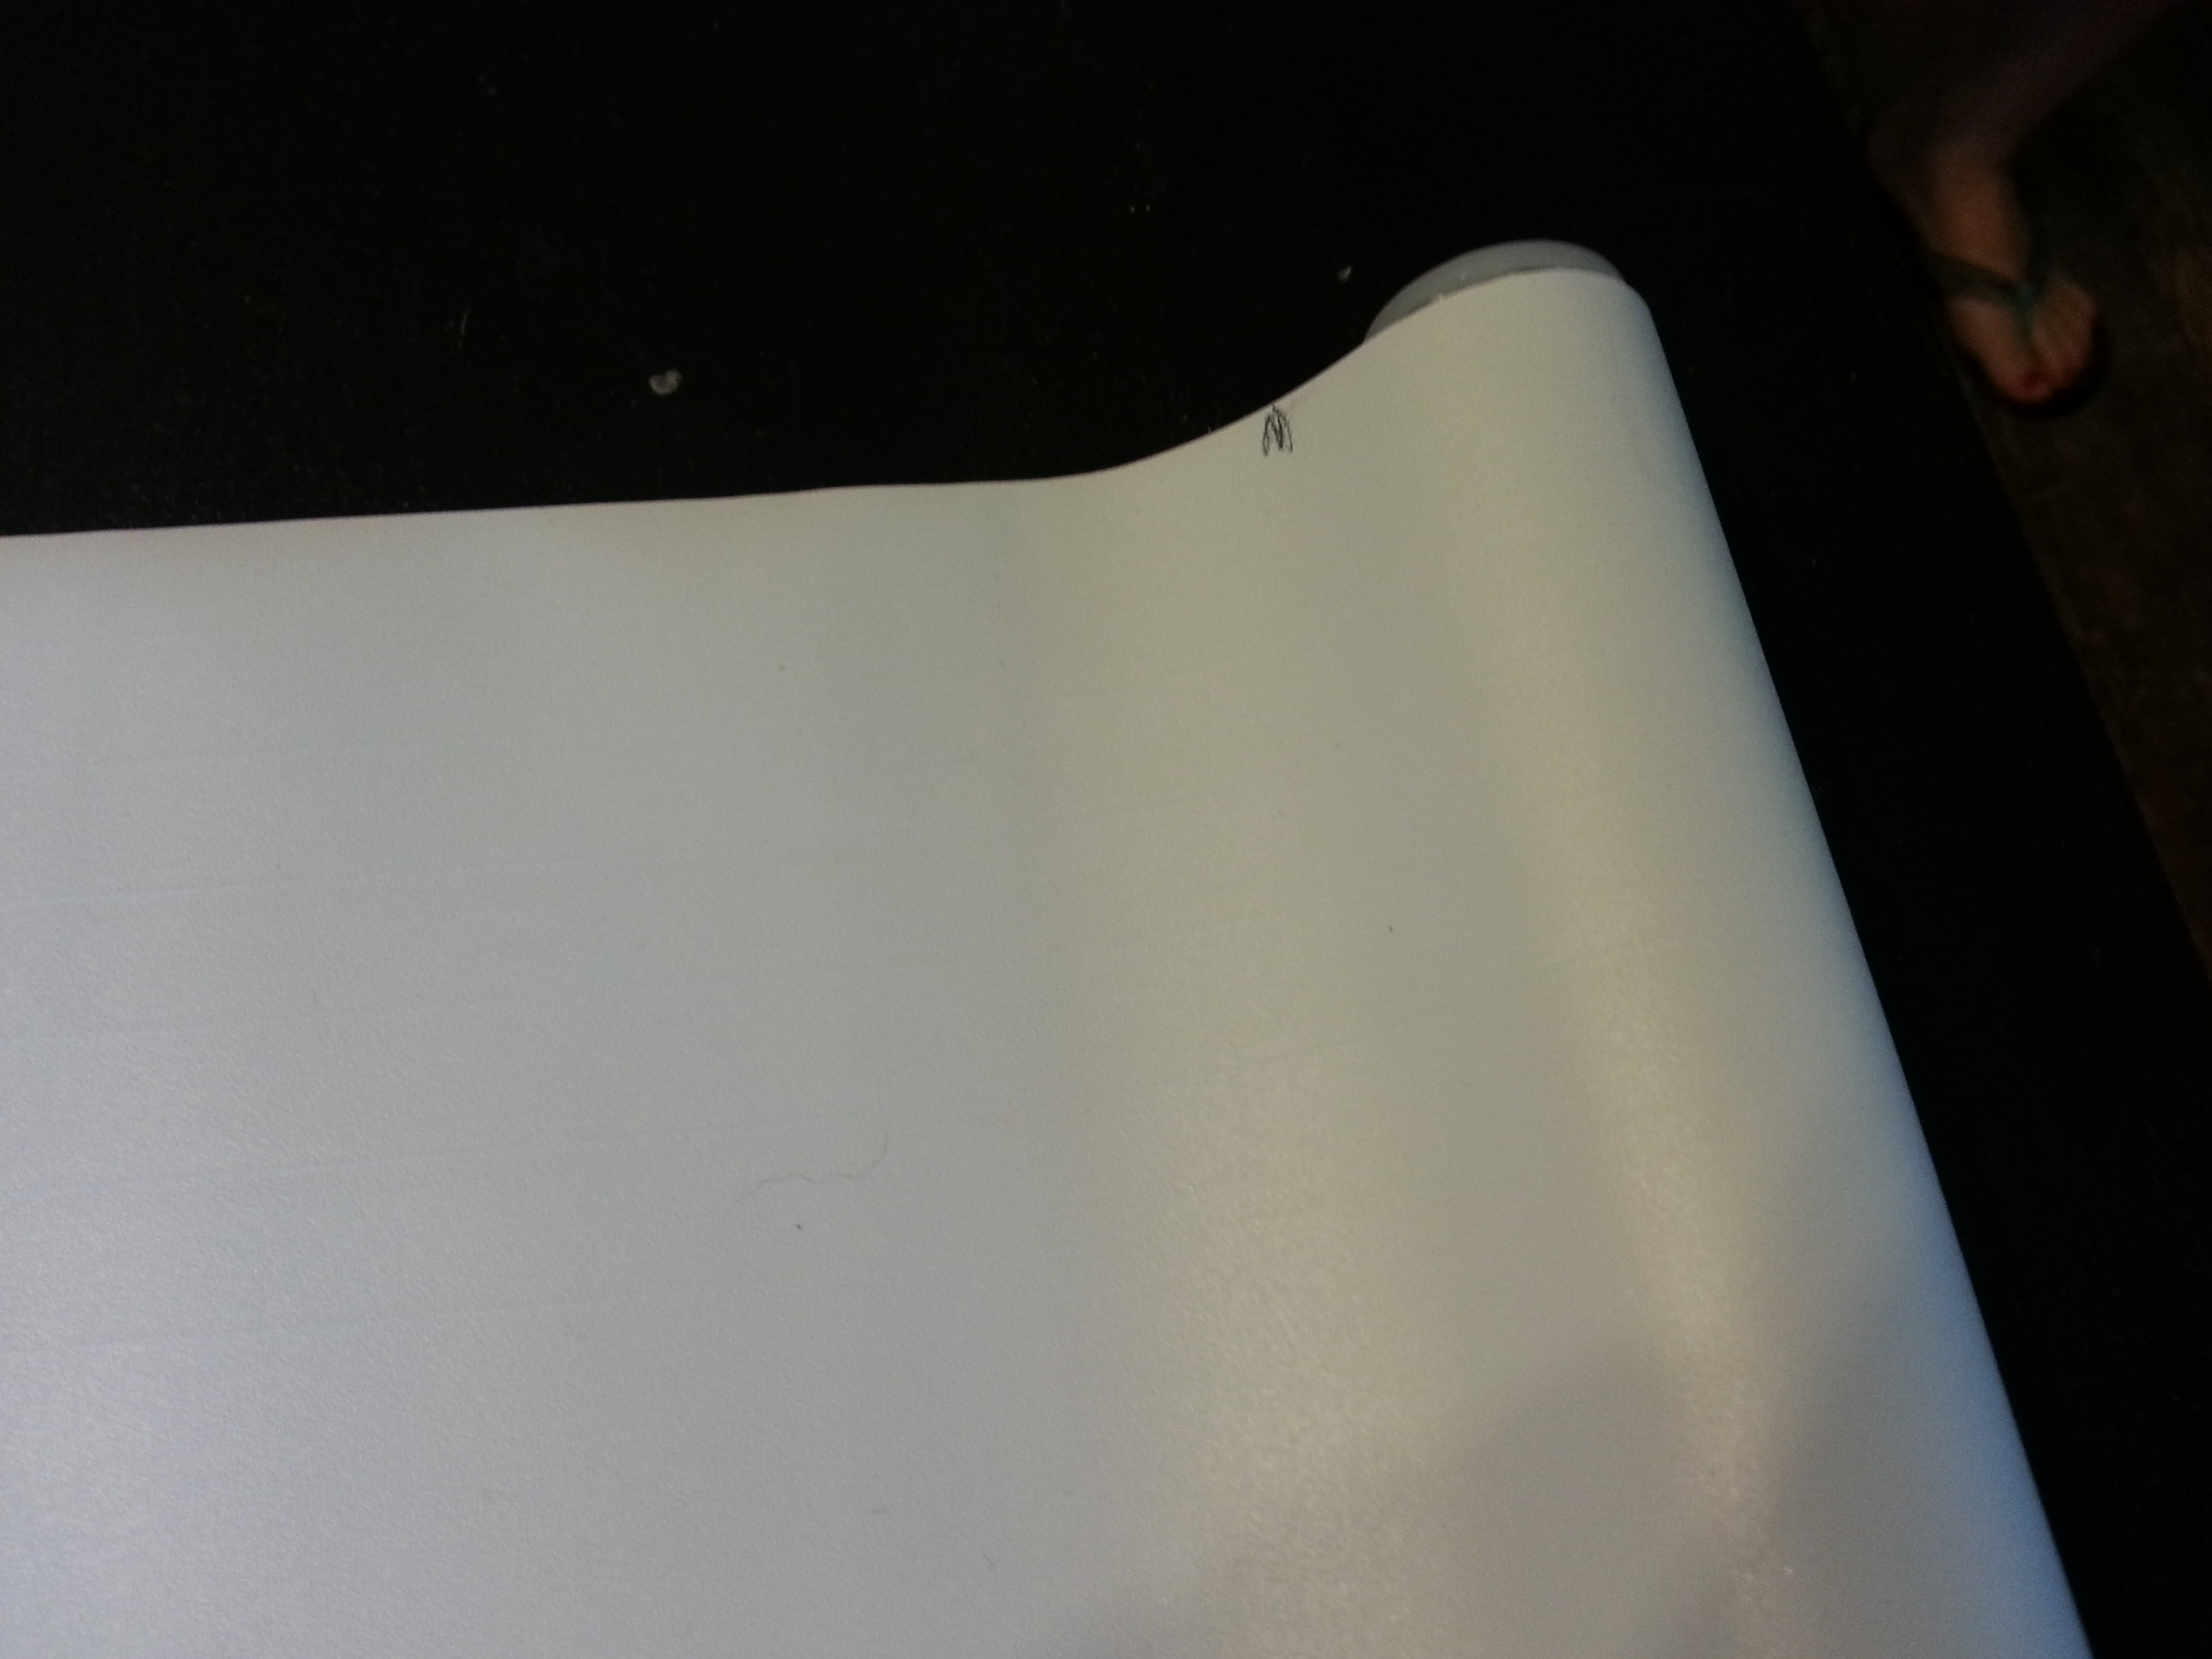
Measure your window. Then roll out the blind and mark how far up you need the material to go.
Next, will want to measure your material and cut it to size. Then, iron it.
Next take your material, blind, and spray adhesive outside.
Roll out the blind and lay it on a large, clean, dry surface.
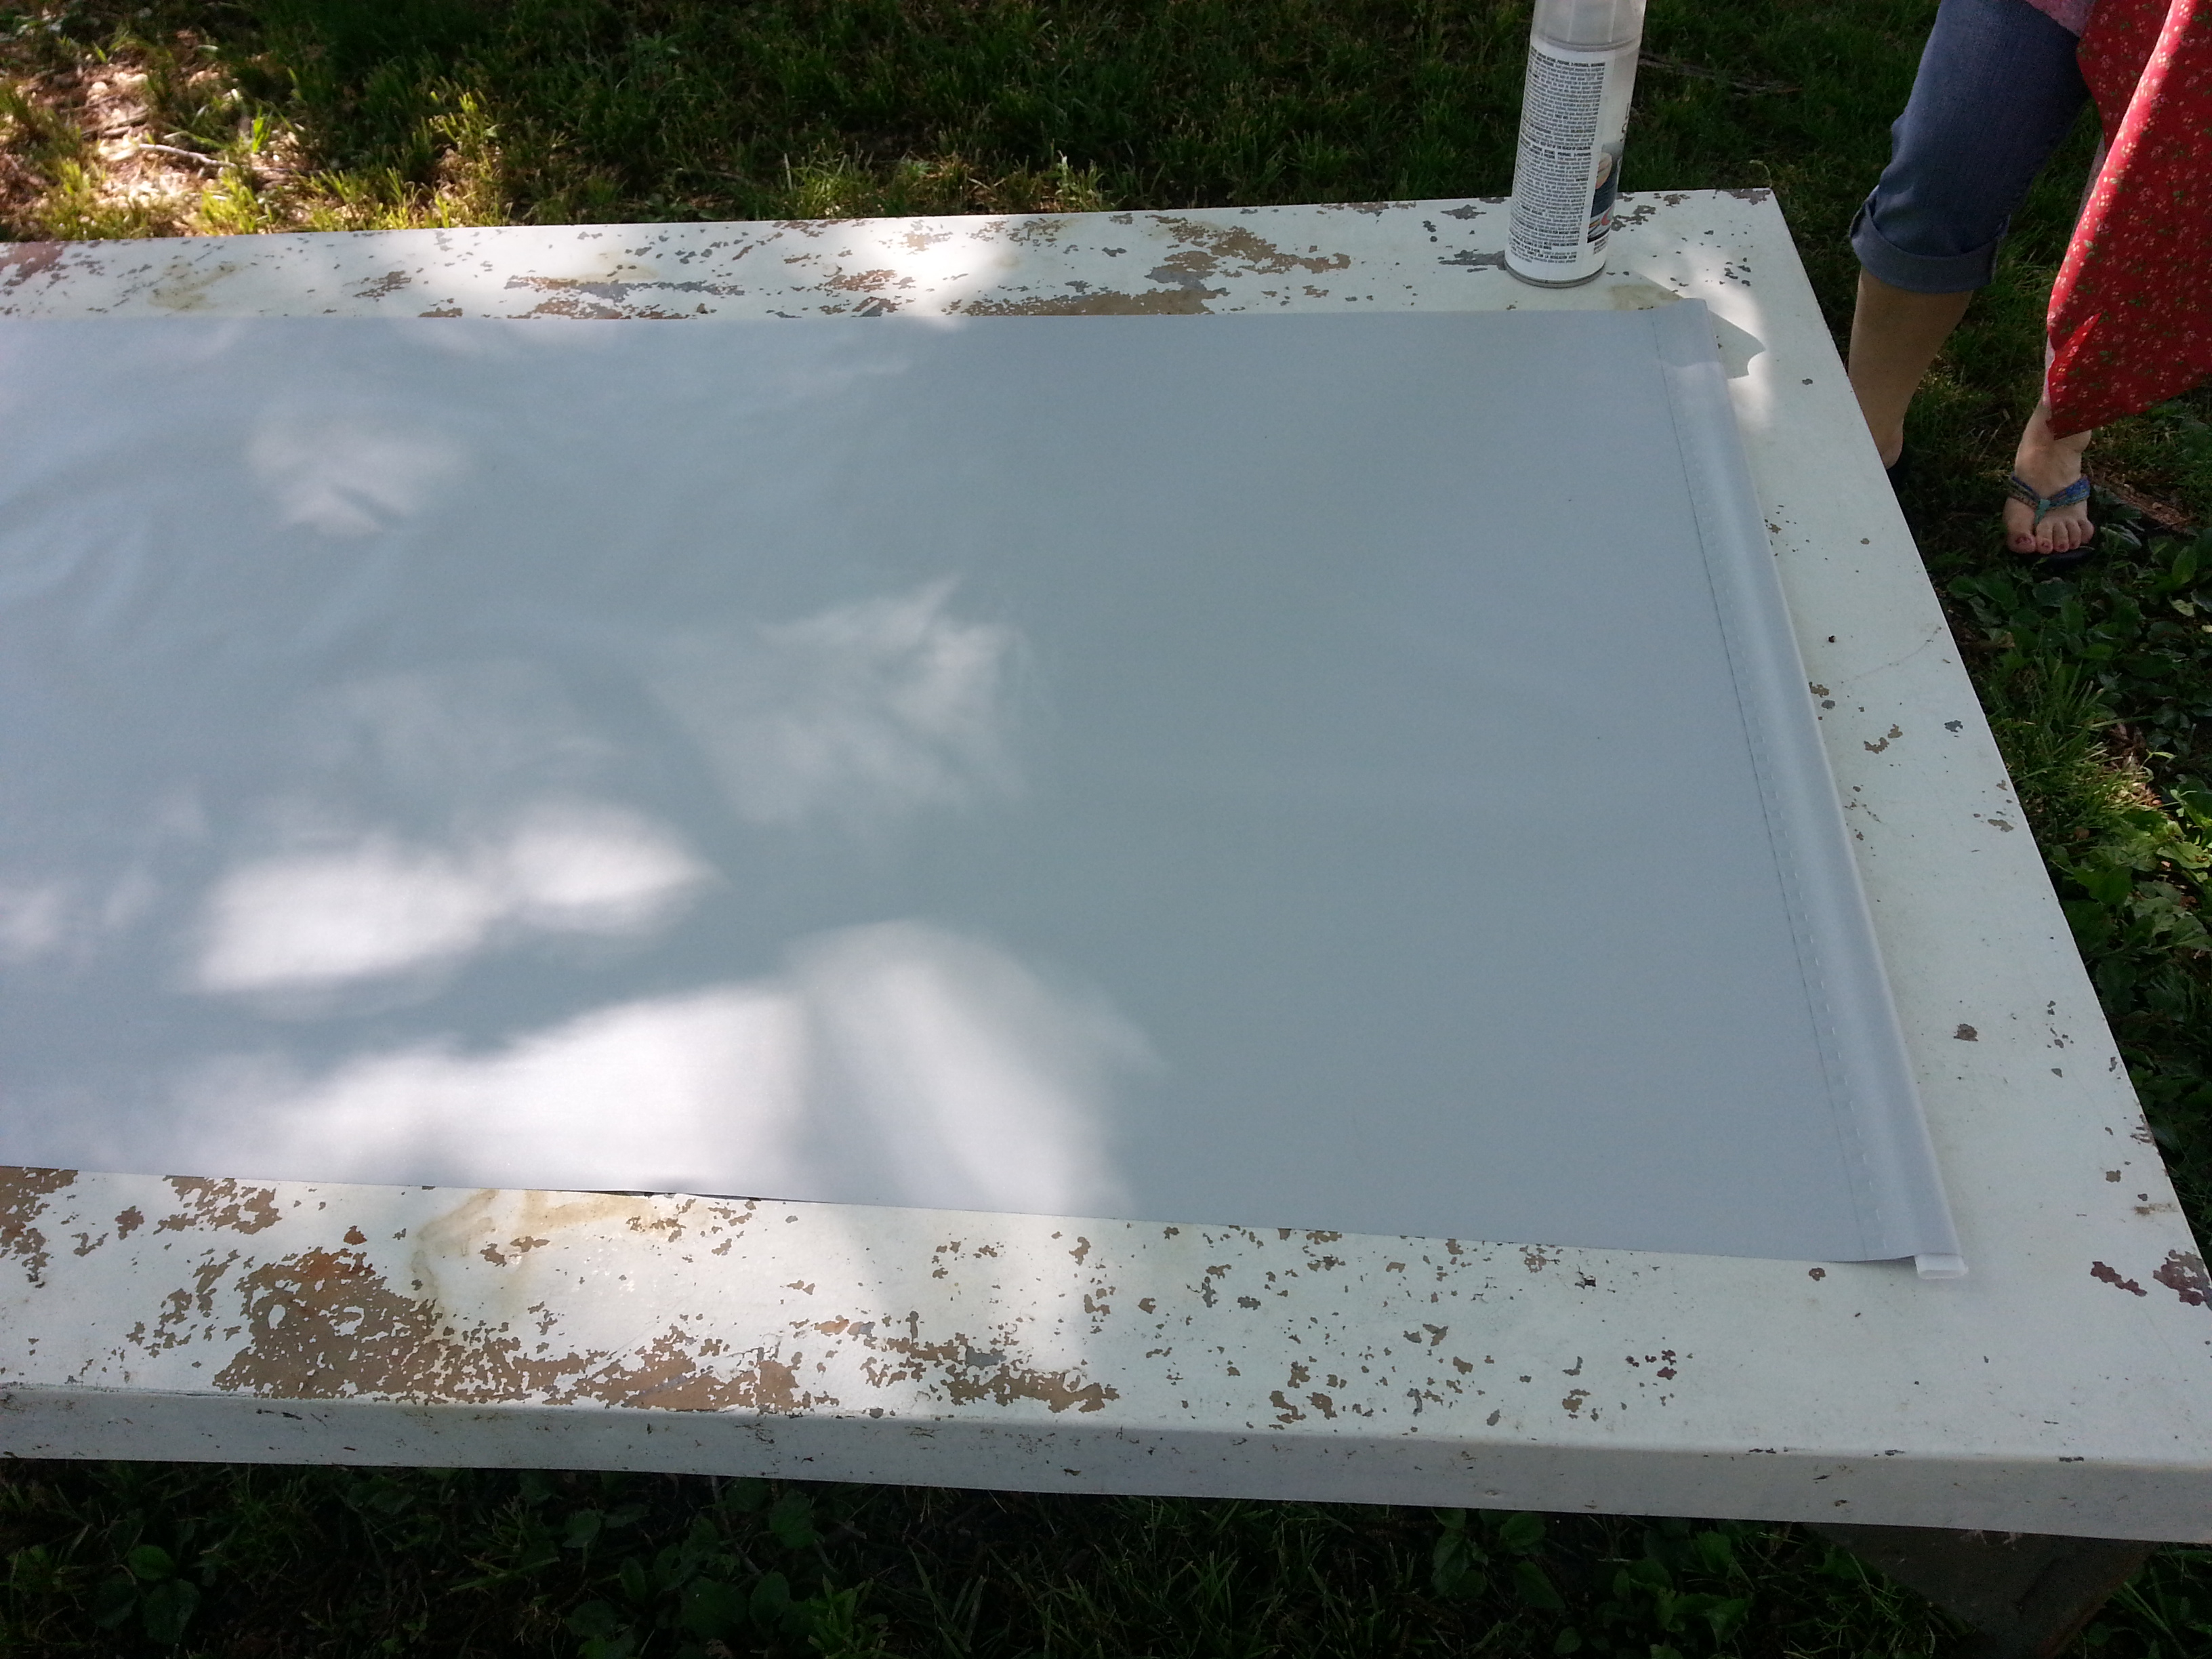
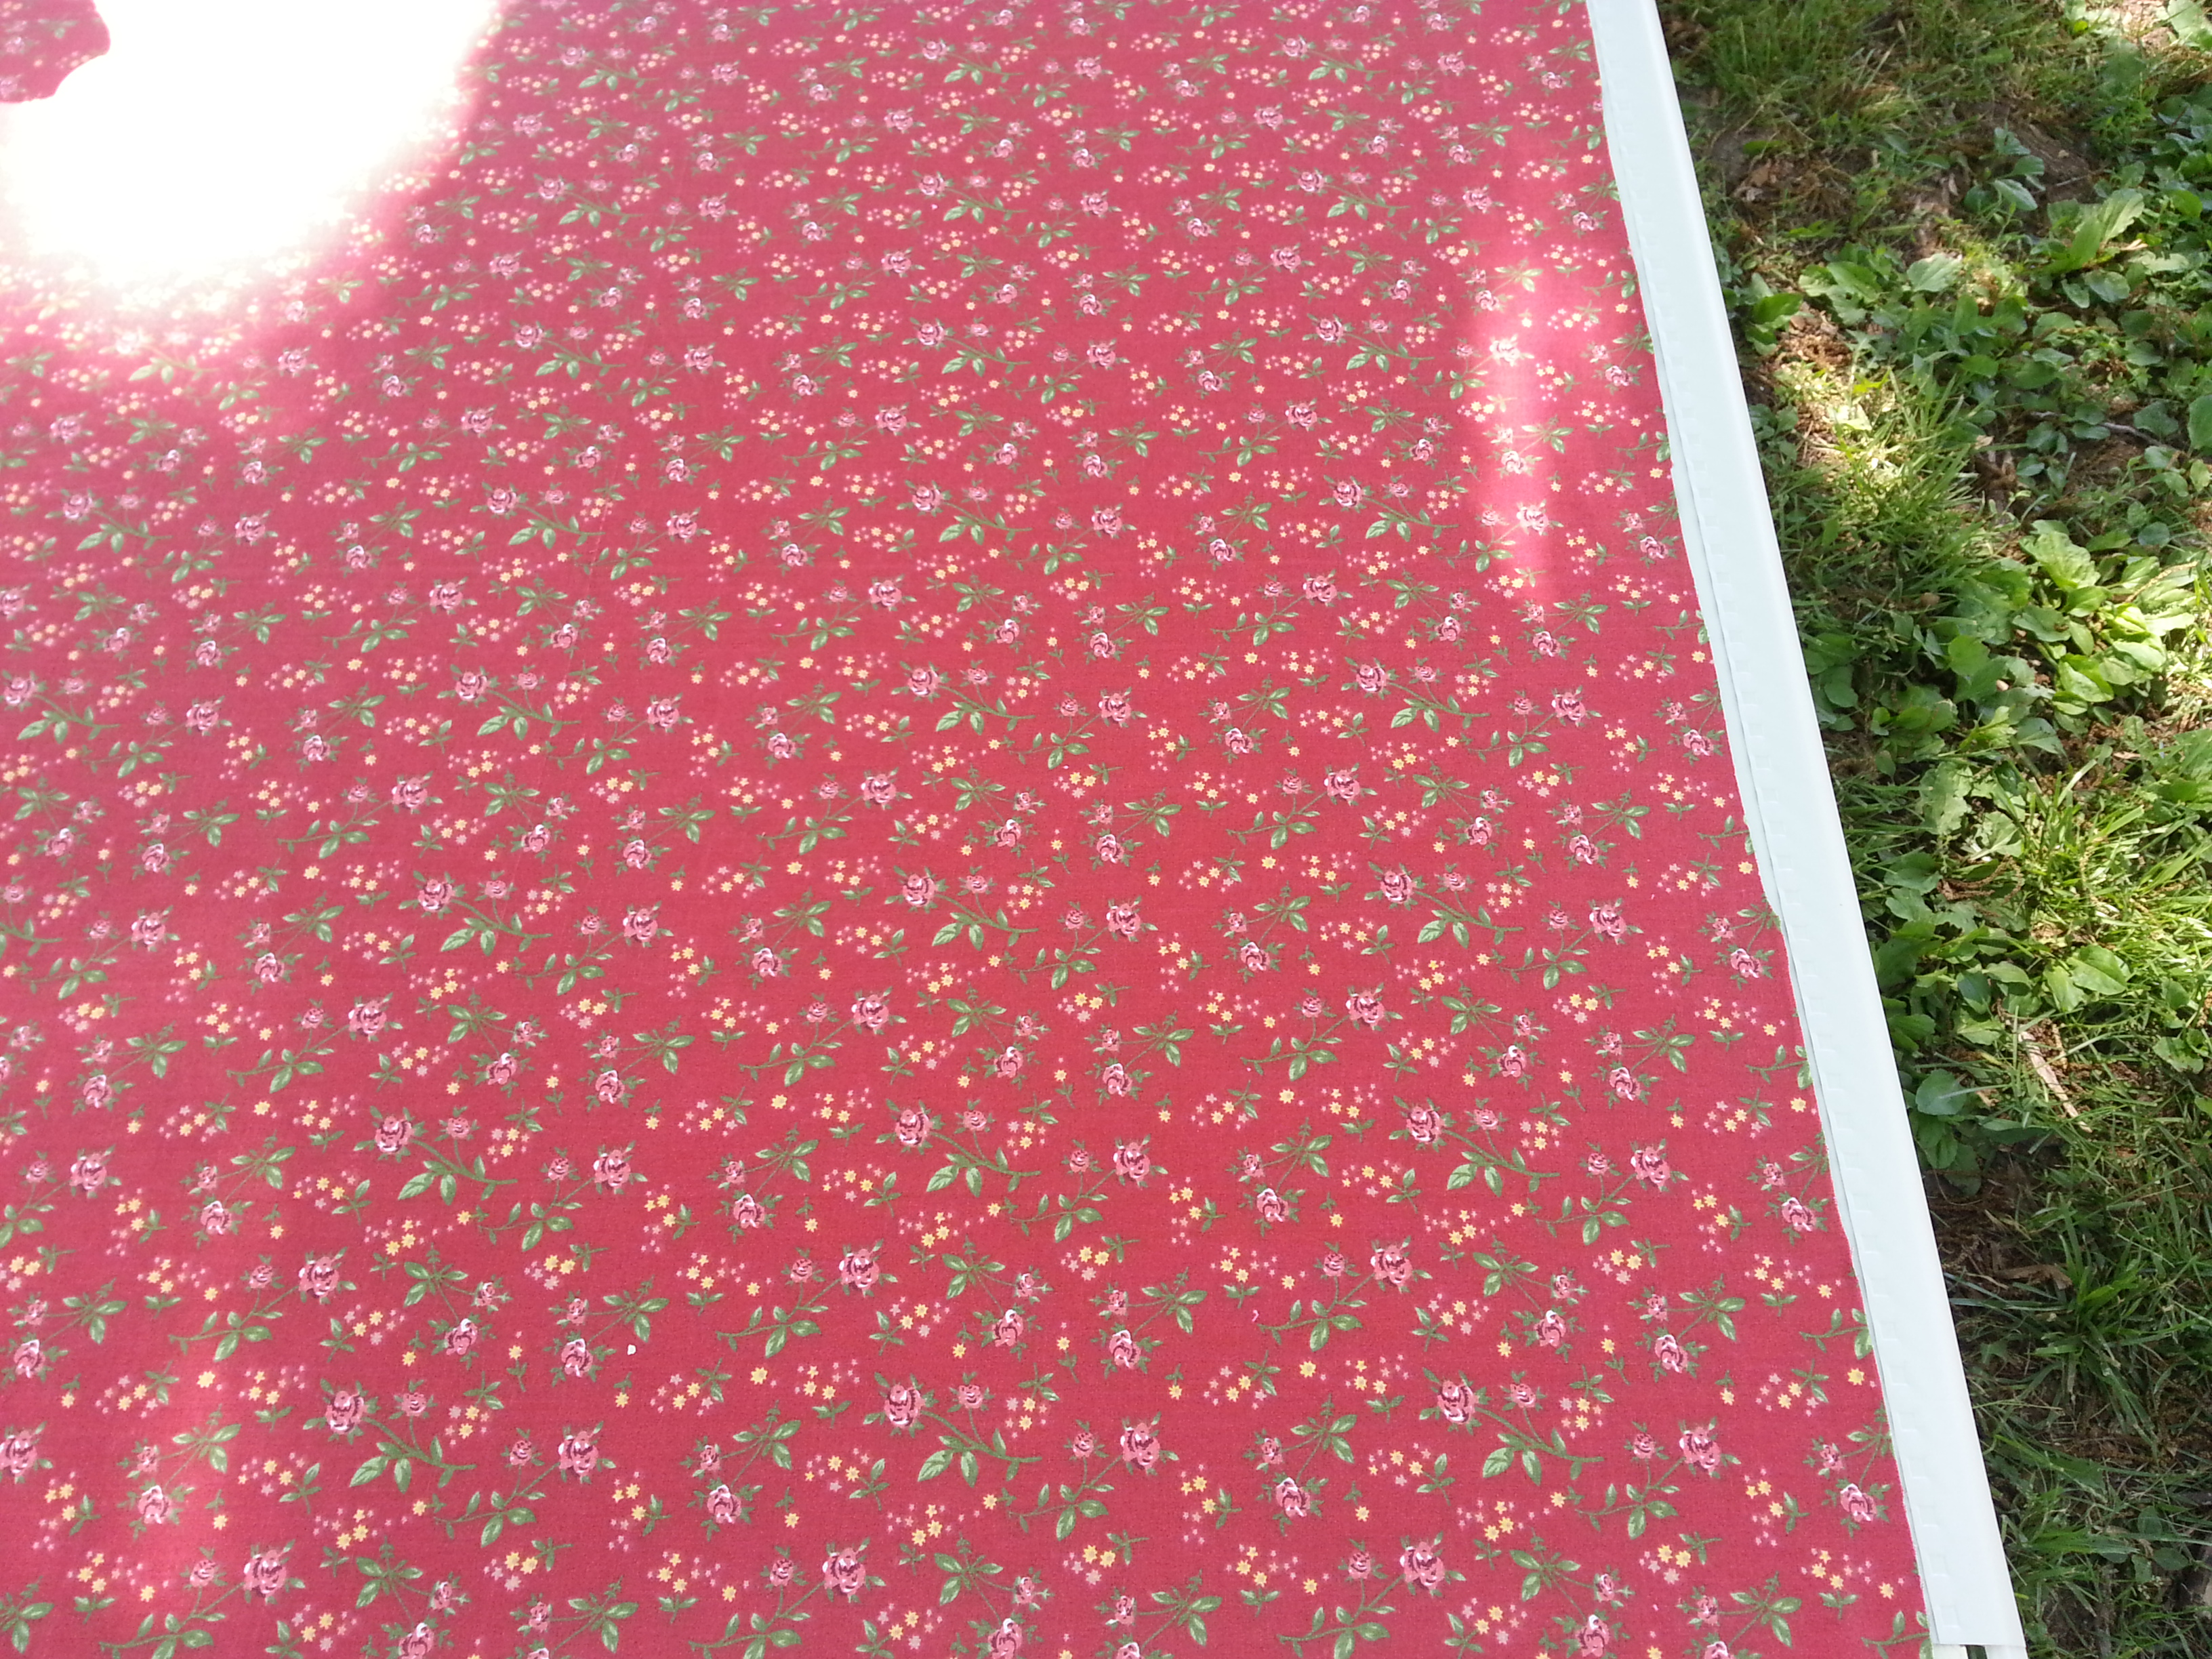
Next, spray on a generous amount of the adhesive. We started from the top and laid the material down, pressing down and pushing out any wrinkles. This took a while and we had to reposition it several times. We also had to re-spray some of the edges.
Once we were done with the first one, we took a break and let that dry for a while.
Then, we did the second one the exact same way.
We took them both inside and hung them up by following the instructions that came with the blinds.
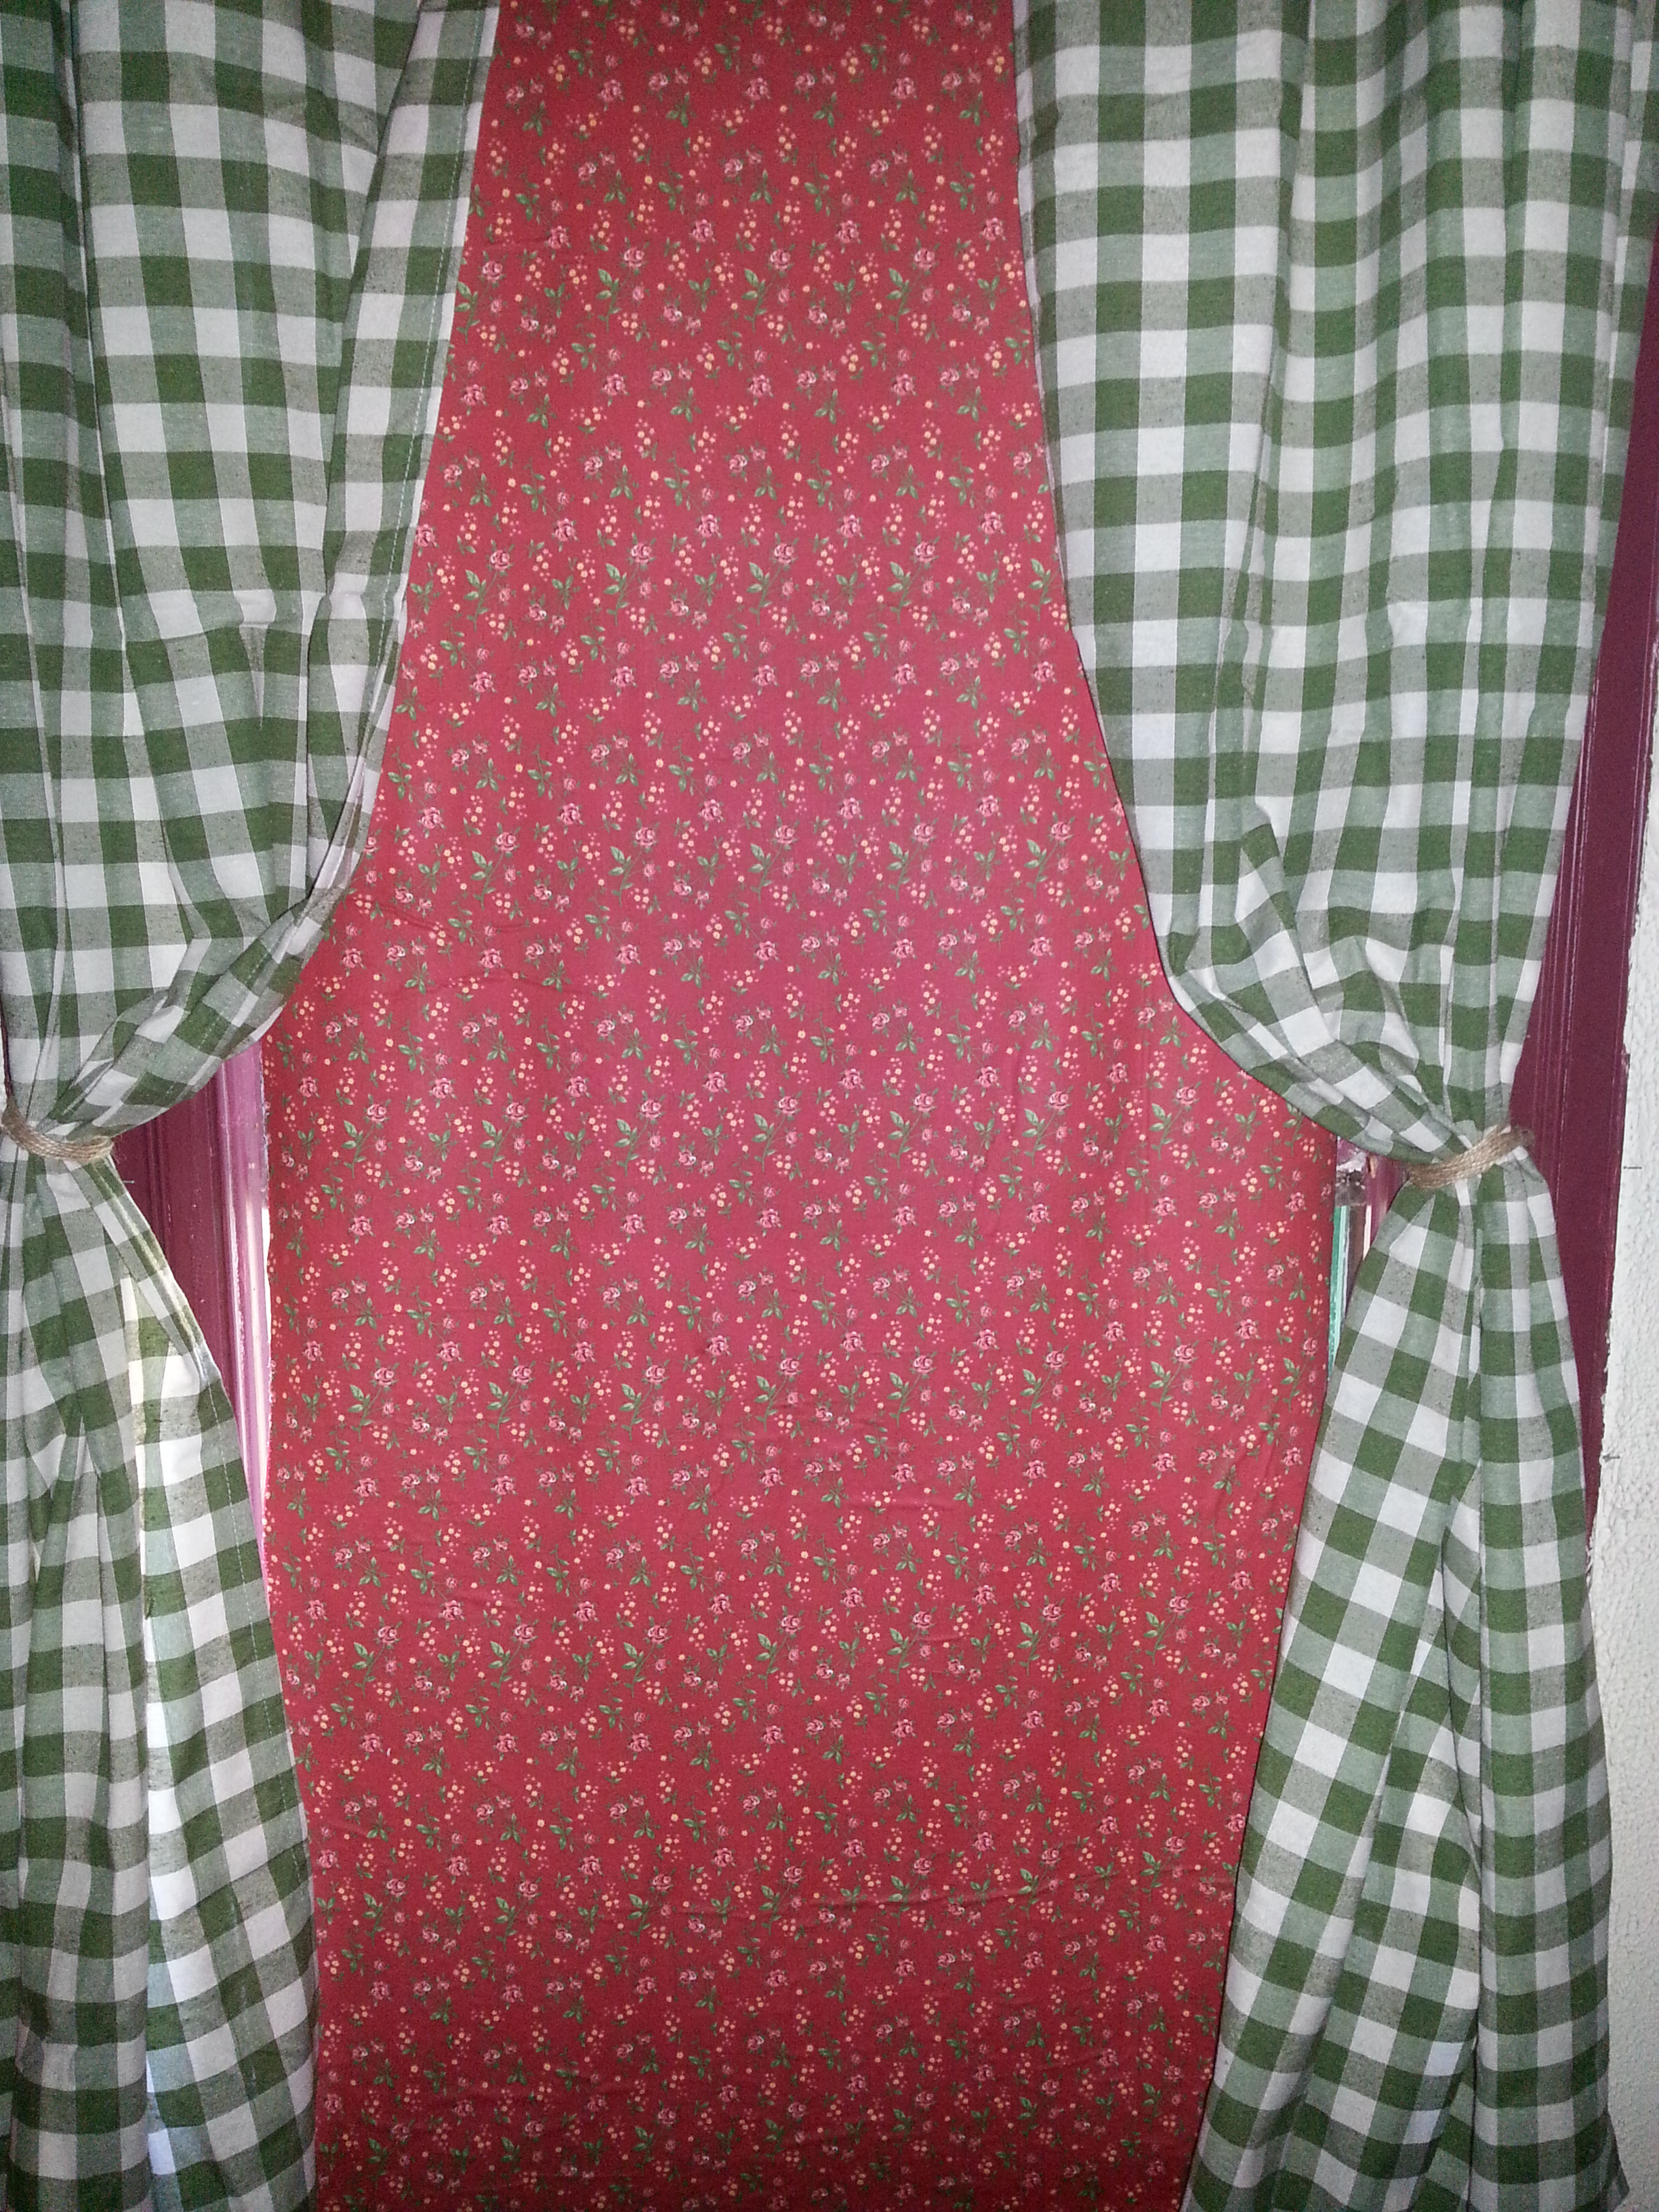
Here is the finished product. This is not complicated, but it is time consuming. Plan on it taking a while and recruit help! It was worth it though.

What a great idea!!