The Crazy Hat Box

there's a hat for that!

Take Off Your Coat and Stay a While

I’m not winter’s biggest fan for so many reasons.  It’s cold, the days are short, the mornings are dark, it’s cold, the weather is often dreary, it’s cold… well, you get the idea.  But one of the biggest annoyances of winter is the need for coats.  I hate coats.  It’s just one more step to getting two kids out the door… actually, make it about 3 steps, when you count turning the coat right-side out, putting it on, then zipping it up.  And that doesn’t count hats and mittens.

And then, when we get home, the coats end up all over the place.  On the floor, the couch, the banister.  Of course, it doesn’t help matters that we didn’t have a coat rack.  I tried to corral the mess by putting a basket in the entryway just for coats, but it didn’t work extremely well.  Sometimes coats made it in the basket.  Mostly, it just looked like this:

20150103_115708

Nice.  So, finally, after years of living in this house, we added coat hooks in our entryway, and it ended up costing us nothing.

We had a perfect place:

20150103_115727

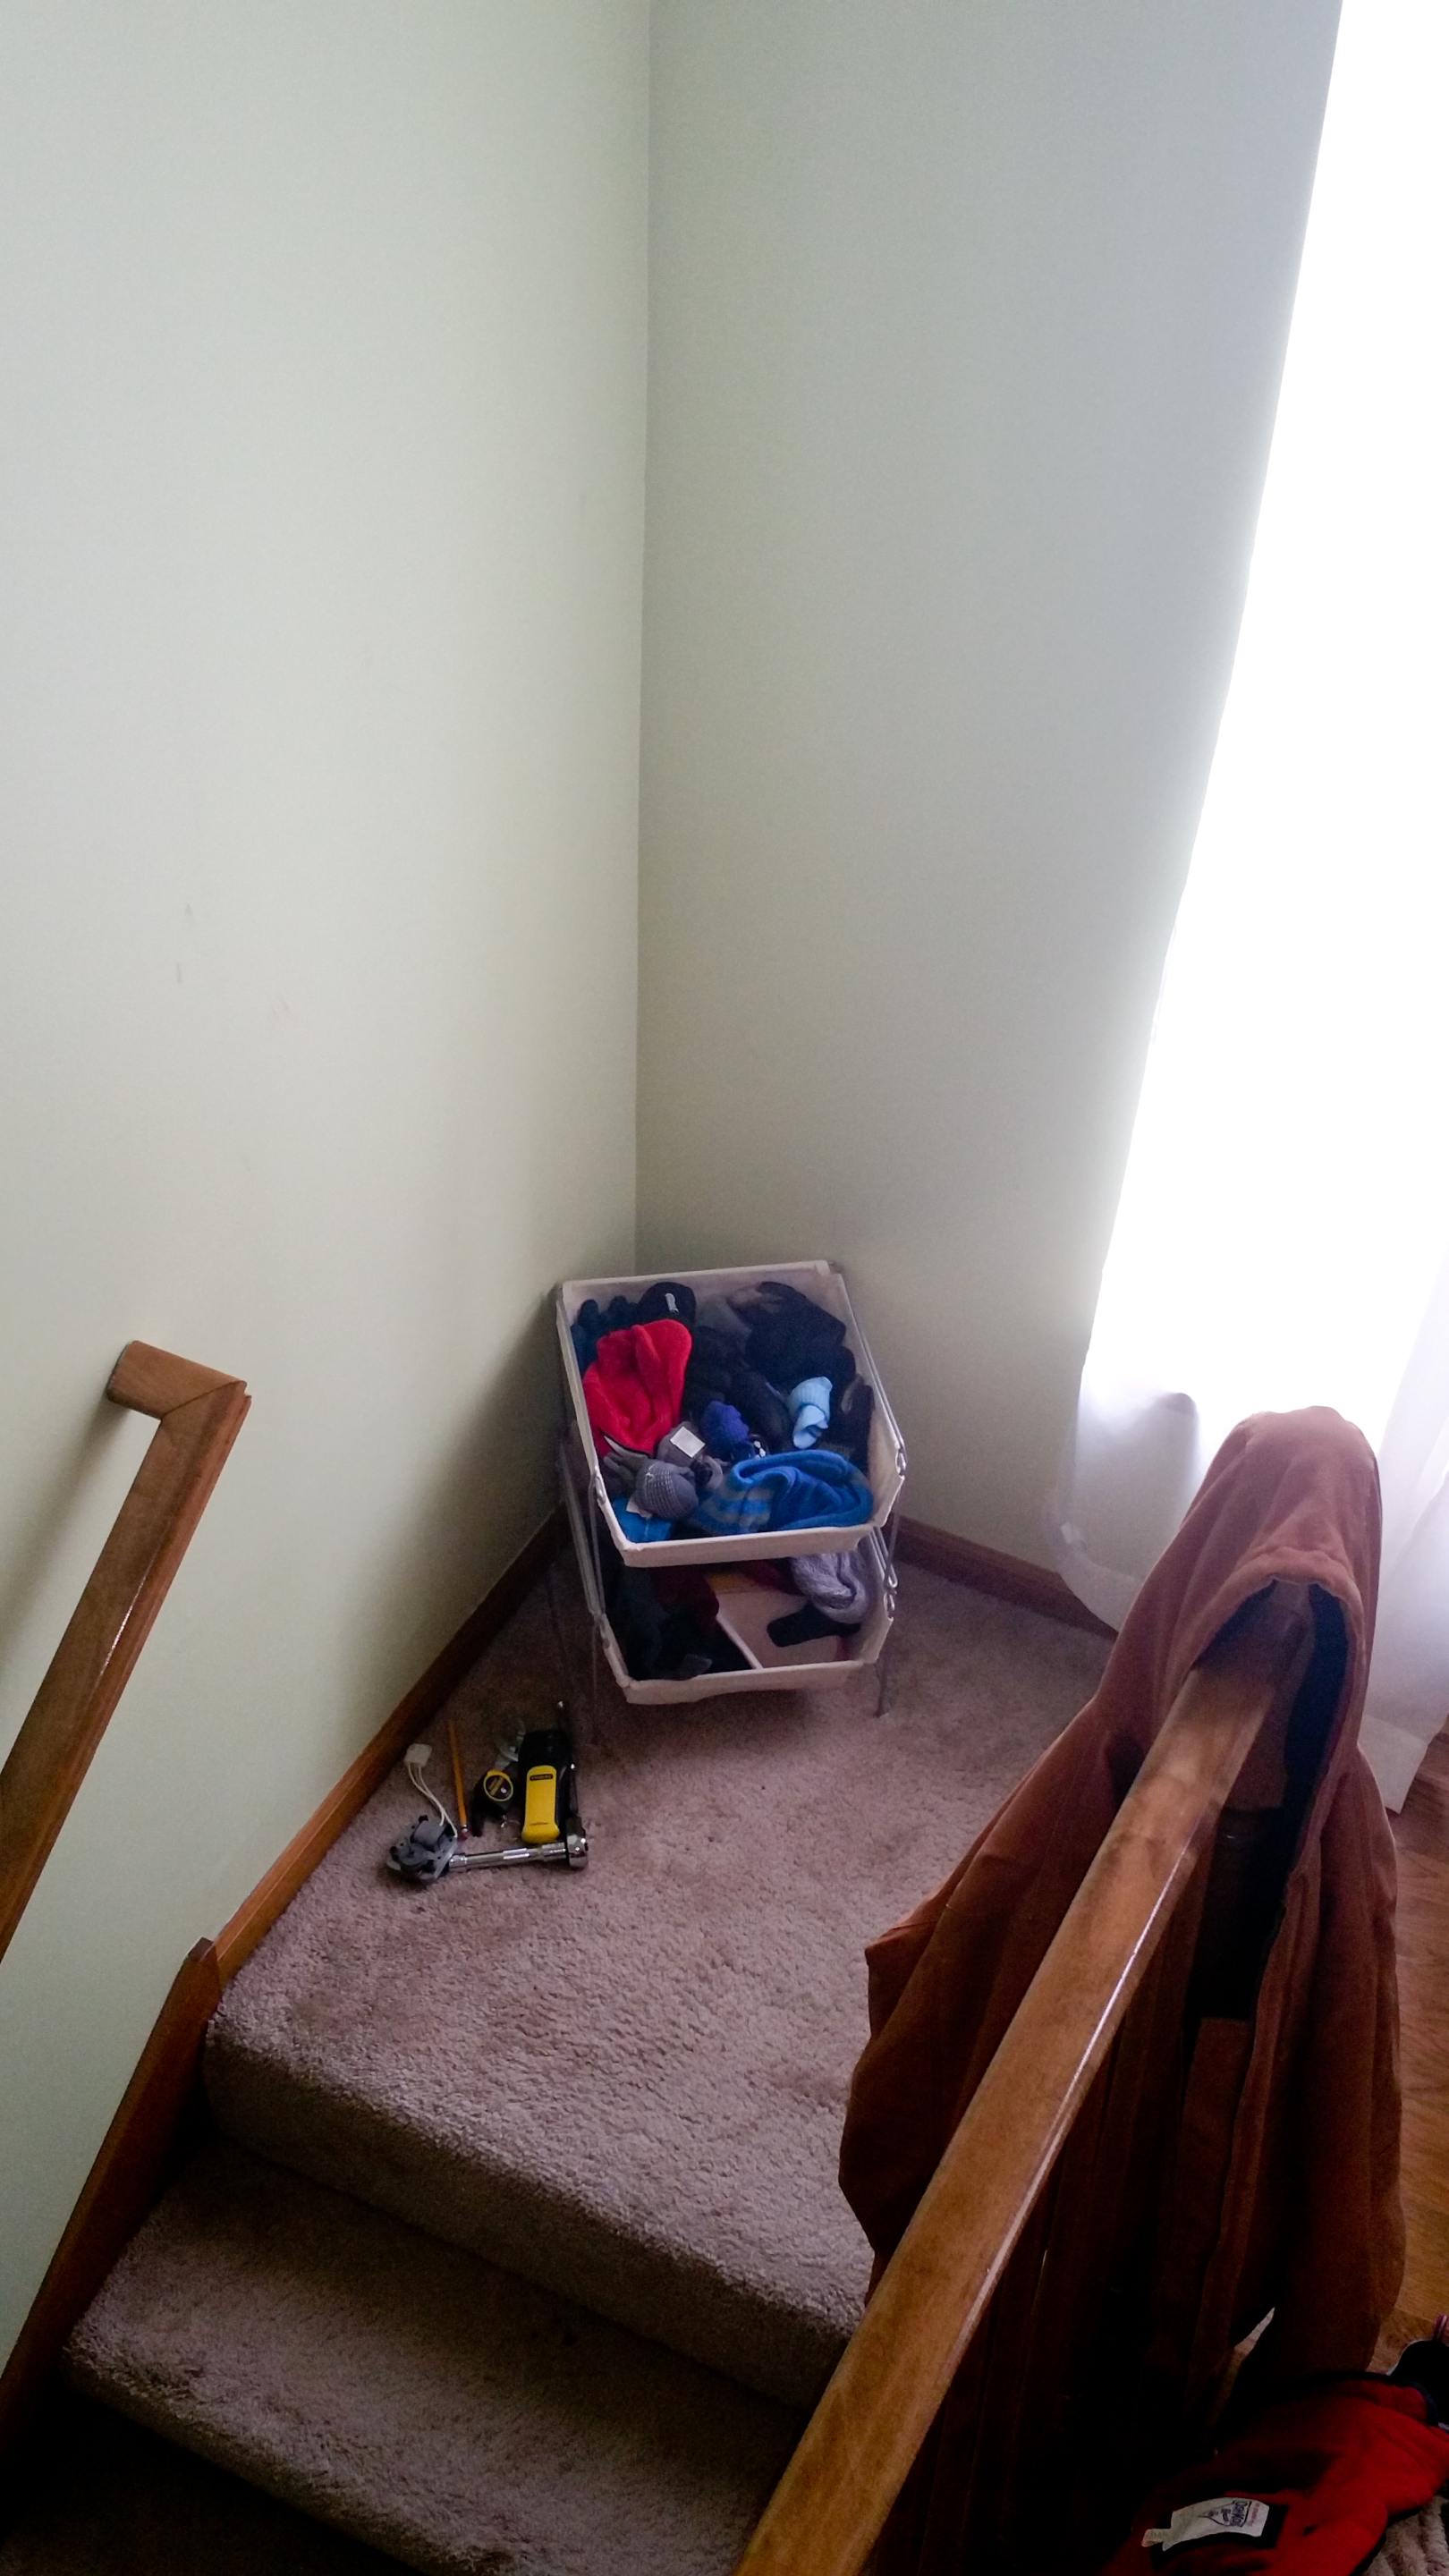
Look at all that empty wall space!

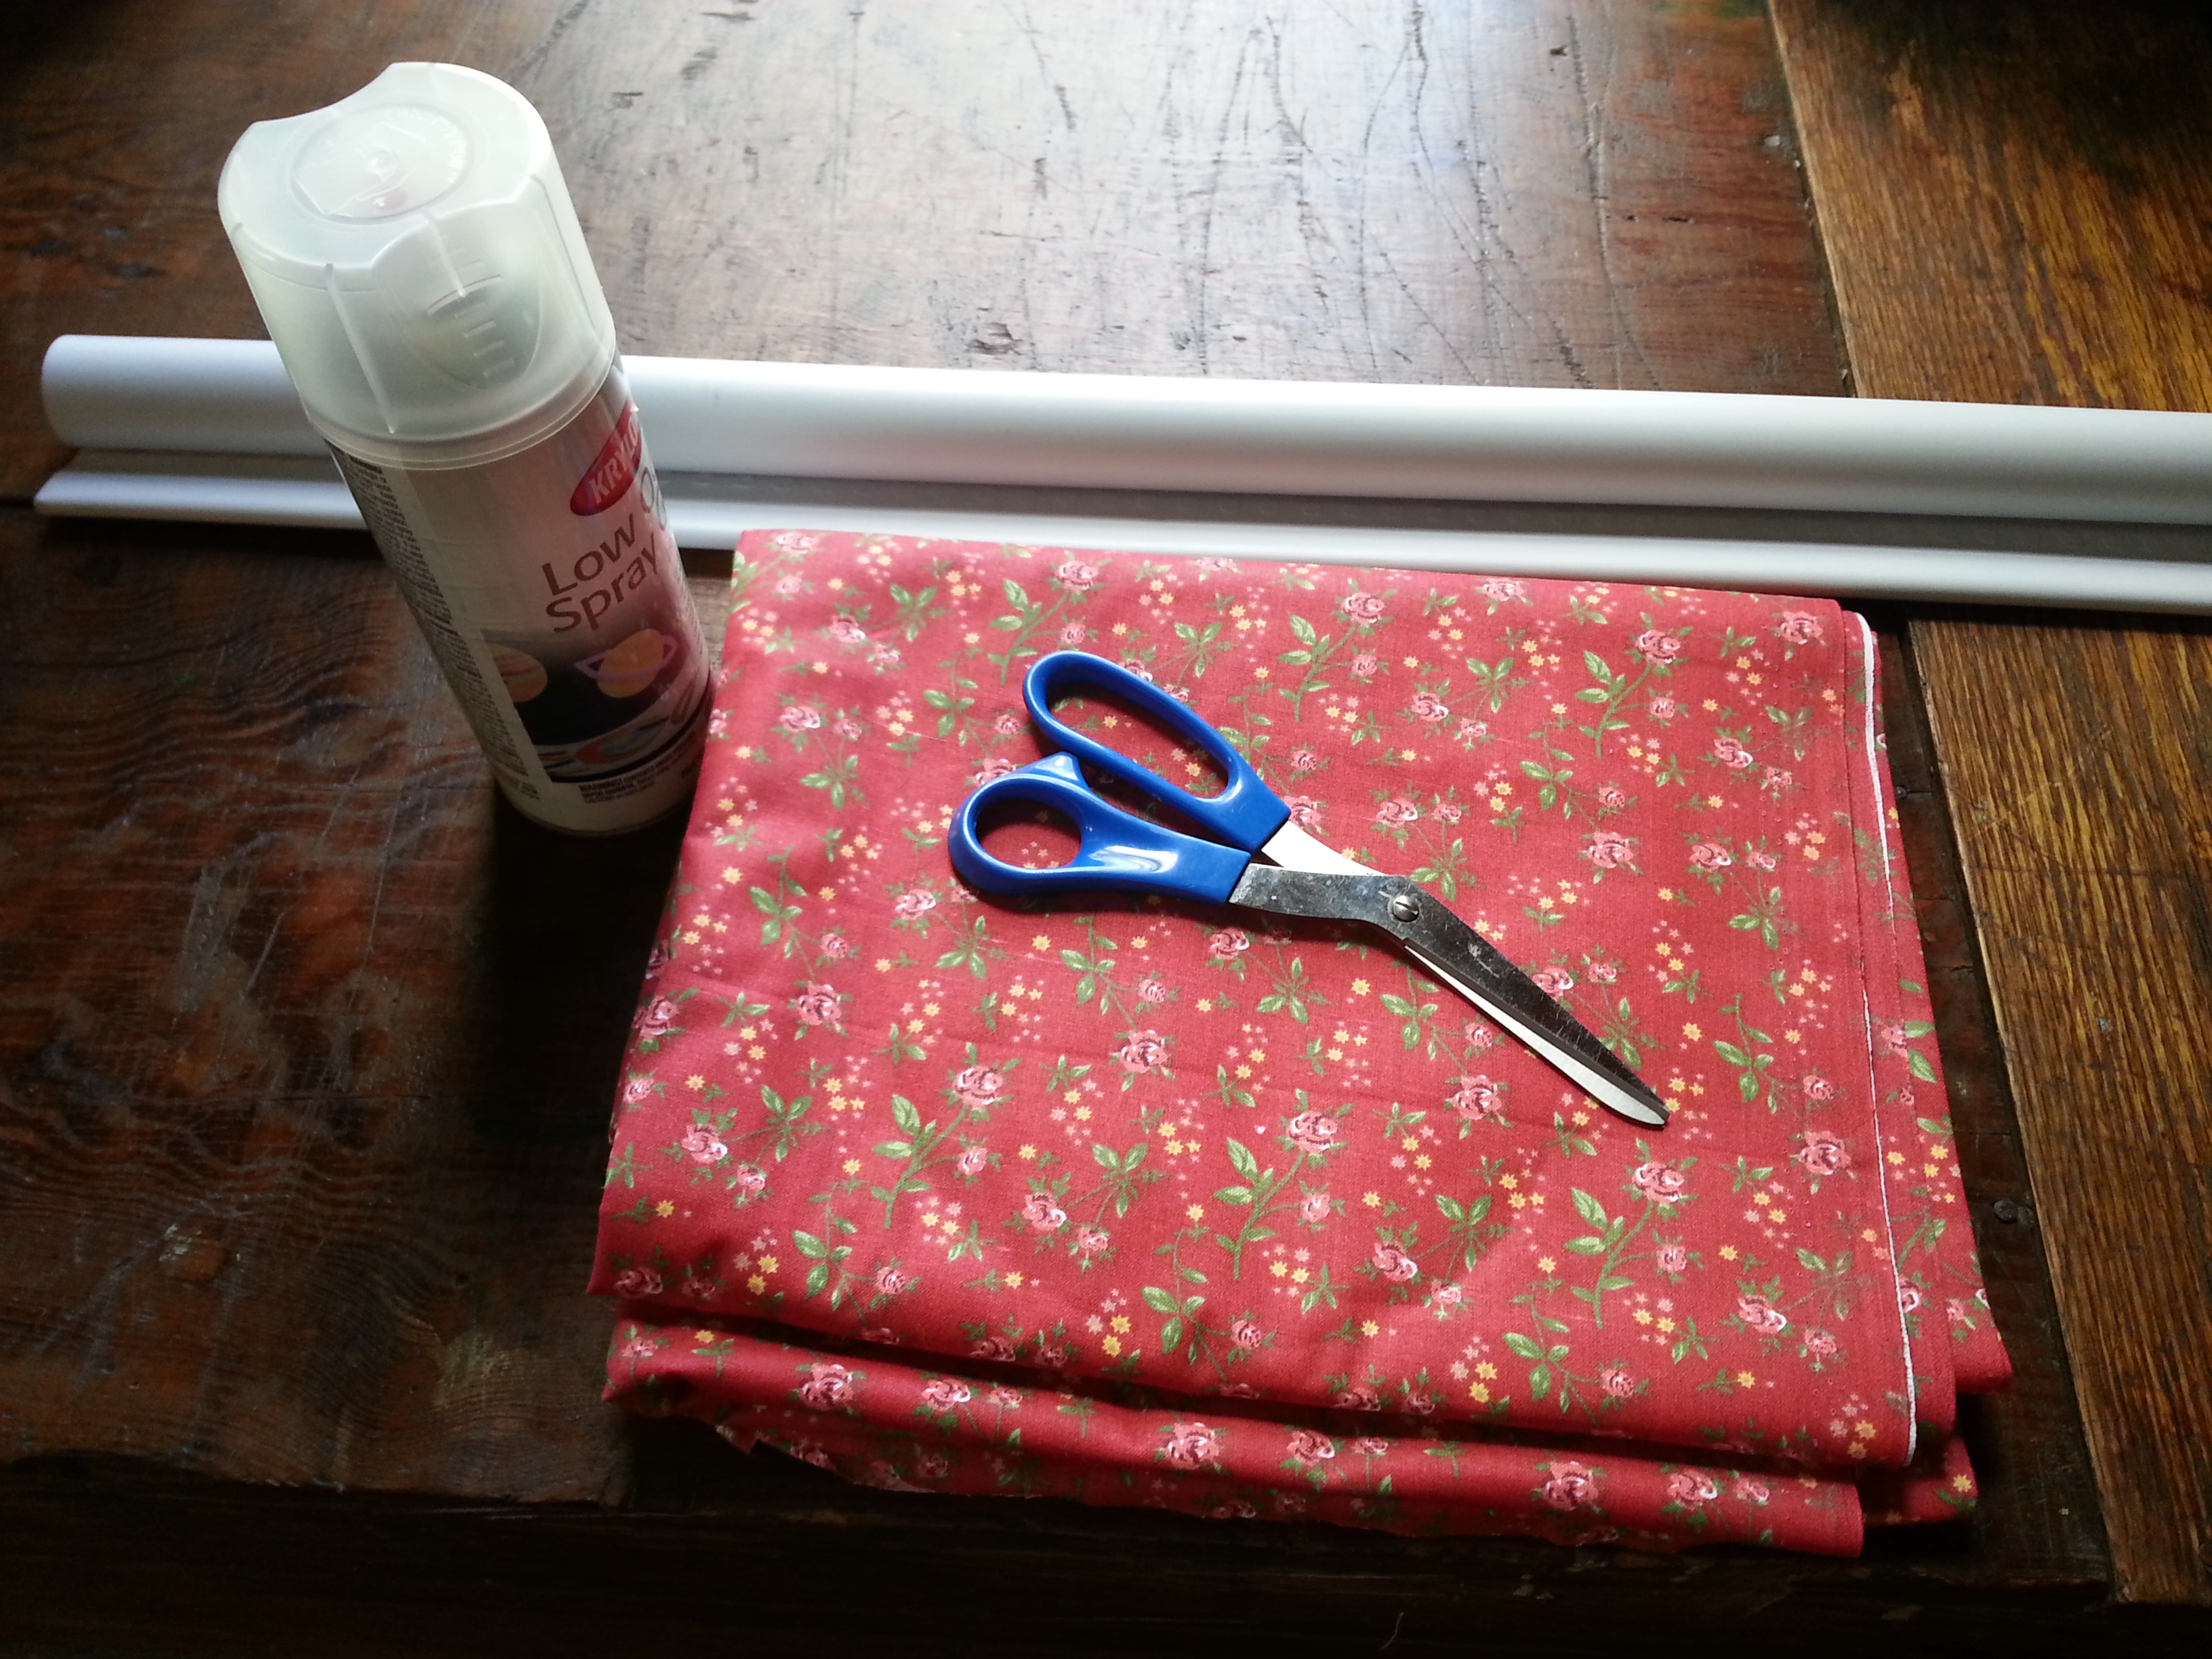
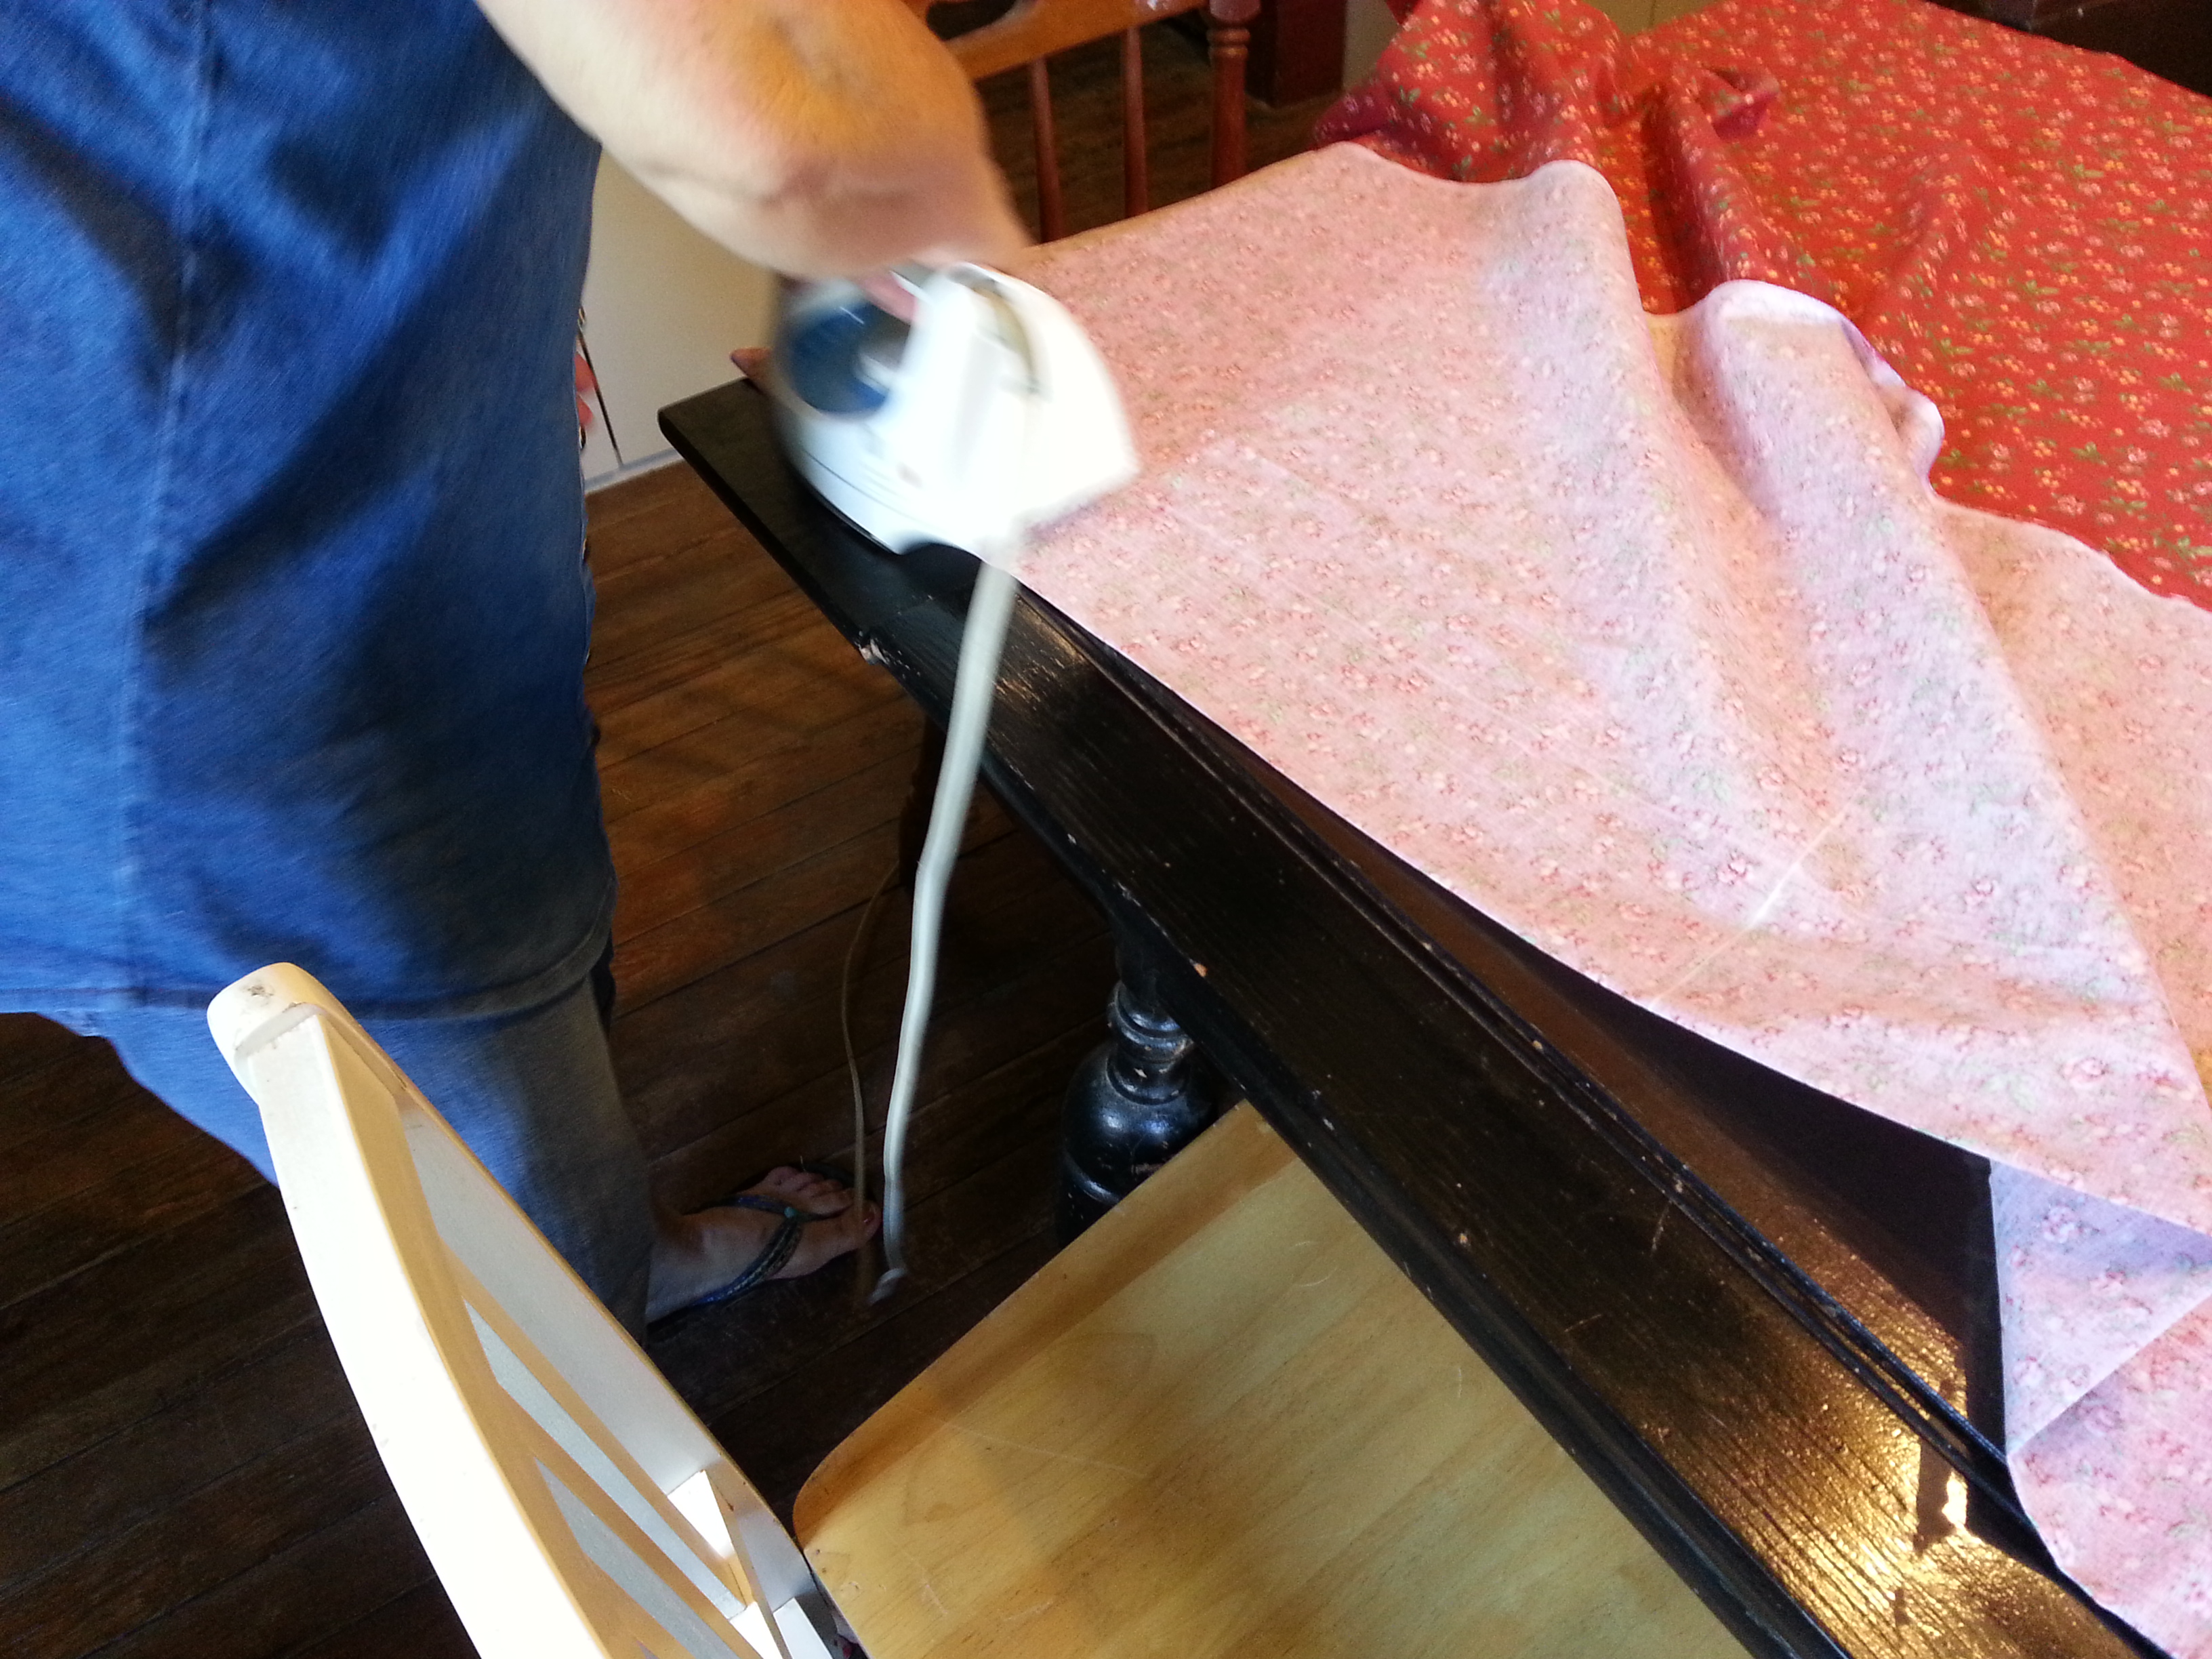
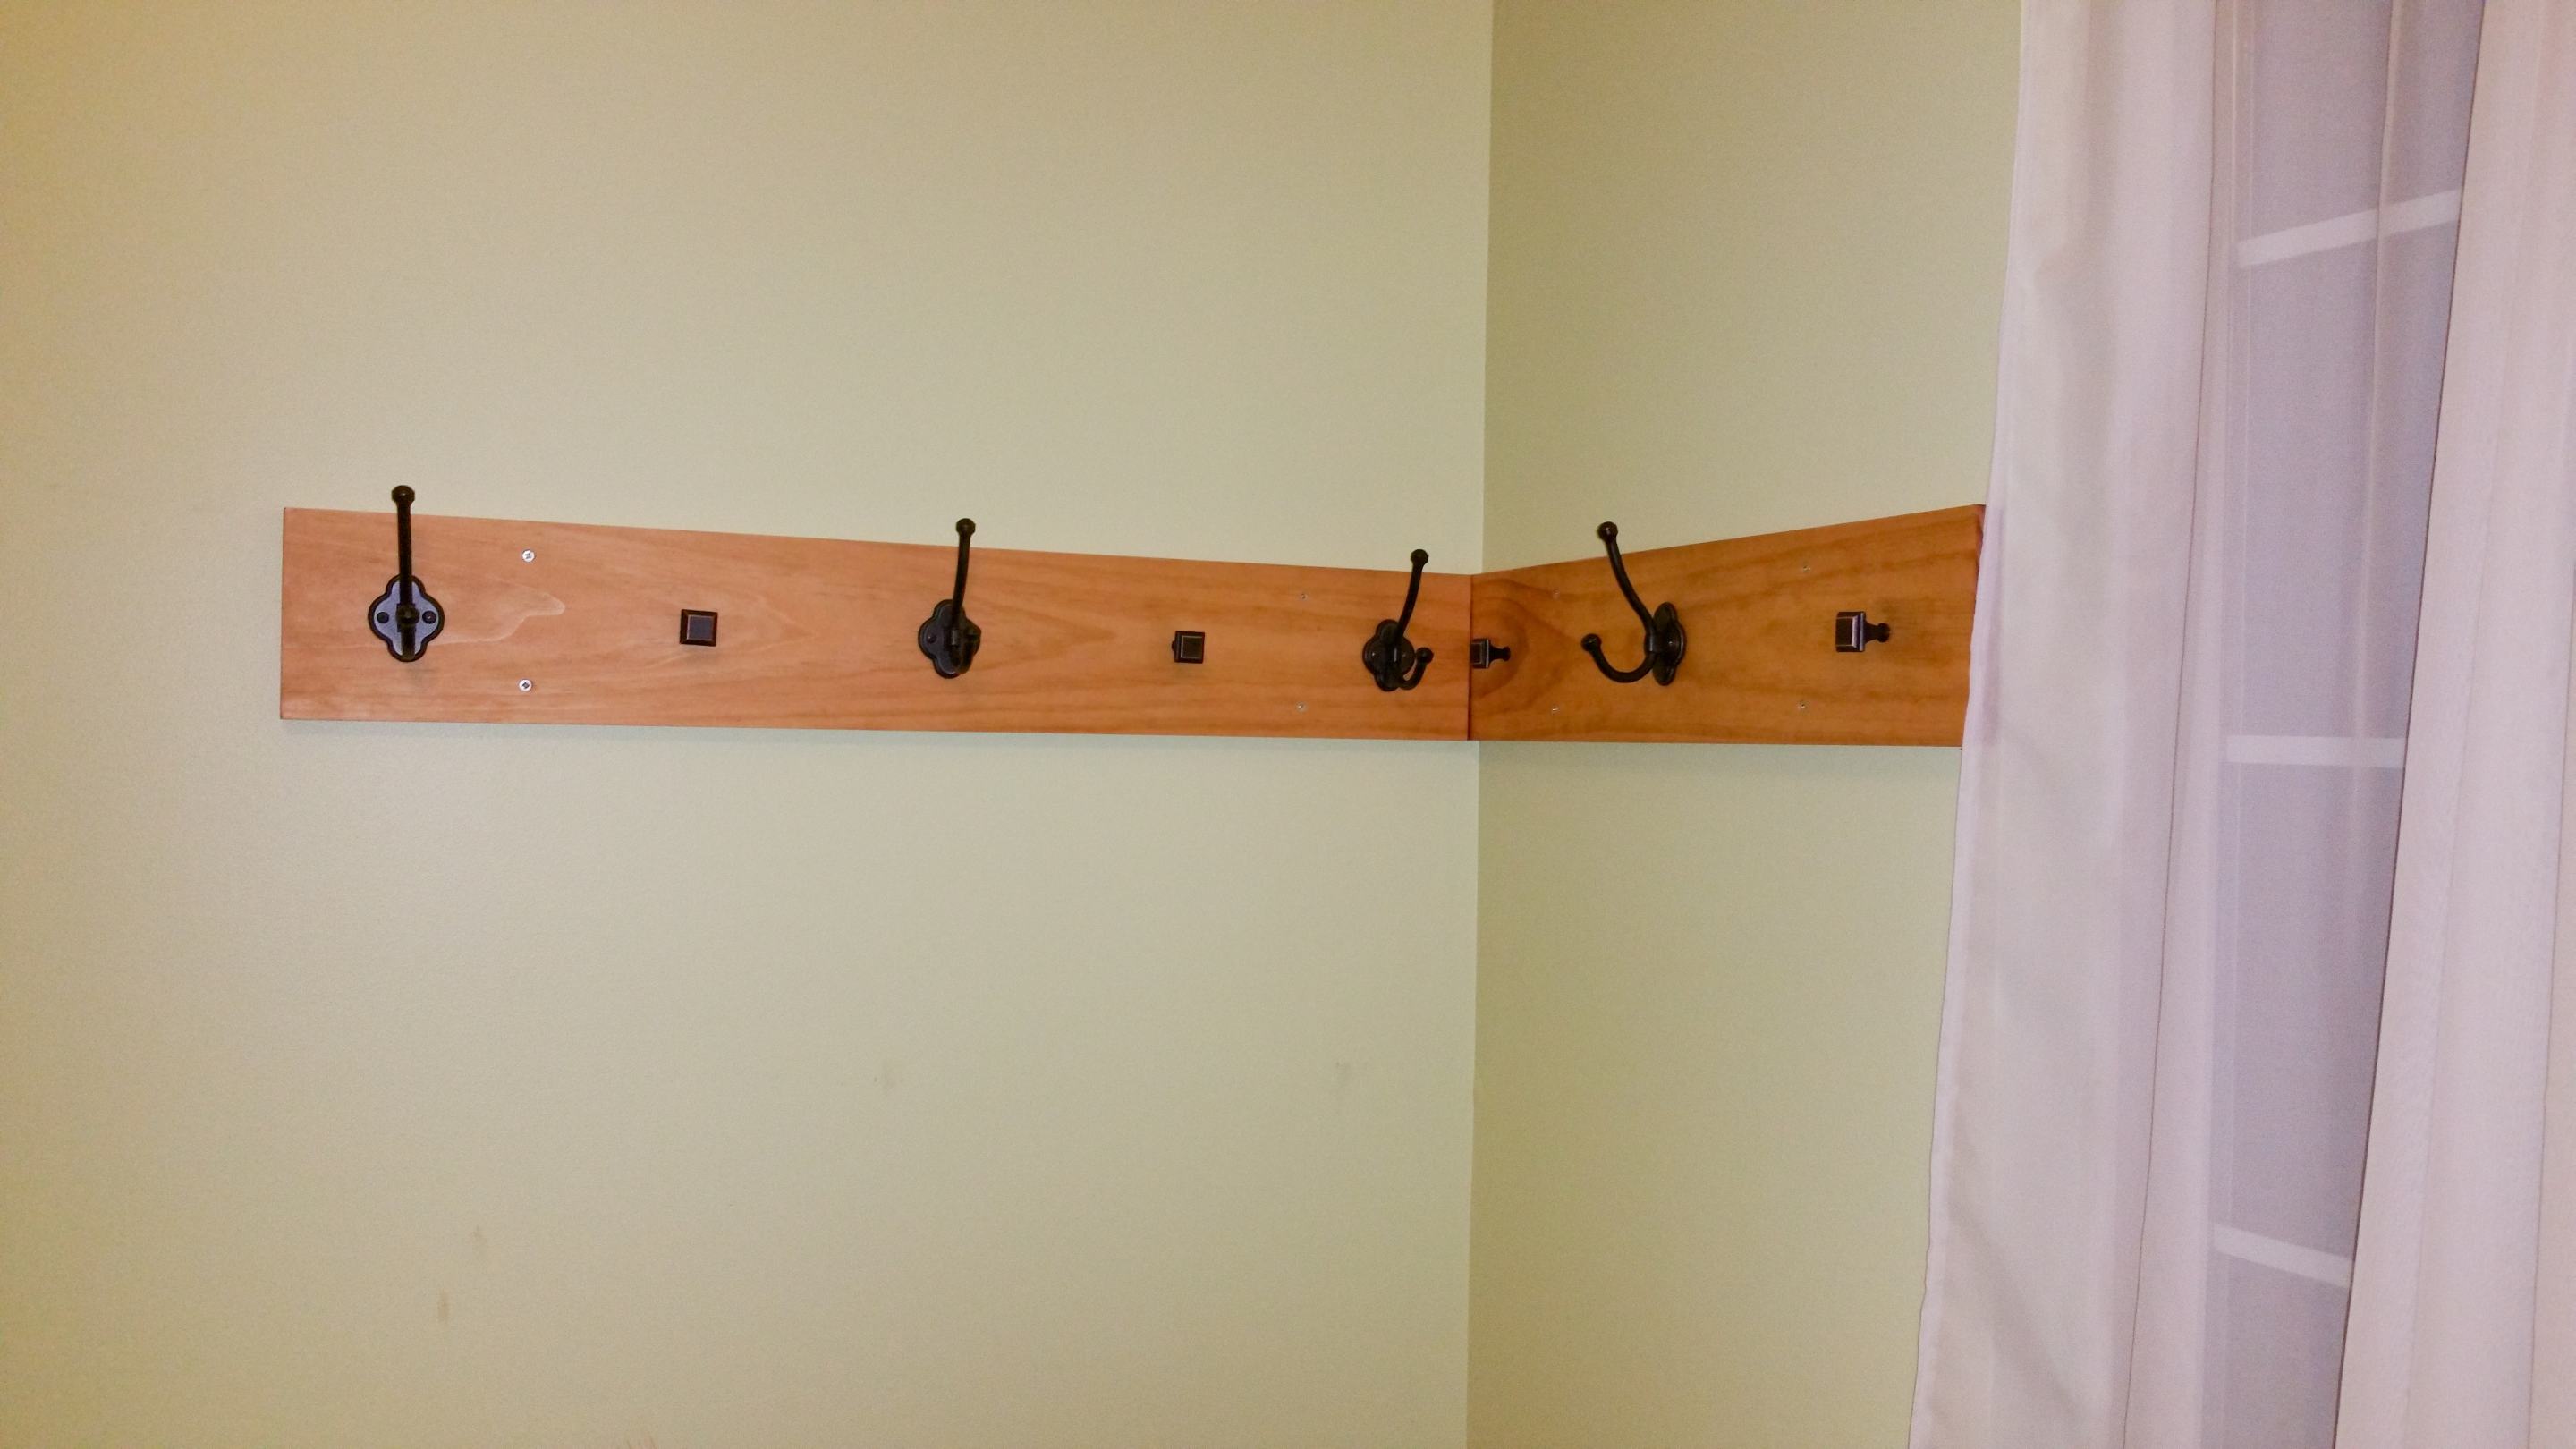
My husband had a board left over from some project or other, so he measured and cut it to size.  We also had coat hooks that we were going to use on another project that we didn’t ever complete, and some left over stain and polyurethane.  And so, we made this:

20150103_184928

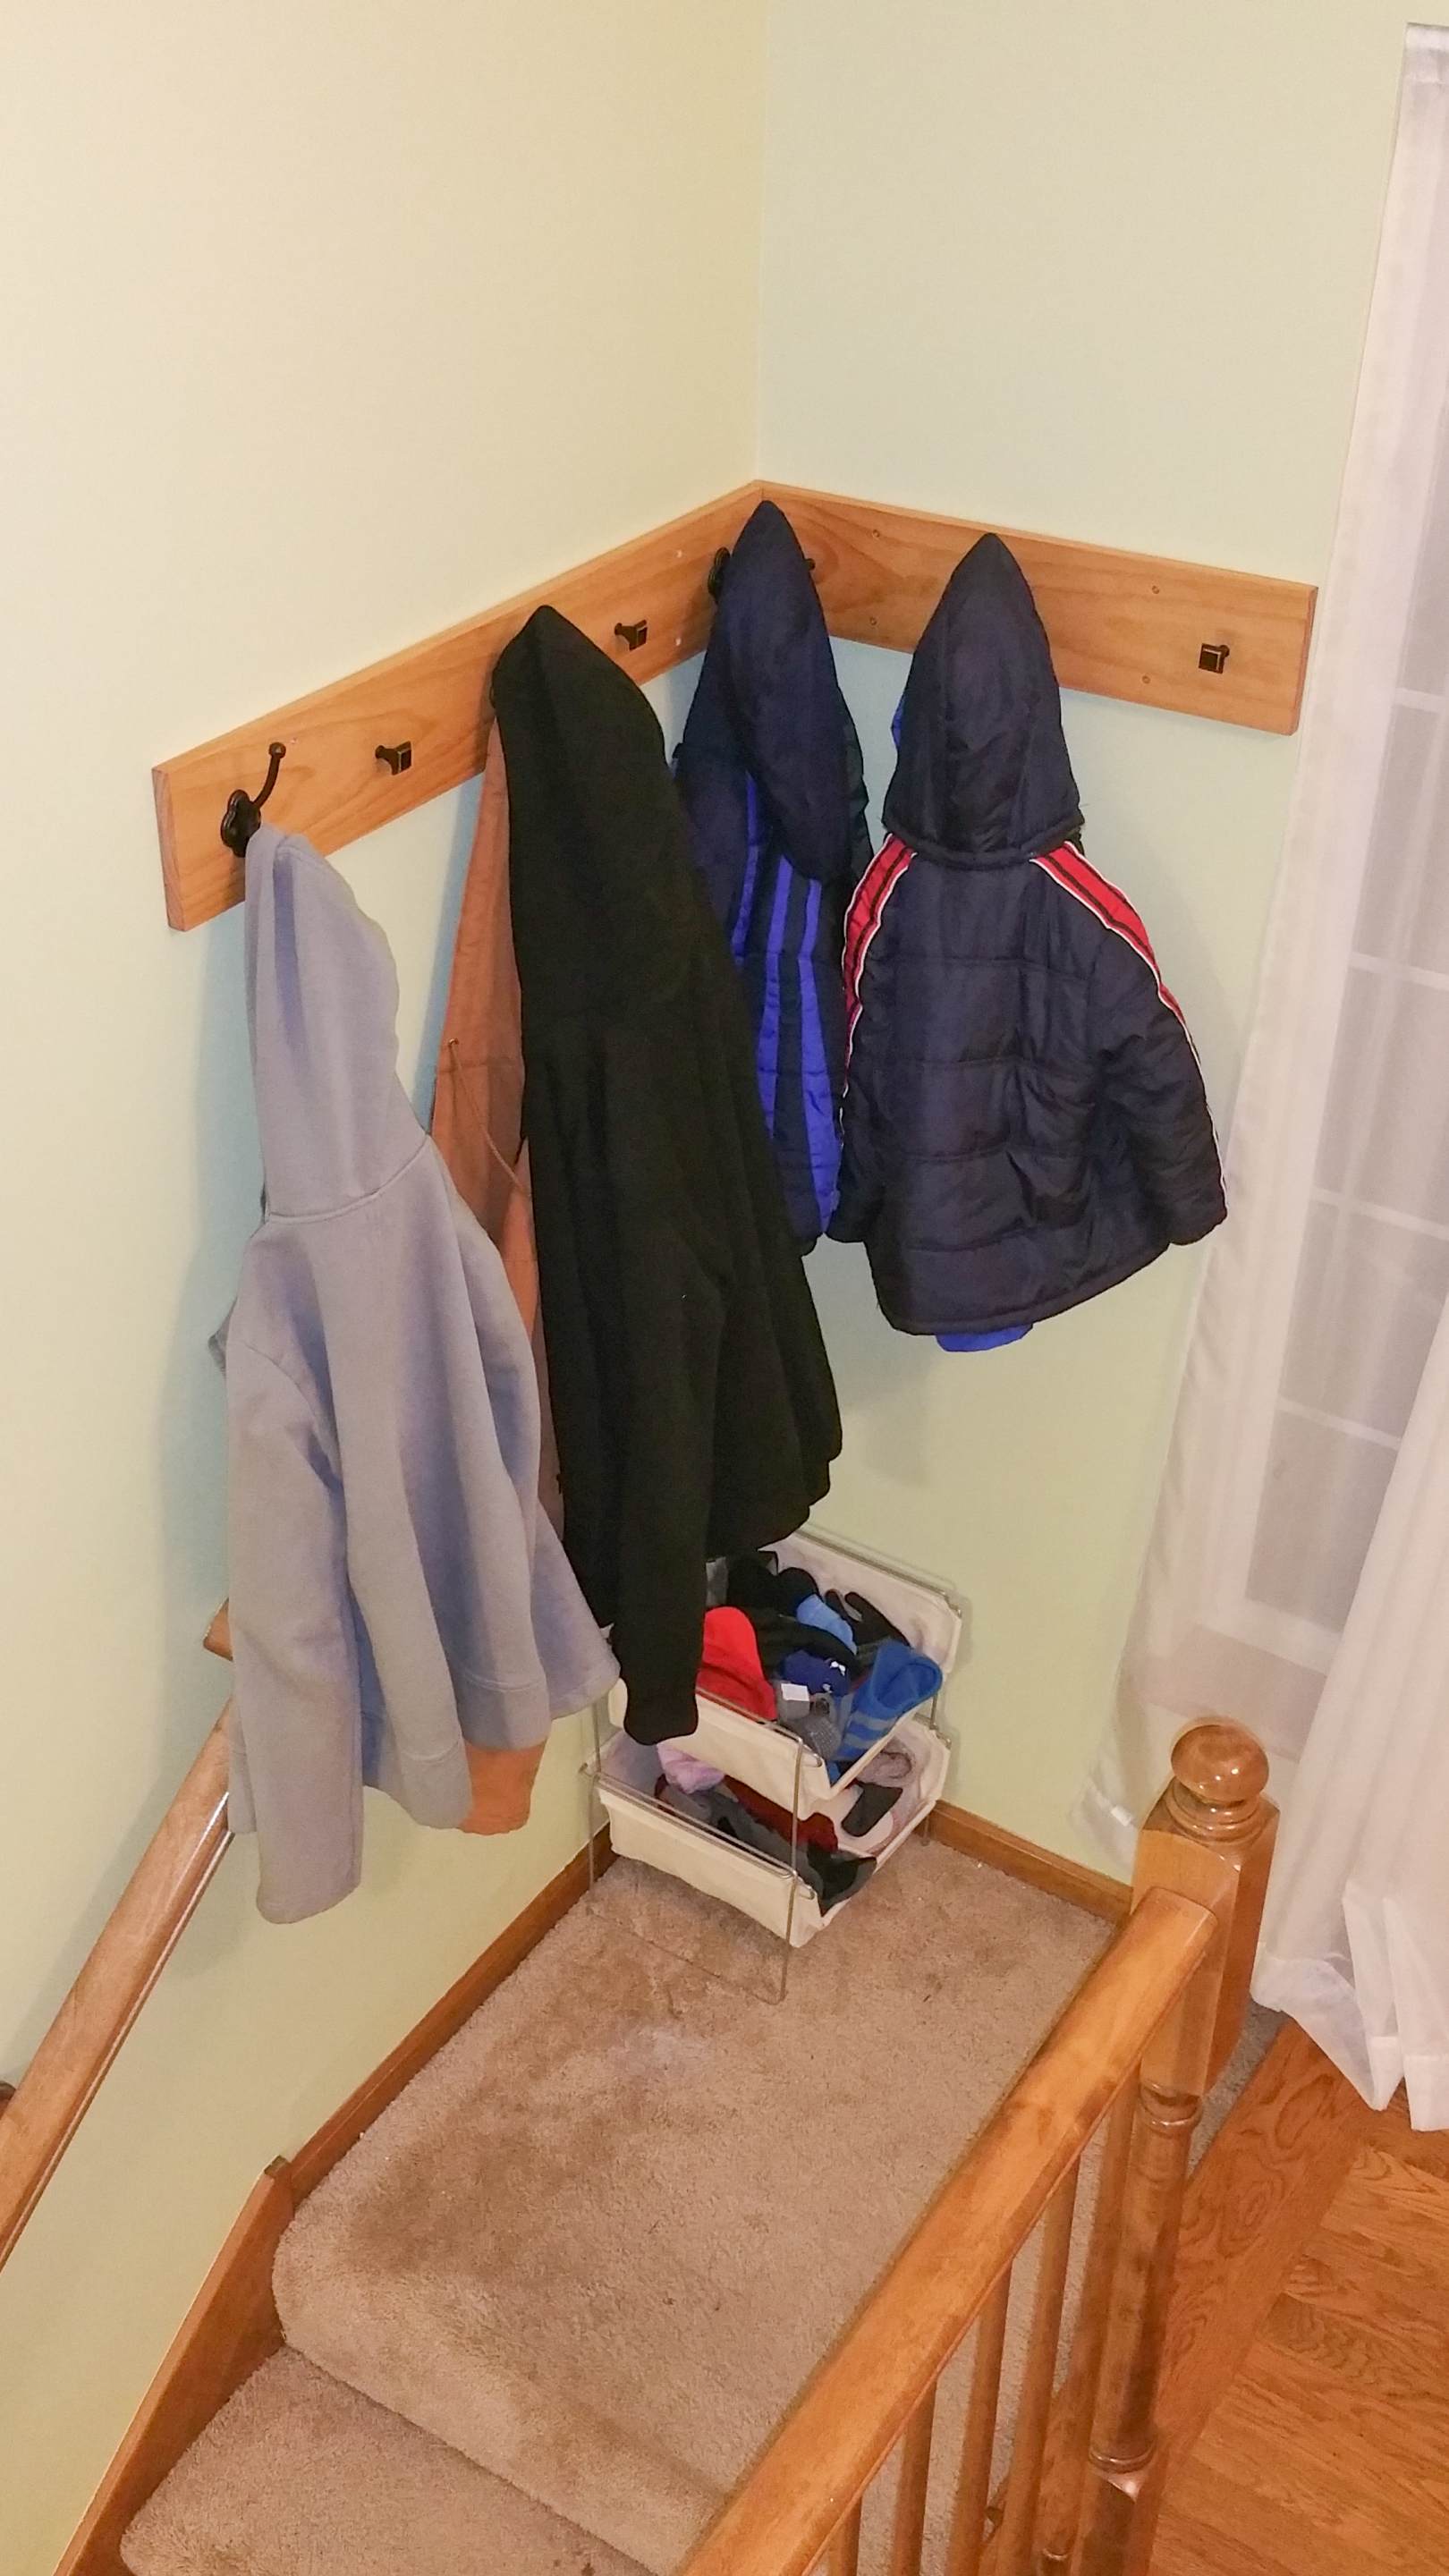
And now, coats have a place off of the floor:

20150103_185158

Yay!  One more step in fulfilling my resolution to being more organized.

Leave a comment »

Not Your Ordinary Shelving Unit

Recently, I bought a used shelving unit with the purpose of using it as a sort of office space in the basement.  Our space is limited, and this fit the bill for taking up little floor space while holding my office supplies.  And the adjustable shelves made it even more useful.

The shelf unit was in okay shape, but was just kind of blah.  It was just black with some nicks and scratches from use.

20140714_105817

I had some paint left over from other projects, so I decided a shelf remodel was in order!  First, I put newspaper over the back and spray-painted the inside panels aqua.

20140714_111838

Then, I painted the outside panels with chalkboard paint so I could use that space to write reminders or inspirational sayings.

20140717_113025

Finally, I painted the inside backing a wine red.  When it was dry, I moved it into the basement and filled it with all my office supplies!  I love the way this turned and ordinary shelving unit into a custom work.  It’s so much more fun to look at!

20140717_113308

Leave a comment »

Custom Blinds

I hate mini-blinds.  Not the way they look necessarily.  Trying to keep them clean.  We don’t buy the expensive kind, so maybe those are easier to clean.  I don’t know.  But the inexpensive kind are NOT easy to clean.  My mom had a great idea.  Why not buy the pull down kind and cover them with fabric ourselves?  Why not, I said.  So, we picked a day, did a little shopping, and did it.

What you need

Pull down blind.

Material.  I bought 4 yards, which was just enough for 2 blinds with none left over.  But, our house has huge windows.

Measuring tape.

Pen or pencil.

Spray adhesive.  I used this.  I liked it a lot because it gives you time to reposition even after it’s sprayed.  It also sprays on white, but dries clear.  Since we were using a white blind, that didn’t really matter, but it could come in handy for other projects.

An outdoor table that you can get the adhesive on.

An iron and a table big enough to iron the material on.

A sharp pair of scissors.

A second person (I HIGHLY recommend this).

Custom shades 5 Custom Shades 1

Instructions

Measure your window.  Then roll out the blind and mark how far up you need the material to go.

Custom shades 3 Custom Shades 2

Next, will want to measure your material and cut it to size.  Then, iron it.

Custom shades 8

Next take your material, blind, and spray adhesive outside.

Roll out the blind and lay it on a large, clean, dry surface.

Custom shades 6

Next, spray on a generous amount of the adhesive.  We started from the top and laid the material down, pressing down and pushing out any wrinkles.  This took a while and we had to reposition it several times.  We also had to re-spray some of the edges.

Once we were done with the first one, we took a break and let that dry for a while.

Custom shades 7

Then, we did the second one the exact same way.

We took them both inside and hung them up by following the instructions that came with the blinds.

Custom shades 9

Here is the finished product.  This is not complicated, but it is time consuming.  Plan on it taking a while and recruit help!  It was worth it though.


1 Comment »

Reduce, Reuse, Build a Fort!

I scan through Pinterest several times a week, pinning the things I like into my carefully thought-out categories.  Then, I promptly forget what I pinned and go about my life.  At least, I thought I forgot.  But apparently my brain files some of those pins away to bring up just when I need them.

A few months ago, I decided to clean out my linen closet.  I was tired of dreading opening the closet because of what might fall out.  We had so many sets of sheets for our king-size bed, but I only really used two of the sets because the rest didn’t fit the bed right, or I didn’t like the feel of them (yes, I’m picky; I know).  As I sat among the several discarded sets, I wondered, what do you do with sheets you don’t want any more?  There was technically nothing wrong with the sheets, but do you donate them?  Throw them out?  Then, my brain brought up the pin I had pinned weeks earlier:

Create a Fort Kit from a set of sheets

Yes!  I have lots of nieces and nephews, and two boys of my own – this is perfect!  Then, I put the sheets in storage, so that I could create the fort kits when I had more time… and promptly forgot about them.

…Until my nephew’s birthday.  My brain again reminded me of the very cool gift idea I had and suggested that now would be a good time to make that fort kit.  So, I did.

First, I made a draw-string bag out of the pillowcase.  I turned the pillowcase inside-out, and cut a V into the two seamed edges.  Then, I folded the top edge over and sewed it down, leaving about 2 inches between the top edge and the new seam.

image004

Then, I took some rope that I had bought at a local hardware store and cut two, three-foot sections.  I threaded them both (one at a time) opposite ways through the channel created by my seam, pulling the excess rope through the notches I had cut – one rope on either side – and tied the ends of each rope together so they made two handles.

image003Then, I turned the pillowcase right-side out, and, presto! – a drawstring bag!

Then, I decorated the drawstring bag with fabric paint.

image002

I filled the bag with the flat and fitted sheets.  Originally, I was going to cut the elastic out of the fitted sheet, but after making a fort for my kids with a fitted sheet, I realized that they actually work really well for fitting around couch arms and chair backs.  I added clamps, clothespins, and the rest of the rope to the bag for the ultimate Fort Kit!  My nephew loved it!

image005

image001


So, if you have sheet sets that you don’t use any more, give them another life!


For the original pin, click here.


Leave a comment »

DIY Tomato Cages

Last year, I grew a lot of tomatoes.  I wanted to make my own tomato sauce and salsa and tomato soup (which were all delicious, by the way, if I do say so myself), so I planted 10 tomato plants.  The only problem was that I did not have 10 tomato cages.  I didn’t want to spend the money on that many cages, so I just planted them, and let them kind of vine along the ground.  It didn’t work well.  The tomatoes that were touching the ground rotted fast and the ones that weren’t rotten were eaten away by roly polies.  While I did salvage some of my harvest, it would have been nice not to have to deal with the problems.

This year, I am once again growing a lot of tomato plants, but I had to come up with a better solution.  So, I took a cue from my Dad and made my own!  It’s so much cheaper than buying bunch of cages, and they work just as well.  Here’s how:

What you’ll need:

  • Wire garden fencing
  • Heavy-duty wire cutters
  • Pliers

You’ll need some garden fencing.  The kind of garden fence you get depends on you.  Choose the height based on your preferences.  A common height is 48 inches, which is a great height for a tomato cage.  I got my fencing from my father-in-law, who had some left over, and it was a little tall (about 5 feet), so I had to trim it down.  How much fencing you get is dependent on how many cages you want to make and how big a diameter you want for your cages.  In my case, I used about 5 1/2 feet of fence per cage.   FYI, 50 ft of 48-inch-high fence will run about $50 at your local hardware store; that’s about 9 cages at $5.55 per tomato cage.  Big tomato cages will run anywhere from $8 to $12 per cage at your local garden center.

First, using wire cutters, cut the length of your cages from the roll (again, I used 5.5 feet per cage), making sure to leave one side with longer, unconnected ends.

20140428_101558


Next, cut the bottom, horizontal strip of wire off, leaving the spoke-like ends that you will push into the ground to keep your cage stable.  I had to cut my fence down because it was so tall, but if you bought fencing at just the right height, just cut off the very bottom wire edge (in the picture, I’ve flipped my cage upside-down, so I’m actually cutting off the top).

20140428_101117


Next,using pliers, wrap the ends you left on one side when you cut the length of fence around the the other side, making the fence into a circle.

20140428_102002


And that is literally all there is to it.  Now, plant your tomatoes, push your new cages into the ground around it, and watch them grow!

20140428_102436 20140428_103956

1 Comment »