The Crazy Hat Box

there's a hat for that!

Hosting on the Go – Hot Drink Bar to Go

We have friends that moved over the weekend.  Well, seeing as how we live in the Midwest, February decided to leave like a lion.  So, we had snow.  Although it made it a little inconvenient, it also made it pretty.  There is something magical about a neighborhood or a yard or a house in a soft, white blanket.  I knew it was going to be cold, so I asked if I could be in charge of providing hot drinks for everyone.  I also wanted to make it as convenient to transport as possible.  I decided on hot coffee and hot cider.  I always like to have options with drinks, so I came up with a few things you could add to these delicious choices.  I started with coffee.  The obvious choice to go with coffee is cream and sugar.  I chose sweet cream, since it’s basic and yummy.

Cream and Sugar and Spices
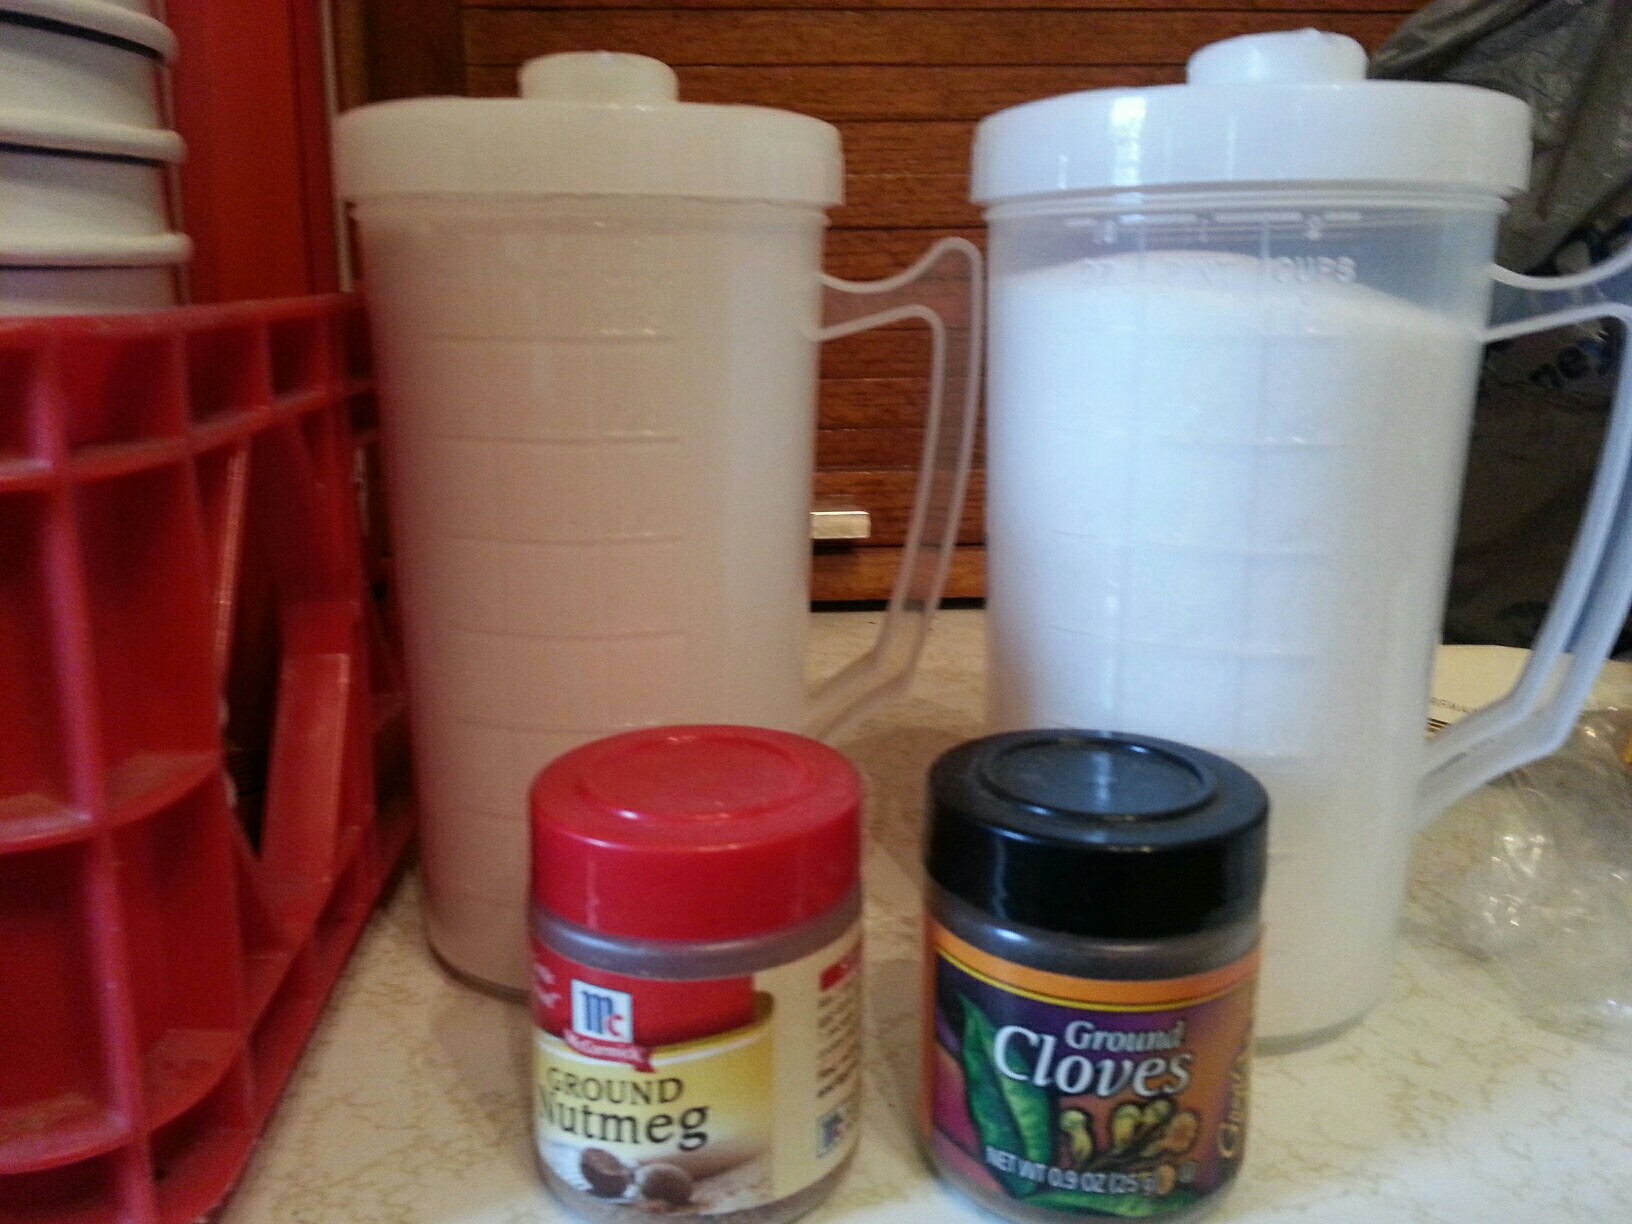
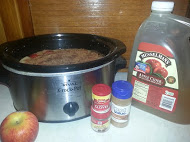
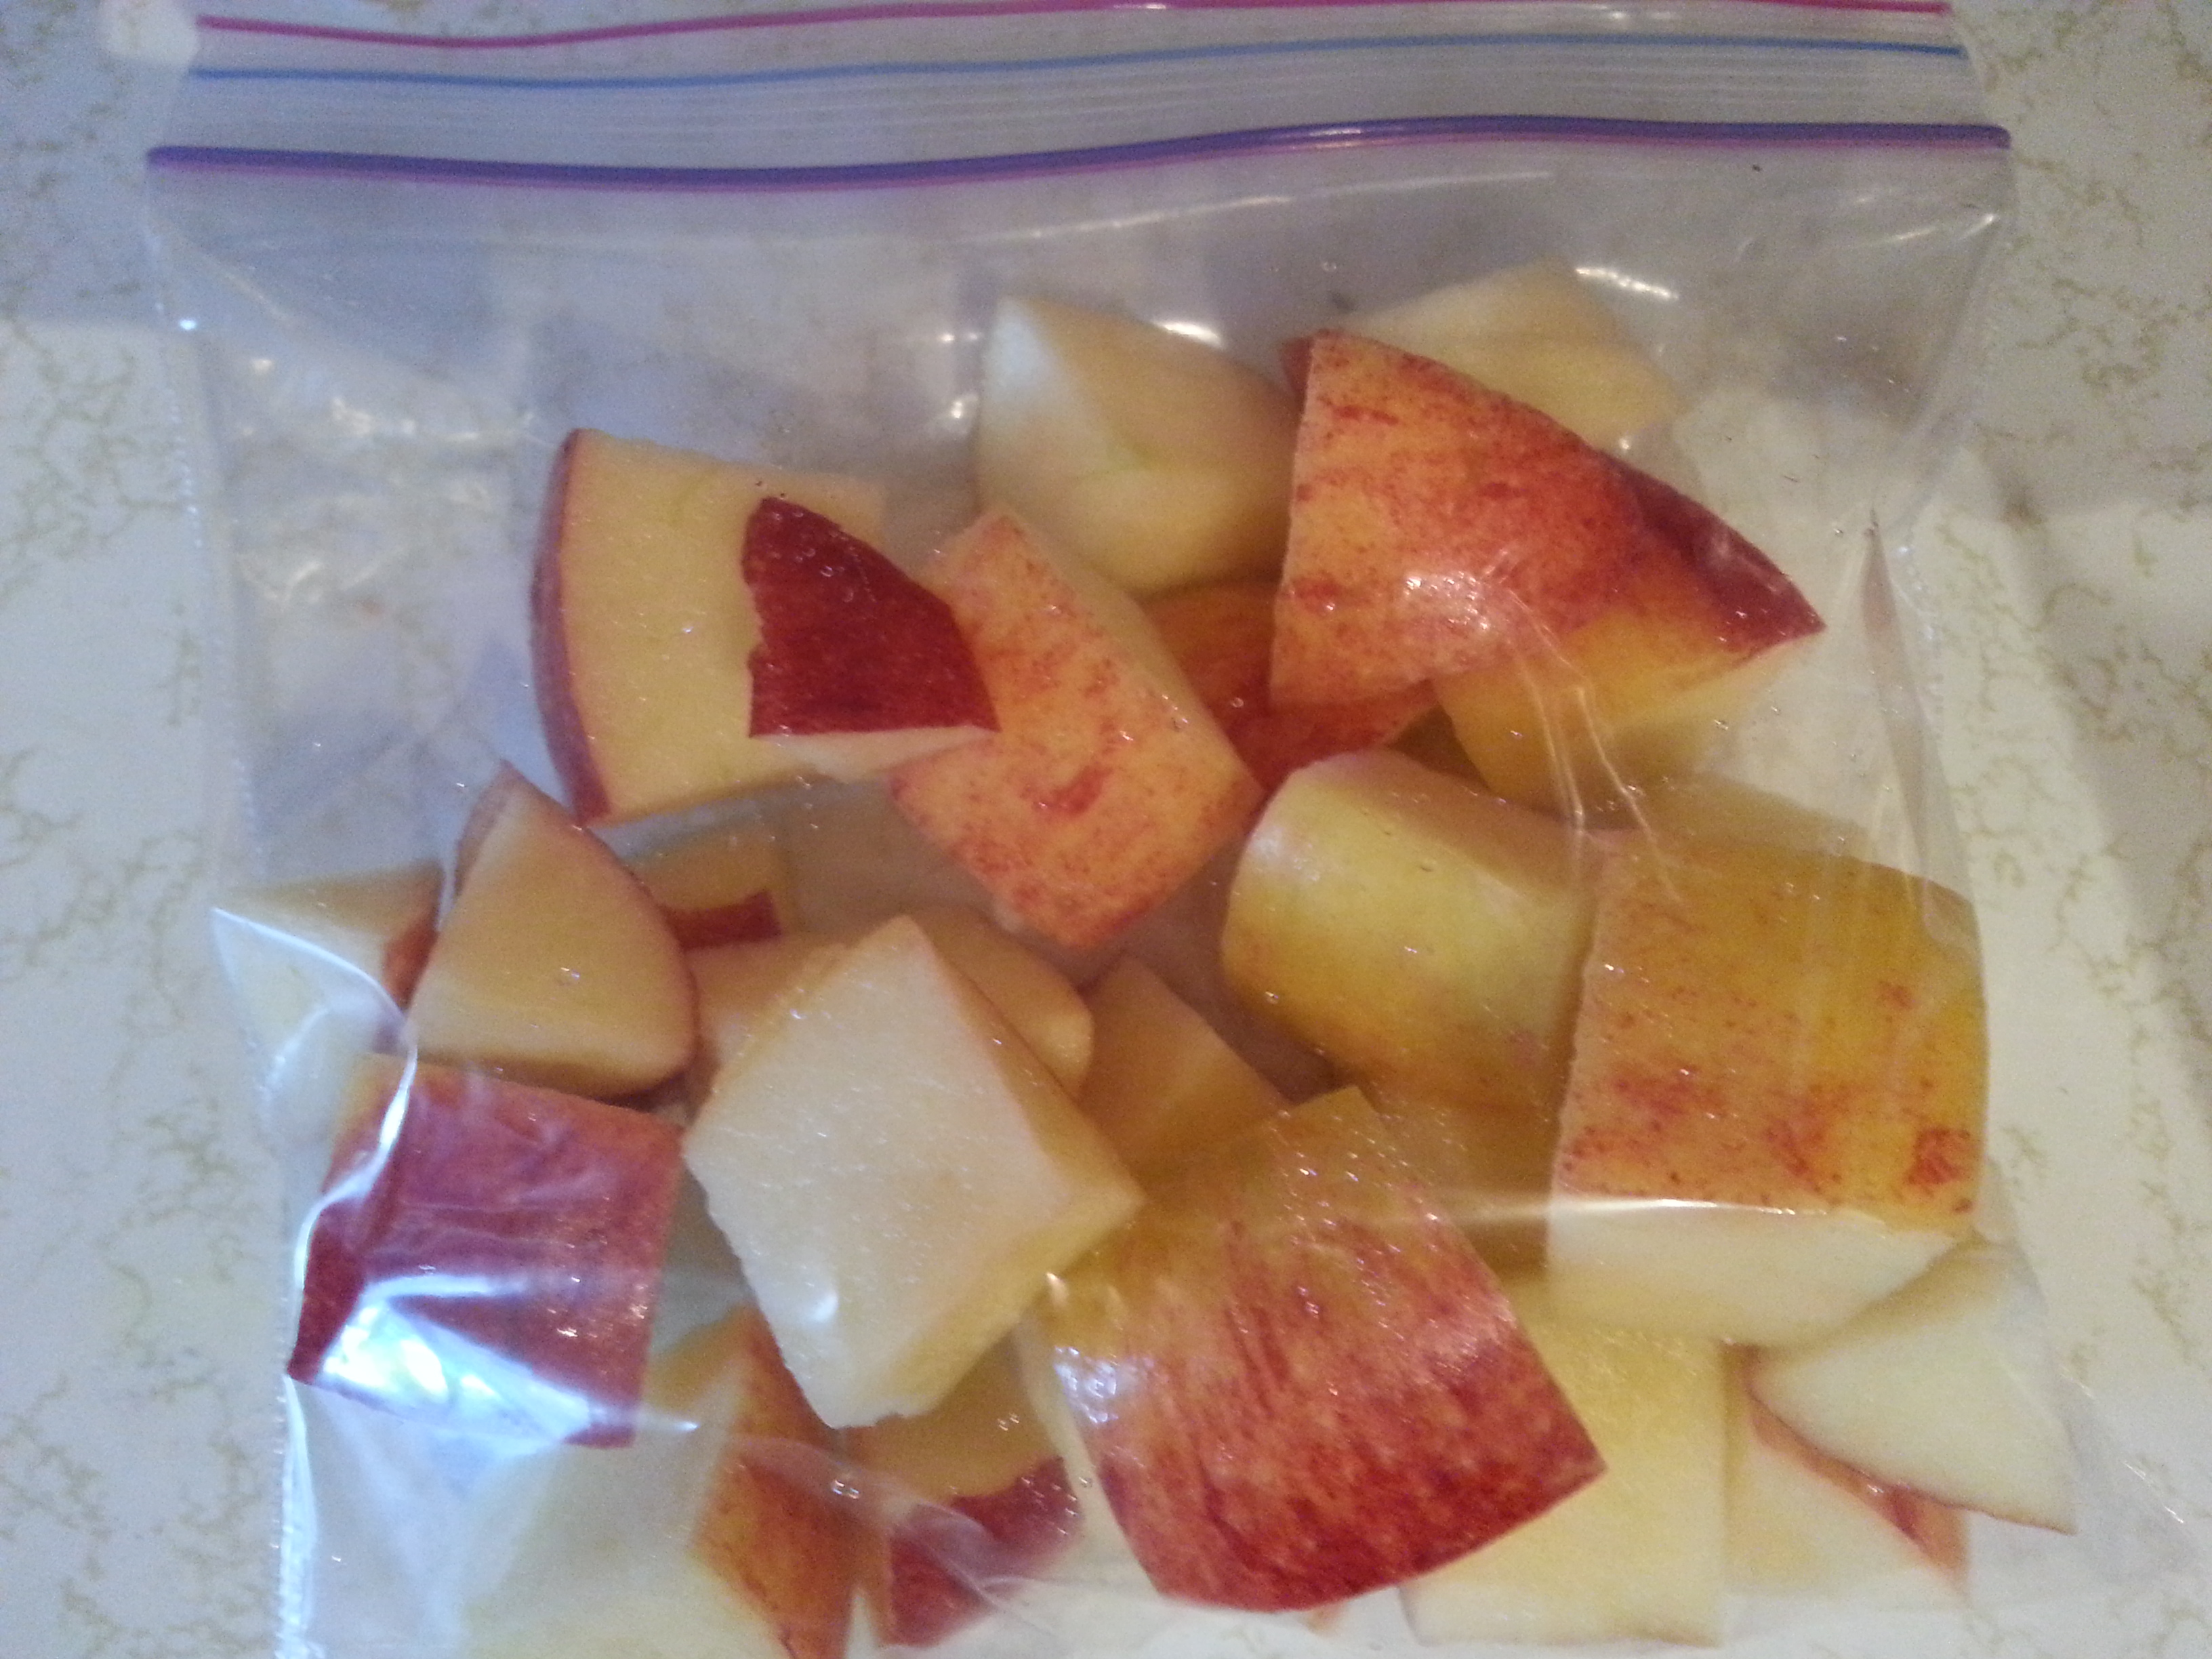
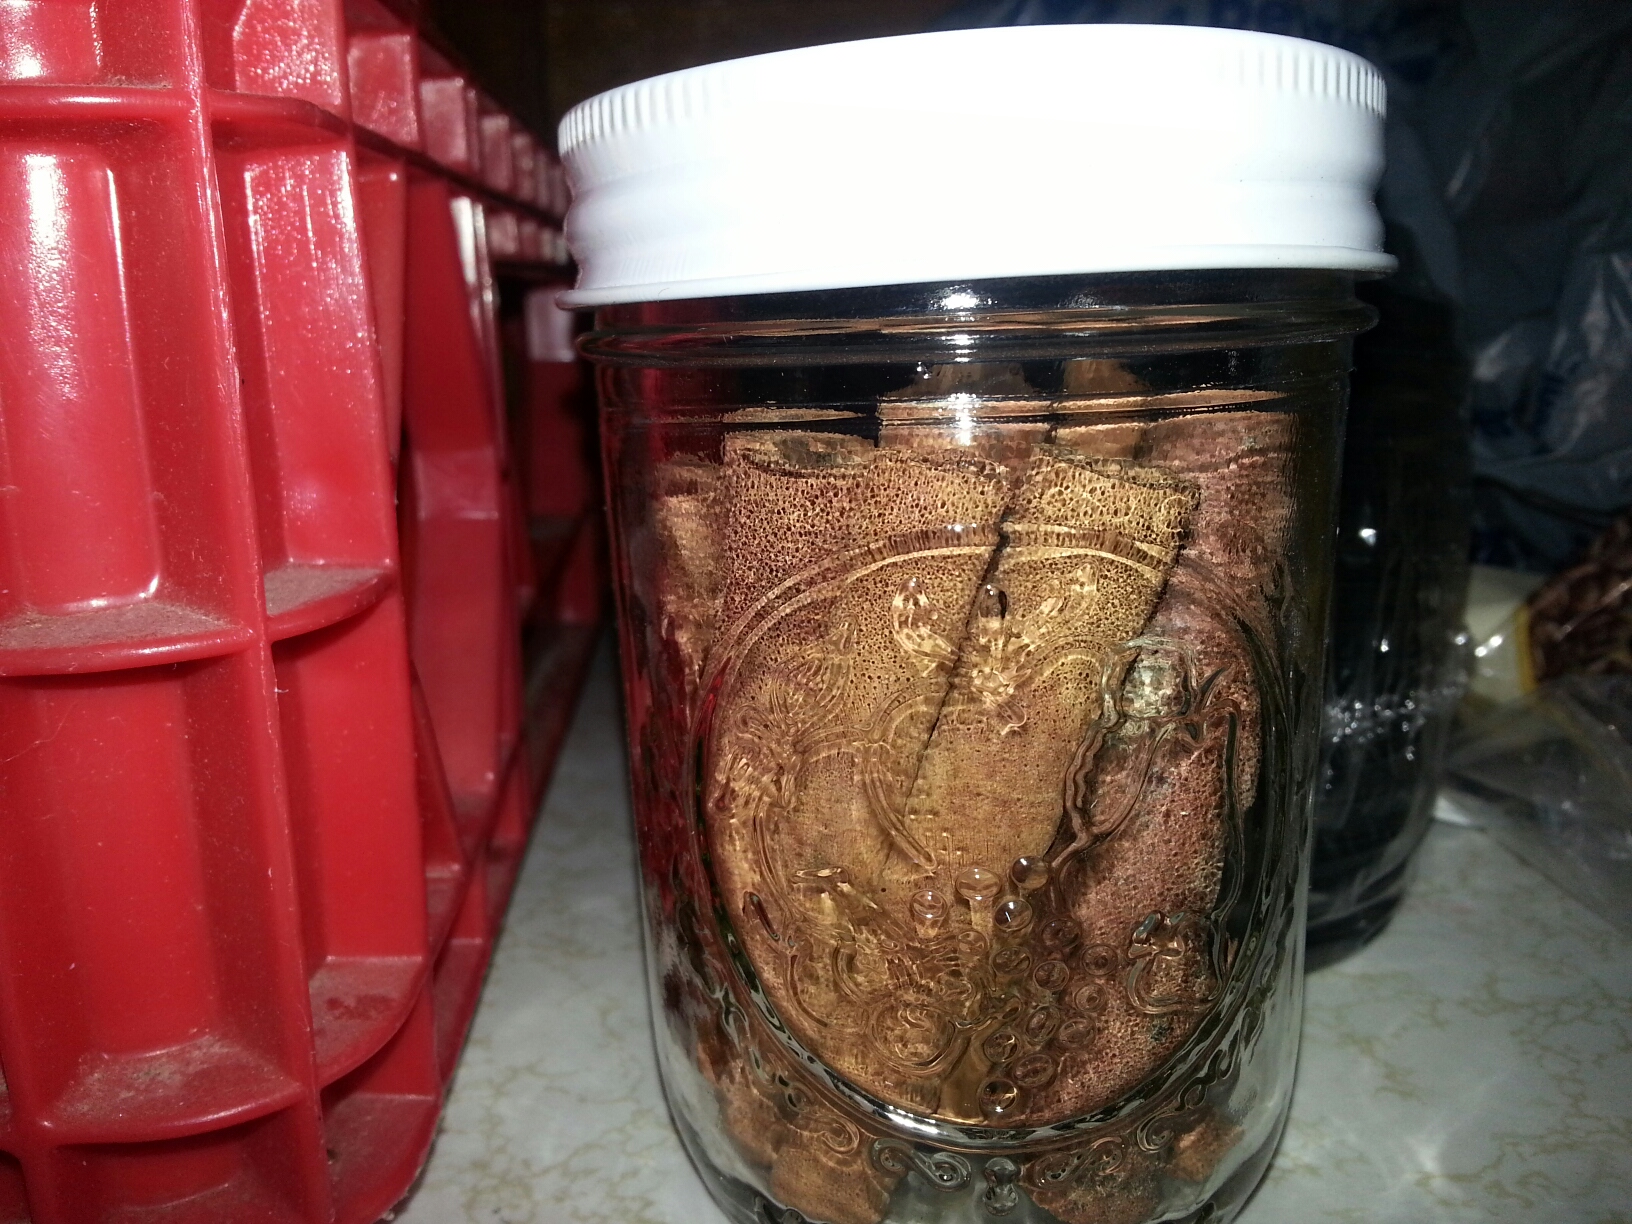
I then made my recipe for hot apple cider.  I let it warm in the slow cooker overnight and it turned out great!  For yummy little embellishments I included cinnamon sticks, ground nutmeg, and ground cloves.

Cinnamon Sticks

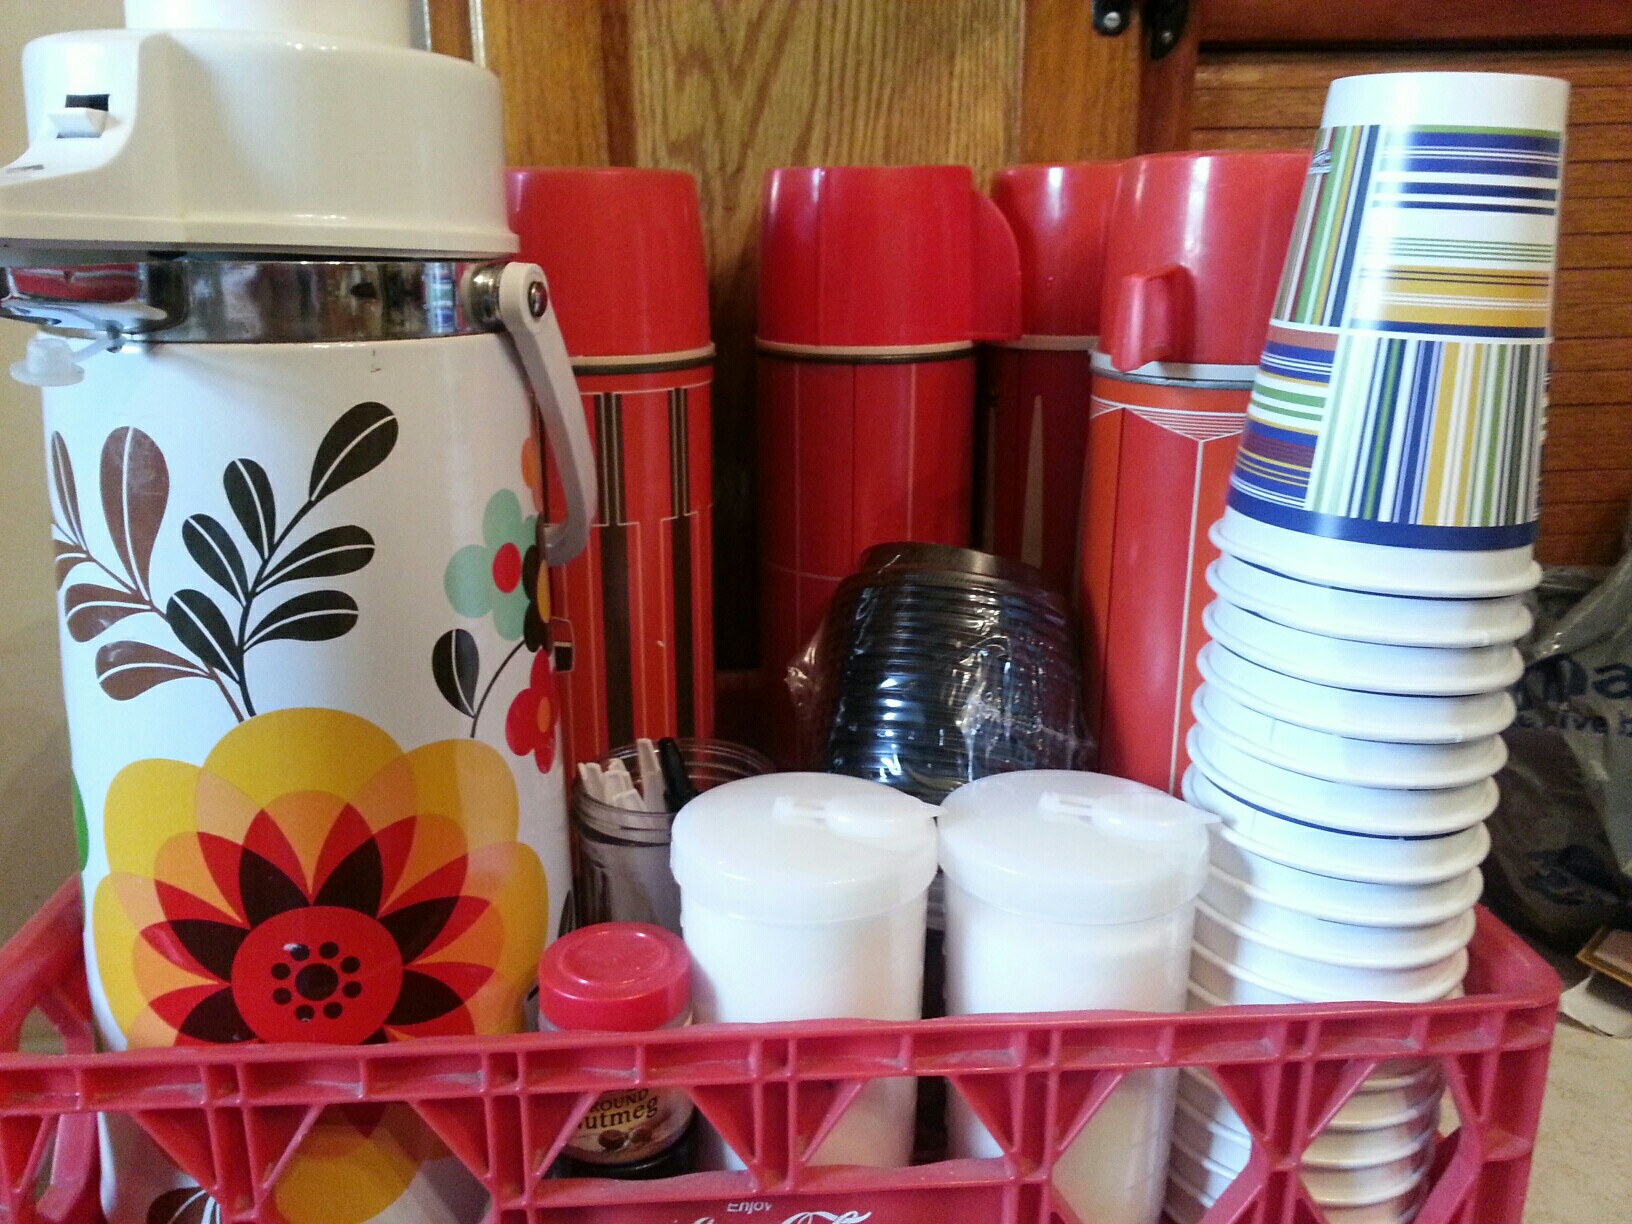
To keep everything warm, I put them in vintage thermos’ which I happen to collect.  I normally don’t do disposable cups, but for this purpose I did.  I included: cups with lids, a sharpie to write names on cups, napkins, hand sanitizer, and all of the stuff mentioned above.  I put everything in my easy-to-carry plastic Coca Cola crate and it turned out to be super convenient and added a little fun to the whole process.

Hot drink bar to goSpoons and marker

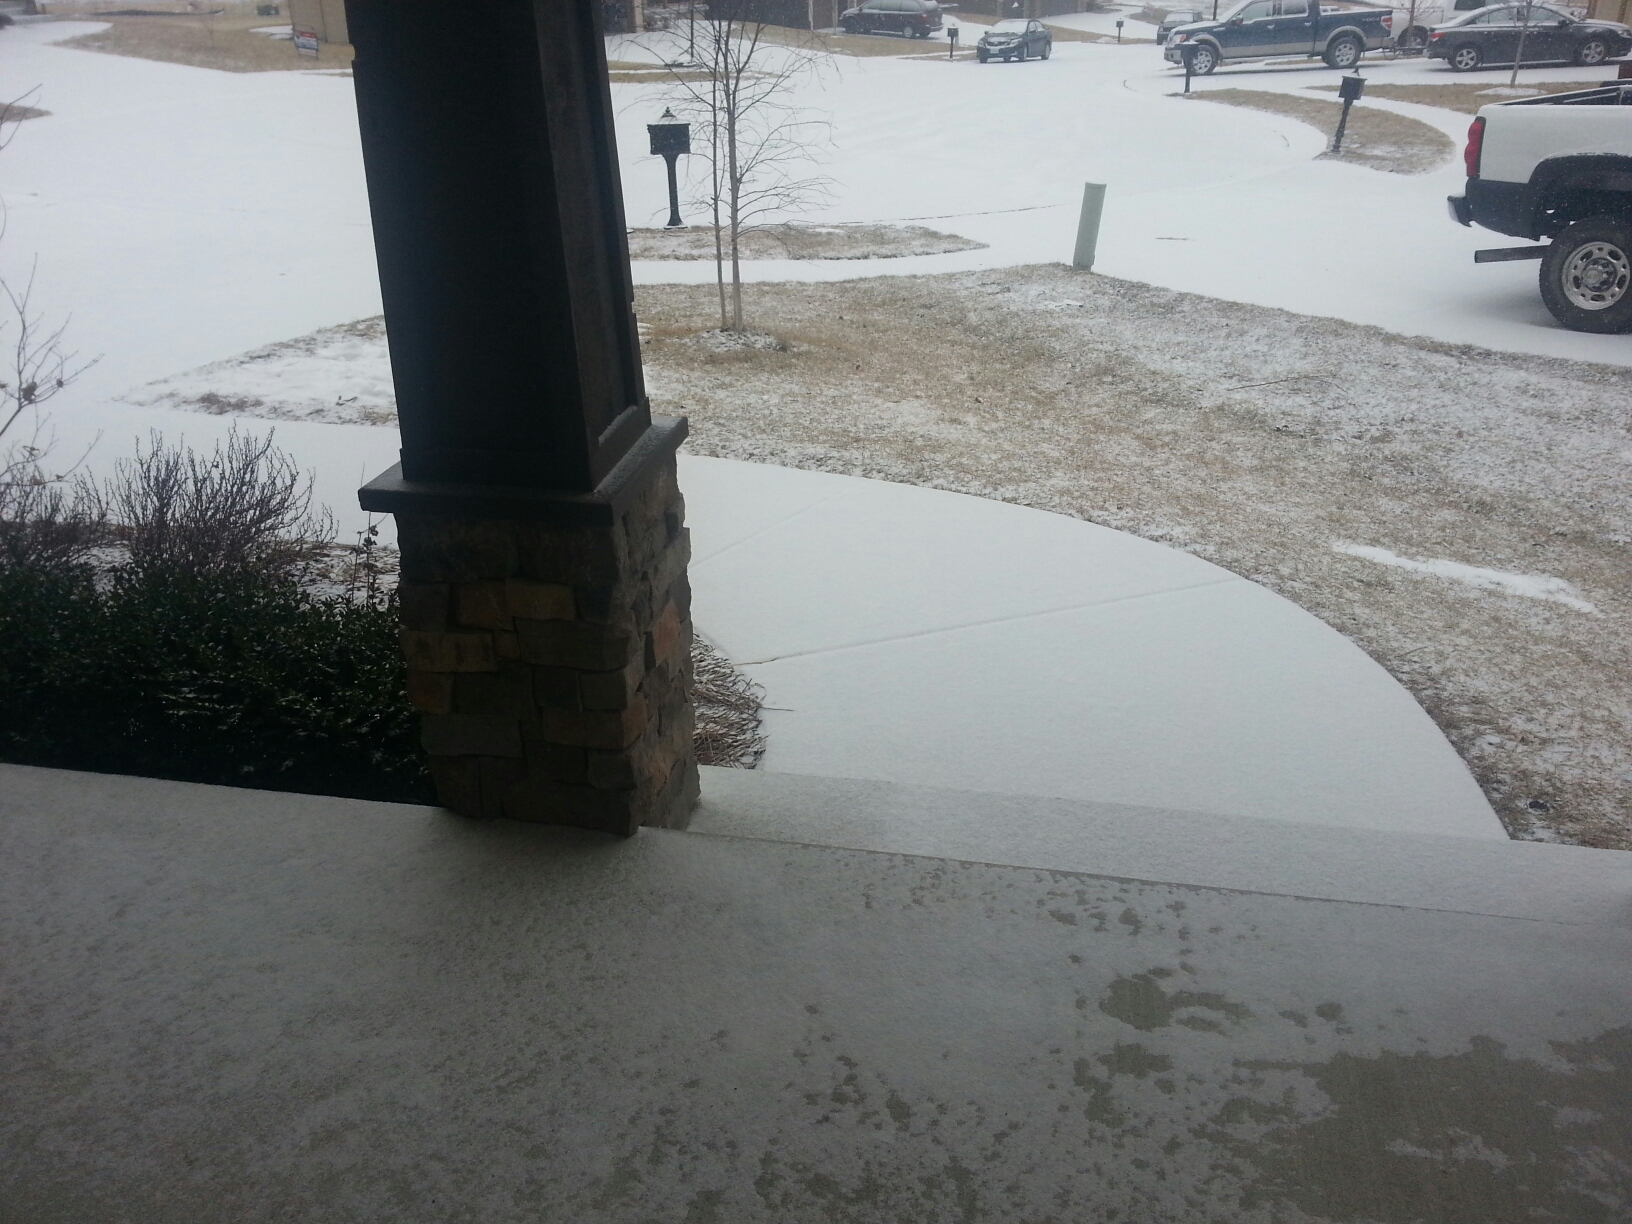
Here is a picture from their front door as the snow began to accumulate.

Friends Move

We made it home safe and sound and here is a picture of our backyard.

Back yard 2

A warm congrats to our friends from our old, country, farm house to your new, lovely home.  We wish you many years of happiness and wonderful memories.  We will always remember moving you in the cozy, wintery snow of a Midwest February.

Leave a comment »

Countdown to Thanksgiving – 3 days left!

A Thanksgiving Day Poll.

Leave a comment »

Countdown to Thanksgiving – 6 Days Left!

Easiest Turkey Recipe EVER.

IMG_8950

Many of us have been there.  Our first year hosting Thanksgiving.  I don’t know why, but for me and many others, the turkey is the most intimidating.  I happily volunteered for Thanksgiving a few years back.  I had the table pictured in my head.  It would be lovely.  My best dishes, candlelight, beautiful linens.  Everyone laughing and having a marvelous time.  Then I realized I would have to make the turkey and that sobered me up quickly.  I mentioned my terror to a co-worker and she said to me, “Oh, I have a recipe that is so easy, you just can’t mess it up.”  I was on the edge of my seat.  So, here it is:

What you need:

1 Apple

1 Orange

1 Lemon

(This amount is for a smaller turkey.  If you have to make a big one, just add as needed)

Butter

Bag for baking the turkey in (if desired).  We learned the hard way to make sure you look at how many pounds the bag is made for.  That’s another story for another time.

Instructions:

As far as actually baking the turkey, there should be instructions on how long and at what temperature you need actually with the packaging of the turkey.  If it doesn’t, try this website.  I follow the instructions for the stuffed turkey, even though you don’t eat the stuffing.  Also, make sure you remove the bag that has all the “guts” of the turkey.  You really don’t want to roast your turkey with that inside of it.

To prepare the turkey, we always butter the outside.  This is a very slippery project so I highly recommend doing it over a nice clean sink.  Next, you want to wash and quarter your fruit.  If you have to add extra, just do a slice of each at a time until you have a nice full cavity.  It doesn’t need to be packed in like sardines, just pretty full.  Place the turkey in your bag if you are using it (also do this over the sink, we almost lost a turkey this way).  If not, go ahead and place the turkey in your roaster pan in the oven.  Now, I don’t use my oven.  I highly recommend a roaster oven.

Roaster Oven

It does a beautiful job of roasting the bird and it leaves room in your oven for all of the other delicious food you need to put in there.  When your turkey is done, it should be moist and tender.  You will smell citrus, but it won’t taste citrusy at all.  It has worked every time for me without fail.  Thank you Carolyn for saving the day with this great recipe!

Leave a comment »

Why I Have a Baseball Bat by My Side of the Bed

I’ll admit, I like to be scared.  I don’t like gore, but I love suspenseful movies.  I think it’s hilarious when someone jumps out and scares the ever-living daylights out of me.  I love it when someone tells me a scary story and it sends chills down my spine.  When I was a kid, my parents did it all the time.  My mom said that even when I was a toddler, if one of them scared me, I would say “do it again!”  I guess it’s my kind of ‘extreme sport’.  I get an adrenaline rush out of it.  I realize not everyone is like that.  This day, however, was different….

It was a beautiful Saturday morning in the fall.  I’m a morning person and I like fall best, so the crisp air and lovely breeze coming through the open window, woke me up bright and early.  First things first, I let the dog out.  She started wagging her tail and walking towards the door as soon as I sat up.  I stepped outside with her.  I wanted to soak in some of my favorite weather.  She lingered and so did I.  Finally we walked back in the house.  I walked into the kitchen and started some coffee.  Then, I walked to my basket of magazines, picked out a couple with fall inspiration, and went back to snuggle under the covers.  My husband hadn’t moved.  He is a night owl, so he goes to sleep much later than me, and then tries to sleep in a little longer.  I got back into bed as gingerly as possible.  He still didn’t move, so I was proud of myself.   I’m happily flipping through my magazine, getting inspired for the fall season. “Wait, what was that?”  I thought.  “I could swear that sounded like someone was walking on our creaky wooden floors.”  I looked down and the dog had her ears on high alert, but she wasn’t moving or growling.  I sat there perfectly still and didn’t hear anything.  She laid her head back down and I went back to reading.  There it was again.  This time the dog stood up.  For a moment, I was frozen.  Then I could see the shadow of someone walking toward the bedroom!  I whispered to my husband.  “Honey, someone’s in the house.”  Again, this time a little louder, “Honey, honey, someone’s in the house!”  By this time, the dog has her head down, the hair on her neck standing straight up, and her teeth bared.  I thought to myself, “ok.  the dog will give him a run for his money for at least a few seconds.”  While at the same time, looking around, desperately, for something to hit this guy over the head with.  Keep in mind, this was all in a matter of seconds.  Finally, I thought, I’m going to have to stop whispering, and shove him out of the bed.  I said, in a much louder voice, “HONEY, SOMEONE IS IN OUR HOUSE!”.  Just as I was saying ‘HOUSE’, I reached over to shake him awake.  It was pillows.  He came strolling in with a big grin on his face.  The dog started doing her ‘I’m so happy to see you’ dance.  I started laughing and punching him at the same time.  So, this day wasn’t really different.  I thought “good one” to myself.  I told him it was going to be really hard to top himself after that.  He did though.  That’s another story.  Oh, and now there’s a baseball bat sitting by my side of the bed.

Leave a comment »

Apple Dump Cake

Fall in the Midwest is about all things apple.  I love apples!  This recipe is so easy.   This one is for individual sized dump cakes.  In my opinion it’s not nearly as good heated up later, so, I usually make single serving/s.  It’s easy to make a 3 or 4 person serving or a big one.  I will include instructions for each.  On a side note here is a great website for all kinds of great information on apples.

Ingredients:

Dump Cake 1

1 medium to large apple of your choice (I love Honeycrisp or Gala apples, but any will do)

1/2 cup of cinnamon chips (you get these in the same place as you get chocolate chips at the store).  You can add more or less to taste.

Yellow cake mix (I use Jiffy Cake Mix for the smaller, 3 to 4 person size.  I use a regular size cake mix for the big one)

1/4 to 1/2 stick of butter

Vanilla Ice Cream (optional) (I say optional, but it’s really so much better with the ice cream)

Instructions:

Preheat your oven to 350 degrees.

Cut up your apple/s into bite sized chunks and put in the bottom of your muffin tin.

Dump Cake 2

Put a few cinnamon chips in with the apples.

Dump Cake 3

Cover the top with the dry yellow cake mix and pat down.  You can save the extra cake mix in a Ziploc baggie.

Dump Cake 4

Slice the butter into thin slices and place on top of the cake mix until the entire top is covered.

Dump Cake 5

Bake in the preheated oven for about 50 minutes.  If you bake this in a regular cake pan I recommend a full hour in the oven.

Dump Cake 6

It will be bubbly and golden brown on top.  Wait a few minutes to serve because it’s ‘melt-your-face-off’ hot at this point.  Don’t wait too long though, because you want it to be warm.  Put a scoop or 2 of ice cream on top and you are ready.

Dump Cake 7

Variations

For the 3 to 4 person variety just use 2 to 3 large apples, 3/4 to 1 cup of cinnamon chips, a Jiffey Cake Mix and 1/2 to 3/4 stick of butter.

For the regular sized cake mix, use 4 to 5 large apples and 1 to 1 1/2 cups cinnamon chips.

Baking time and temp is the same.

Make Ahead Instructions

This would look great to make ahead in individual servings in little canning jars.  But wait, you say, the apples will turn brown.  Never fear.  I have instructions for how to keep apples from browning when you cut them up ahead of time.  Here they are.

Leave a comment »

Paper Pumpkins

This project is super easy.  If you already have the supplies, it only takes a few minutes to make.  I’ve used them for place settings on a Thanksgiving table before.

Paper Pumpkins 5

For the larger pumpkin, I cut the paper into strips measuring 1 1/2 inches wide.  I used 12″ x 12″ scrapbook paper.

Paper Pumpkins 3

I then punched a small hole into the bottom and top of the strips of paper.

Paper Pumpkins 2

I used 6 strips, but you could use more if you like.  I put the brad in the bottom hole of each strip and closed it.  Then, I spread out the strips to where they sort of look like a spider.

Paper Pumkins 1

I then put the brad in one strip at a time and then closed it.  You have to play with these a little to get them to sit flat.  I folded the bottom part a little so it would sit.  Then, I wrapped the pipe cleaner around a pen to make it curly.  Once that was done, I wrapped it around the brad to make the vine part of the pumpkin.

Paper Pumpkins 4

To make these for Halloween, it would be easy to put googly eyes on them, or even a spider brad would be fun.  Of course you wouldn’t want to use a candle in them, but a battery candle would work nicely.

For the smaller one I cut the strips 1″ wide.  I decided to try it with 2 different colors and I think it looks kinda cute.  This would be super easy to do with kids.  You can add glitter or stickers or stamps.  Easy and quick!

Paper Pumkin Littles 2 Paper Pumkin Littles 1

Leave a comment »

Easy Slow Cooker Hot Apple Cider

This is the cheaters way to make cider.  I would love to say I juiced apples and made if from scratch, but I didn’t.  I think this recipe is pretty delicious on a cool fall day though.

Cider 3

What you’ll need:

Your choice of apple cider.

1 apple (any kind will do)

Cinnamon.  I highly recommend cinnamon sticks, but I didn’t have any on hand so I used ground cinnamon.

A pinch of nutmeg.

A pinch of ground cloves.

Directions:

Pour apple cider into your slow cooker.

Cut up the apple and dump in.  I use the core too, but I take the seeds out so no one chokes on one.

Cider 1

Sprinkle ground cinnamon to taste.  I use a generous helping because I love cinnamon.

A shake or two of the nutmeg and cloves (a little goes a long way with these 2 spices).

Cider 4

Turn the slow cooker on high if you only have a couple of hours before serving or low if you have longer.  Stir occasionally.

It would be delicious with some orange zest in it.  It makes the house smell great too!

Good to the last drop!

Good to the last drop!


Leave a comment »

How Not to Treat a Knee Injury (A “Put Your Glasses on First” Installment)

So, about 3 years ago my husband hurt his knee. Many years ago I had taken a couple of massage classes so I worked on his knee. He said it felt better, but it was still hurting. He has a high threshold for pain so I knew that him saying that meant it hurt bad and he probably wouldn’t sleep. So I had him take some over-the-counter pain meds and started looking for the heating pad. I found it and we tried it. But because the injury was on the side of his knee, it was difficult to get the heating pad to stay put. In comes my brilliant idea! By brilliant, I mean, well, you’ll see.  I remembered that we had some hand warmers in the bathroom cabinet. I go grab one, and an ACE bandage wrap. I open it up to activate it, hold it on his knee and wrap it up with the bandage. Feeling pretty proud of my brilliance, I got ready for bed while he settled in. A few minutes later, he wakes up and says, “something’s not right”. I go over, take the bandage off, and remove the hand warmer. His skin was bright red and there were blisters forming. Needless to say, I felt terrible! So he ended up having an injured knee and needing burn cream for the skin. I definitely deserved The Dunce Cap on that one.  So, by brilliant, I mean not brilliant.

Knee Injury

On a side note, my husband said I should have titled this “HAND Warmers, or Put Your Glasses on First”.  He always has to be funny.

Leave a comment »

Custom Blinds

I hate mini-blinds.  Not the way they look necessarily.  Trying to keep them clean.  We don’t buy the expensive kind, so maybe those are easier to clean.  I don’t know.  But the inexpensive kind are NOT easy to clean.  My mom had a great idea.  Why not buy the pull down kind and cover them with fabric ourselves?  Why not, I said.  So, we picked a day, did a little shopping, and did it.

What you need

Pull down blind.

Material.  I bought 4 yards, which was just enough for 2 blinds with none left over.  But, our house has huge windows.

Measuring tape.

Pen or pencil.

Spray adhesive.  I used this.  I liked it a lot because it gives you time to reposition even after it’s sprayed.  It also sprays on white, but dries clear.  Since we were using a white blind, that didn’t really matter, but it could come in handy for other projects.

An outdoor table that you can get the adhesive on.

An iron and a table big enough to iron the material on.

A sharp pair of scissors.

A second person (I HIGHLY recommend this).

Custom shades 5 Custom Shades 1

Instructions

Measure your window.  Then roll out the blind and mark how far up you need the material to go.

Custom shades 3 Custom Shades 2

Next, will want to measure your material and cut it to size.  Then, iron it.

Custom shades 8

Next take your material, blind, and spray adhesive outside.

Roll out the blind and lay it on a large, clean, dry surface.

Custom shades 6

Next, spray on a generous amount of the adhesive.  We started from the top and laid the material down, pressing down and pushing out any wrinkles.  This took a while and we had to reposition it several times.  We also had to re-spray some of the edges.

Once we were done with the first one, we took a break and let that dry for a while.

Custom shades 7

Then, we did the second one the exact same way.

We took them both inside and hung them up by following the instructions that came with the blinds.

Custom shades 9

Here is the finished product.  This is not complicated, but it is time consuming.  Plan on it taking a while and recruit help!  It was worth it though.


1 Comment »

Keeping Cut Up Apples From Browning (No lemon juice required)

I’ve tried this several times and I have been really happy with the results.  It’s really nice to be able to prepare a healthy fruit for lunches ahead of time.

You will need:

The amount of apples that you need for the week

A large bowl

Chewable Vitamin C tablets

A Ziploc bag

A spoon or something to smash the pills with

What you need

What you need

Instructions

Put a couple of the chewable vitamin C tablets in the Ziploc bag.  With the back of a spoon, smash them into a fine powder.

Crisp Apples 2 Crisp Apples 3

Fill the large bowl about halfway with cold tap water.  Poor in and stir the vitamin C powder.

Crisp Apples 4

Vitamin C Water


As you can see, the powder will not completely dissolve, that’s ok.  The water should have an orange tint to it.

Cut up the apples you will need for the week into whatever size you want.  Put them in the vitamin C filled, cold water.  Soak for approximately 10 minutes.

Crisp Apples6Crisp Apples 5

I also push them down in the water and hold them for a second or two to make sure they are completely covered.

You can strain them or set them on a paper towel to drain the excess water.

Crisp Apples 7

Just after the bath

Put them in whatever air tight container you want and store them in the fridge.  They should stay crisp for at least 7 days.

Ready for the fridge!

Ready for the fridge!

They do get very slightly brown, however, nothing like they normally would.  They stay very crisp.

24 hours/day 1

24 hours/day 1

Day 2

Day 2


Day 6

Day 6

I won’t bore you and keep posting.  You get the idea.  I will say that I’ve only done this with apples that are crisp.  I’ve never tried a softer apple such as a Red Delicious.  I like anything that you can prepare ahead, so this is one I use on a regular basis.

Leave a comment »